*This post may contain affiliate links for which I earn commissions.*
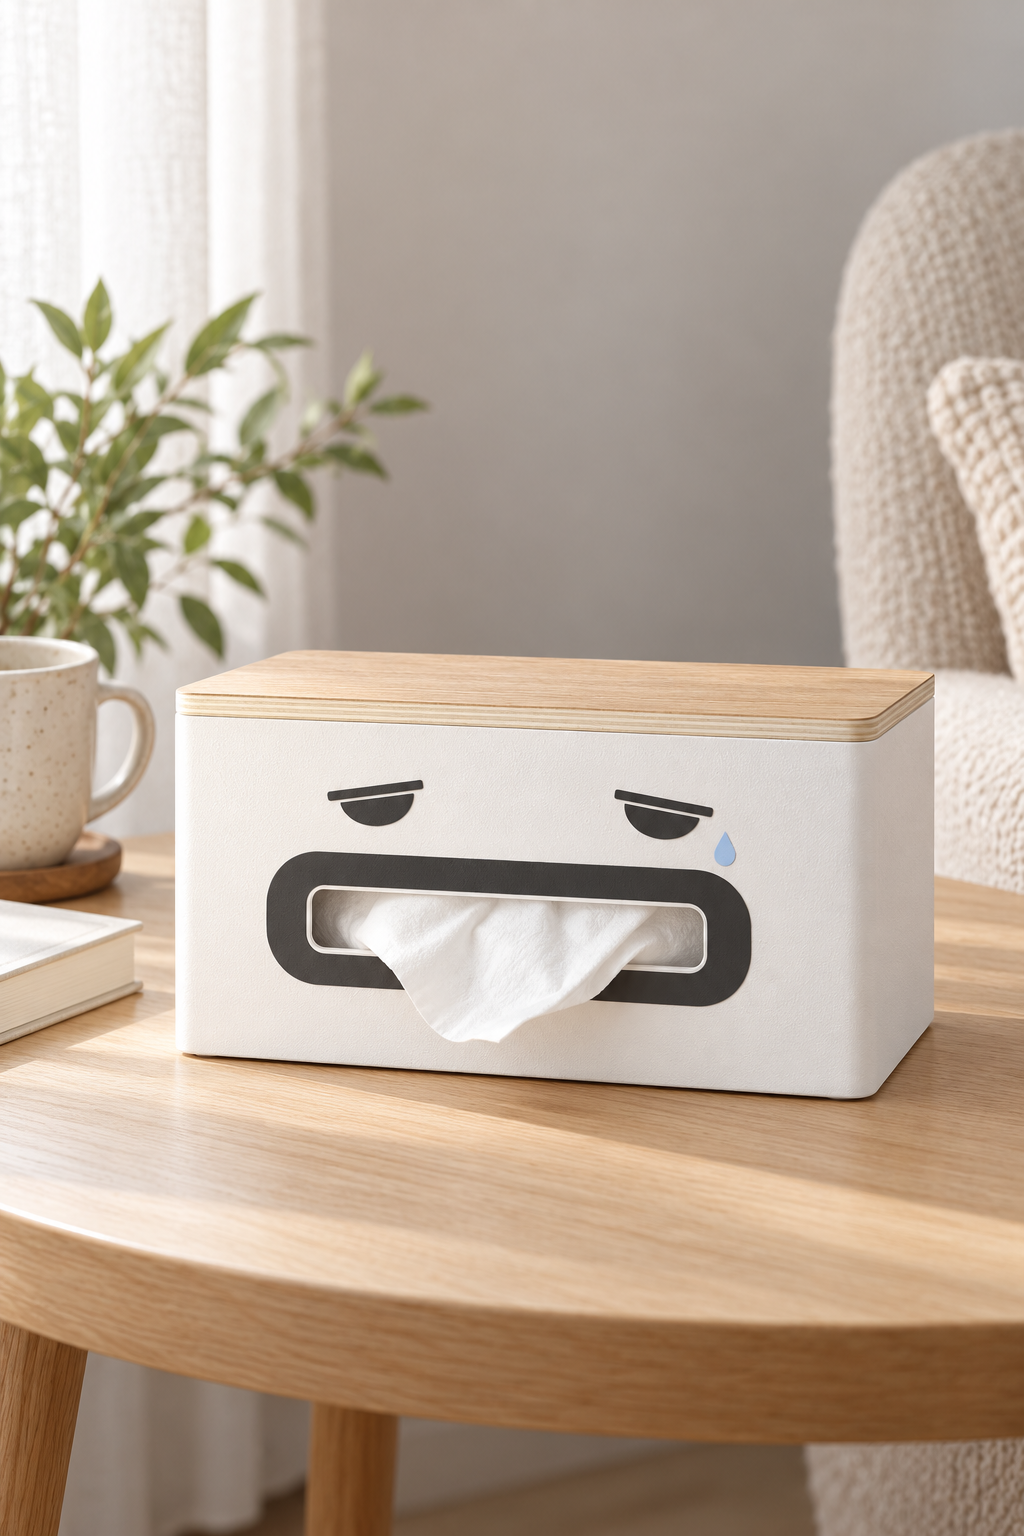
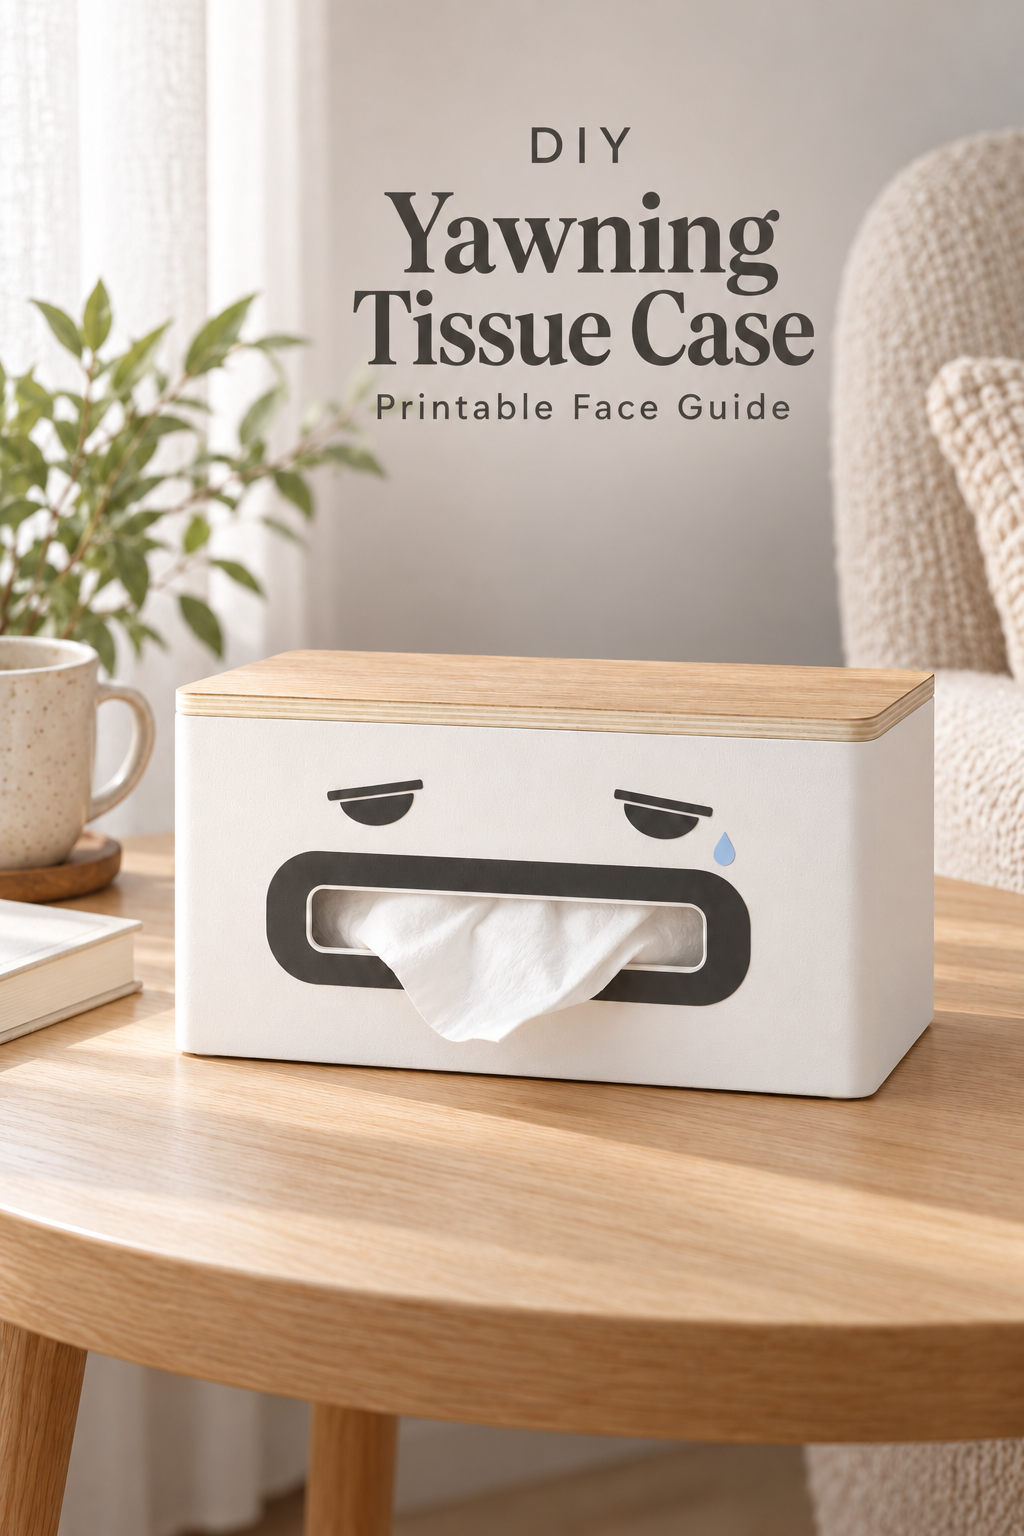
Image created with AI. This image serves as visual inspiration for the project below.
This tissue case seems to be halfway through a very long yawn. Two heavy eyelids, a tiny blue tear and a tissue slipping out of its mouth give an everyday object a sleepy personality.
The method below decorates an existing front-opening dispenser with hand-cut vinyl. The opening stays its original size, and the wooden lid still lifts off for refills.
What You’re Making
You’ll add six thin vinyl pieces to a white Yamazaki RIN Double-Sided Tissue Case, model 4766: two shallow half-oval eyes, two narrow eyelids, one small blue tear and one rounded mouth surround. The dark surround sits around the actual outlet, with a slim white gap keeping its edges away from the tissues.
The reference case measures approximately 26 × 11 × 14cm overall. Use its 16.5 × 3cm opening for the face, not the longer, narrower outlet on the other side. The natural wood lid stays unpainted. This is a proposed decorating method, not a report of a physically tested build.
Materials and Supplies
Main Materials
- Yamazaki RIN Double-Sided Tissue Case 4766, white body with natural wood lid.
- White pop-up facial tissues in a flat carton that fits the case in its dispensing orientation.
- Matte permanent adhesive vinyl in charcoal and pale blue, with at least a 20 × 8cm charcoal piece for the mouth.
- Standard-grip clear transfer tape for adhesive vinyl.
- Printer paper for the supplied face and placement guide.
- Low-tack painter’s tape for temporary paper positioning.
Tools
- Scissors.
- Craft knife and self-healing cutting mat for the mouth’s internal cutout.
- Ruler marked in millimeters and inches.
- Pencil and a clean, lint-free cloth.
- Access to a printer; no cutting machine is needed.
Note: Buy the double-sided model by its model number. Other RIN tissue cases dispense through the top. Permanent vinyl can be harder to bond to a textured powder coating, so test the exact vinyl on the actual case before cutting the full face.
Before You Start
Choose the refill by its carton, not its brand alone
The manufacturer’s stated interior is about 25.5cm wide, 10 to 10.5cm deep and 13cm high. In normal use, the tissue carton’s opening faces the case’s front outlet. Its long edge runs horizontally, its original broad face stands vertically, and its thickness takes up front-to-back space. The case itself stays upright on its base.
Scotties 08922 is one dimensionally compatible example: its published carton is 22.35 × 10.41 × 5.08cm, with white two-ply facial tissues measuring 18.80 × 20.83cm unfolded. Those dimensions fit in the single-carton arrangement, but the pairing has not been physically pull-tested. Other Scotties cartons may be different. Check your actual box, outlet alignment and feeding before decorating. Napkins and folded hand towels are not substitutes for this tutorial.
Allow time for the adhesive test
Plan on roughly 45 to 60 minutes of hands-on work, plus your vinyl manufacturer’s settling time. Set aside a separate 24 to 48-hour observation period for the test patch and, after decorating, before regular handling or damp cleaning. This is an allowance for pressure-sensitive adhesive to settle, not a liquid-glue drying time or a guarantee of adhesion.
Keep all work on the outside of the empty case. The wooden lid, its seating edge and the opposite outlet remain undecorated.
Step-by-Step Tutorial
1. Check the plain case and prepare its surface
Lift off the lid and position one opened tissue carton with its dispensing face against the 16.5 × 3cm outlet. Move the supplied magnetic divider behind the carton to support it without squeezing it. Bring the first tissue through the real outlet and pull several sheets, including with the carton partly depleted. If the next sheet falls back or catches, adjust the carton and divider before proceeding.
Remove the tissues and wipe the case using the case maker’s care instructions. Let it dry fully. Avoid sanding, repainting or using an unapproved solvent on the coating.
Press a small vinyl offcut onto an inconspicuous exterior area. After the observation period, check for curling, easy lifting and damage to the finish. If it will not stay flat, do not compensate with glue near the outlet. Resolve compatibility with the vinyl supplier before continuing. Permanent adhesive can leave residue or affect a finish when removed.
2. Print the guide and plan the face
Download the Yawning Tissue Case Face and Placement Guide. The supplied file is named Yawning-Tissue-Case-Face-and-Placement-Guide.pdf.
Print the US Letter PDF at 100% or Actual Size, with Fit to Page turned off. On A4, also use Actual Size and center the page. Check that the 1-inch square measures exactly 1 inch in both directions. If a printer clips the large mouth outline, use its supported wider printable area or a print service; do not shrink the whole sheet to make it fit.
Cut paper copies of the six parts. The eyes are 32 × 12mm, eyelids 36 × 3mm and tear 8 × 12mm. The mouth surround measures 195 × 74mm outside and 171 × 36mm inside. These are decoration-pattern dimensions, not additional manufacturer specifications.
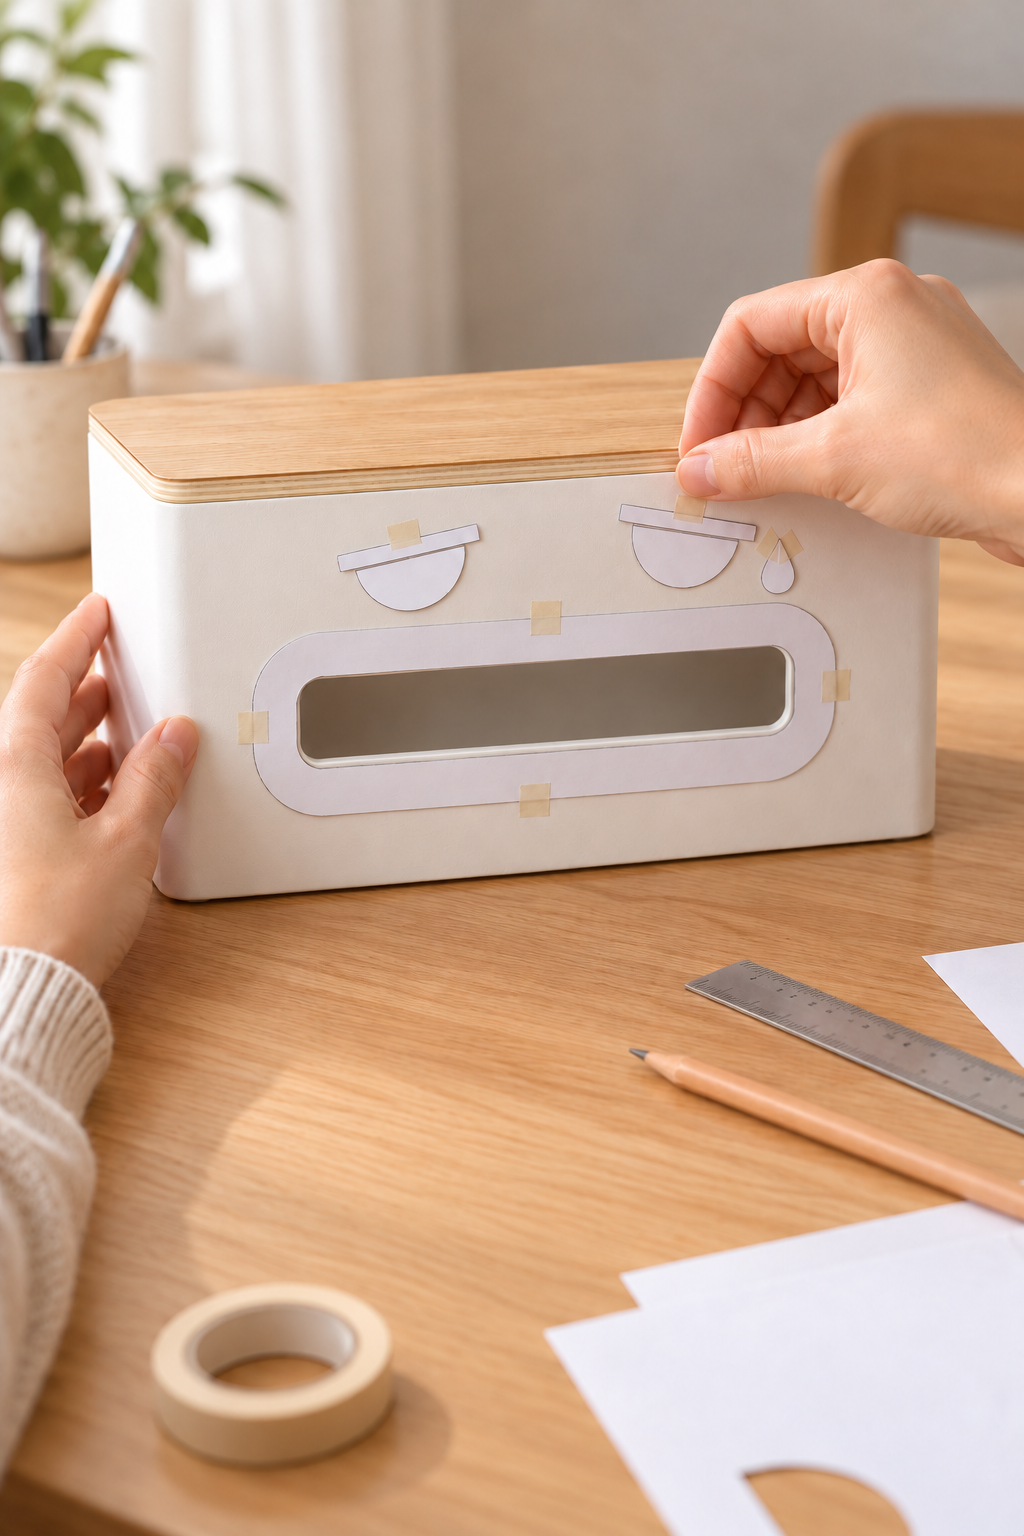
Center the paper mouth around the actual outlet. Its internal cutout should leave at least 3mm of exposed case around every edge of the 165 × 30mm hole, including the corners. Confirm that clearance on your case rather than relying on the printed rectangle alone. Never cut or enlarge the case.
Place the eyes above the mouth, about 42mm to either side of its centerline. Start with each eye’s straight upper edge about 51mm above the outlet center, then adjust both together for the real available space. Angle them very slightly in opposite directions. Position an eyelid about 1mm above each eye, parallel to its straight edge. Keep every piece at least 5mm below the lid seam.
Put the small tear just below the outside corner of the eye on your right. Use short tabs of low-tack tape to hold the paper pieces. Look at the case from across the table: the narrow eyes should look drowsy, without steep, worried eyebrows.
3. Cut the vinyl face
Trace the paper shapes onto the vinyl while it is still on its backing. Keep left and right eye groups identified on the backing paper. If you trace onto the back, flip the corresponding paper pattern first so the final orientation is preserved.
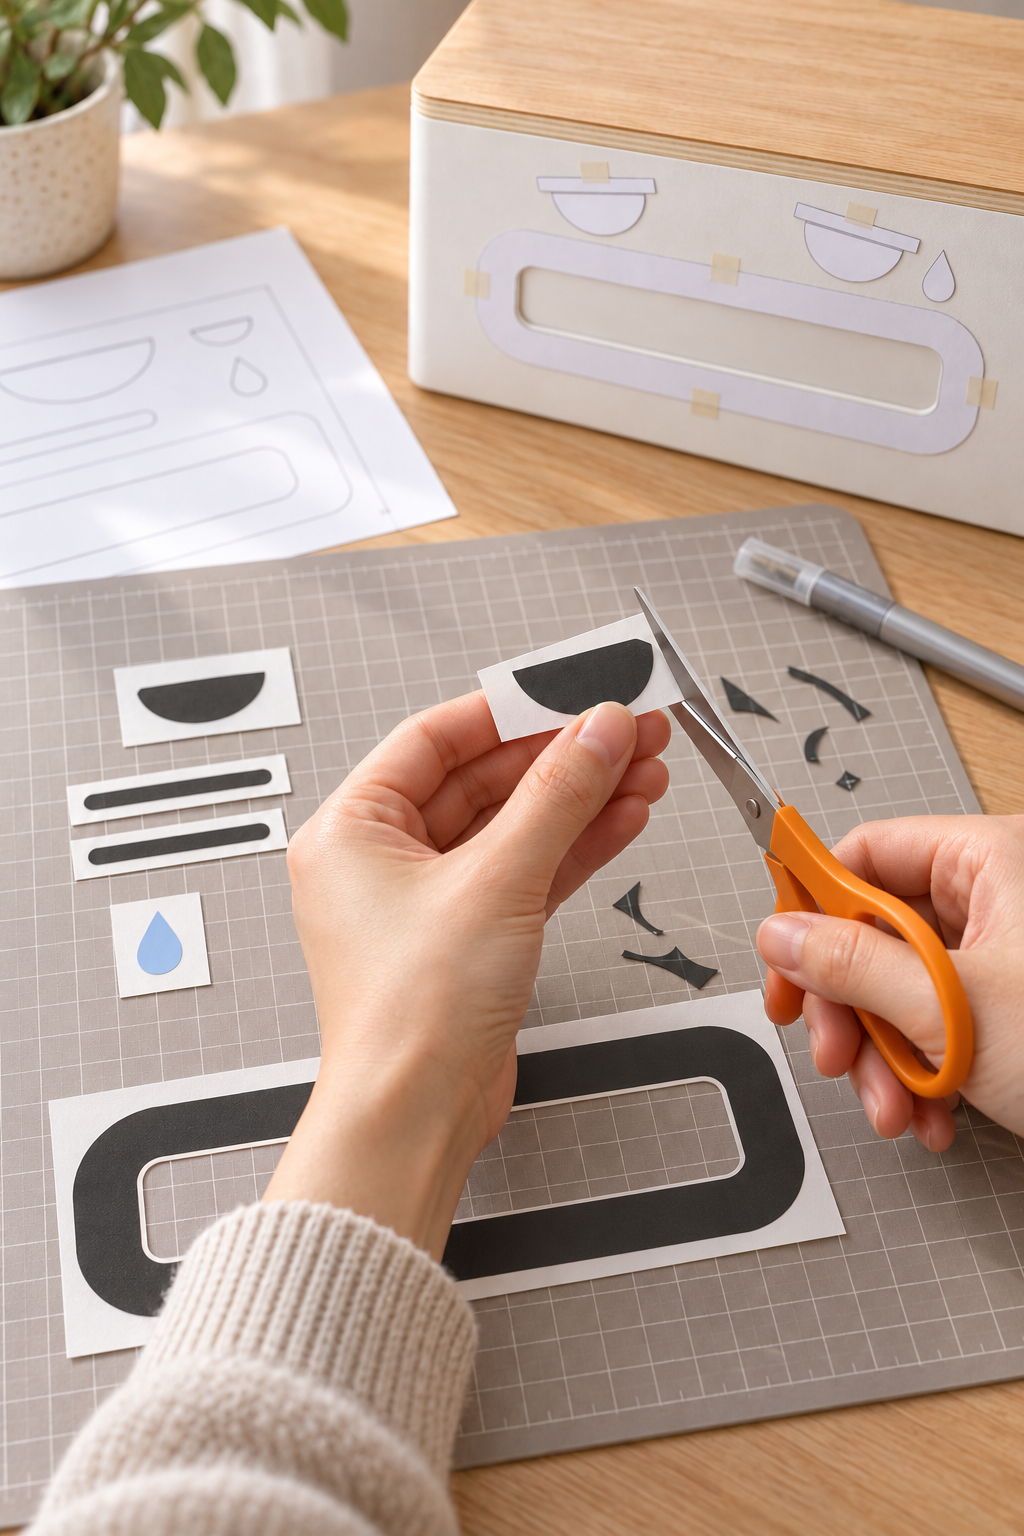
Cut two charcoal eyes, two charcoal eyelids, one charcoal mouth surround and one pale blue tear. The eyelids are separate pieces, not additional eyebrows. Round any sharp eyelid tips slightly.
For the mouth, place the backed vinyl on the cutting mat and cut the internal opening first with a craft knife. Work away from your supporting hand. Remove the center waste, then cut the outside edge with scissors. Keep the backing attached to the surrounding vinyl until application. The knife never touches the case.
4. Apply the mouth and sleepy details
Cover the mouth surround with standard-grip transfer tape and burnish it gently through the liner with a folded cloth. Cut the transfer tape out of the mouth’s center as well. This leaves an open ring, so no temporary sticky film spans the tissue outlet.
Peel away the vinyl backing. Align the ring with your paper-plan marks, keeping the full white clearance gap visible. Press the vinyl onto the exterior from the center of its top and bottom bands toward the rounded ends. Support the empty case with your other hand rather than pressing on its lid.
Peel the transfer tape back low and slowly. If the vinyl lifts with it, press it down again before continuing; persistent lifting means the surface bond has not passed. Check that no adhesive, liner scraps or vinyl edges enter the hole or wrap around its rim.
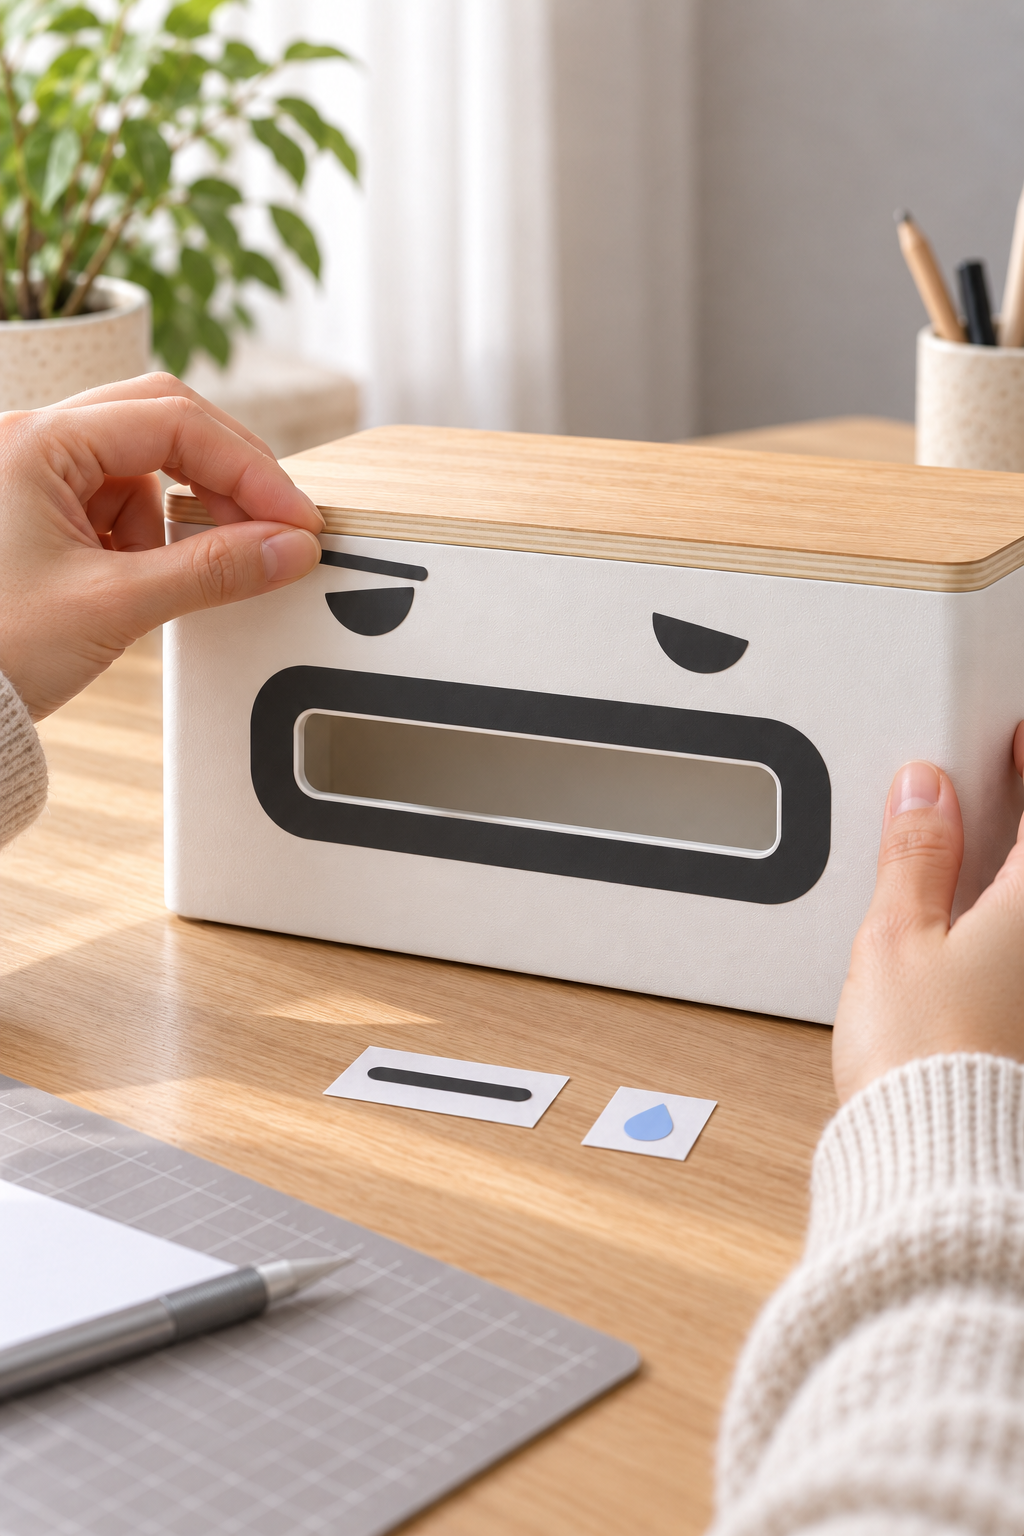
Apply the two eyes next, followed by the two eyelids with their narrow gap. Add the blue tear last. The attachment illustration shows the mouth and eyes already applied while one eyelid is being positioned; the other eyelid and tear are still waiting on their backing.
5. Let the adhesive settle, then refill and pull
Leave the case empty and undisturbed for the vinyl manufacturer’s recommended period. Allow 24 to 48 hours before routine handling or damp wiping unless the product directions call for longer. There is no paint, sealer or separate liquid adhesive to cure.
Lift the wooden lid straight up. Replace the carton in the orientation checked in Step 1, with its opening facing the decorated front. Position the divider behind it, thread one tissue through the real outlet and reseat the lid. None of the decorations should move with the lid.
Draw several tissues gently forward while steadying the case at its side. Check that only the paper moves, the next sheet remains reachable and the mouth surround stays flat. Leave the next tissue naturally protruding; do not force a long length back into the box just to match the inspiration photo.
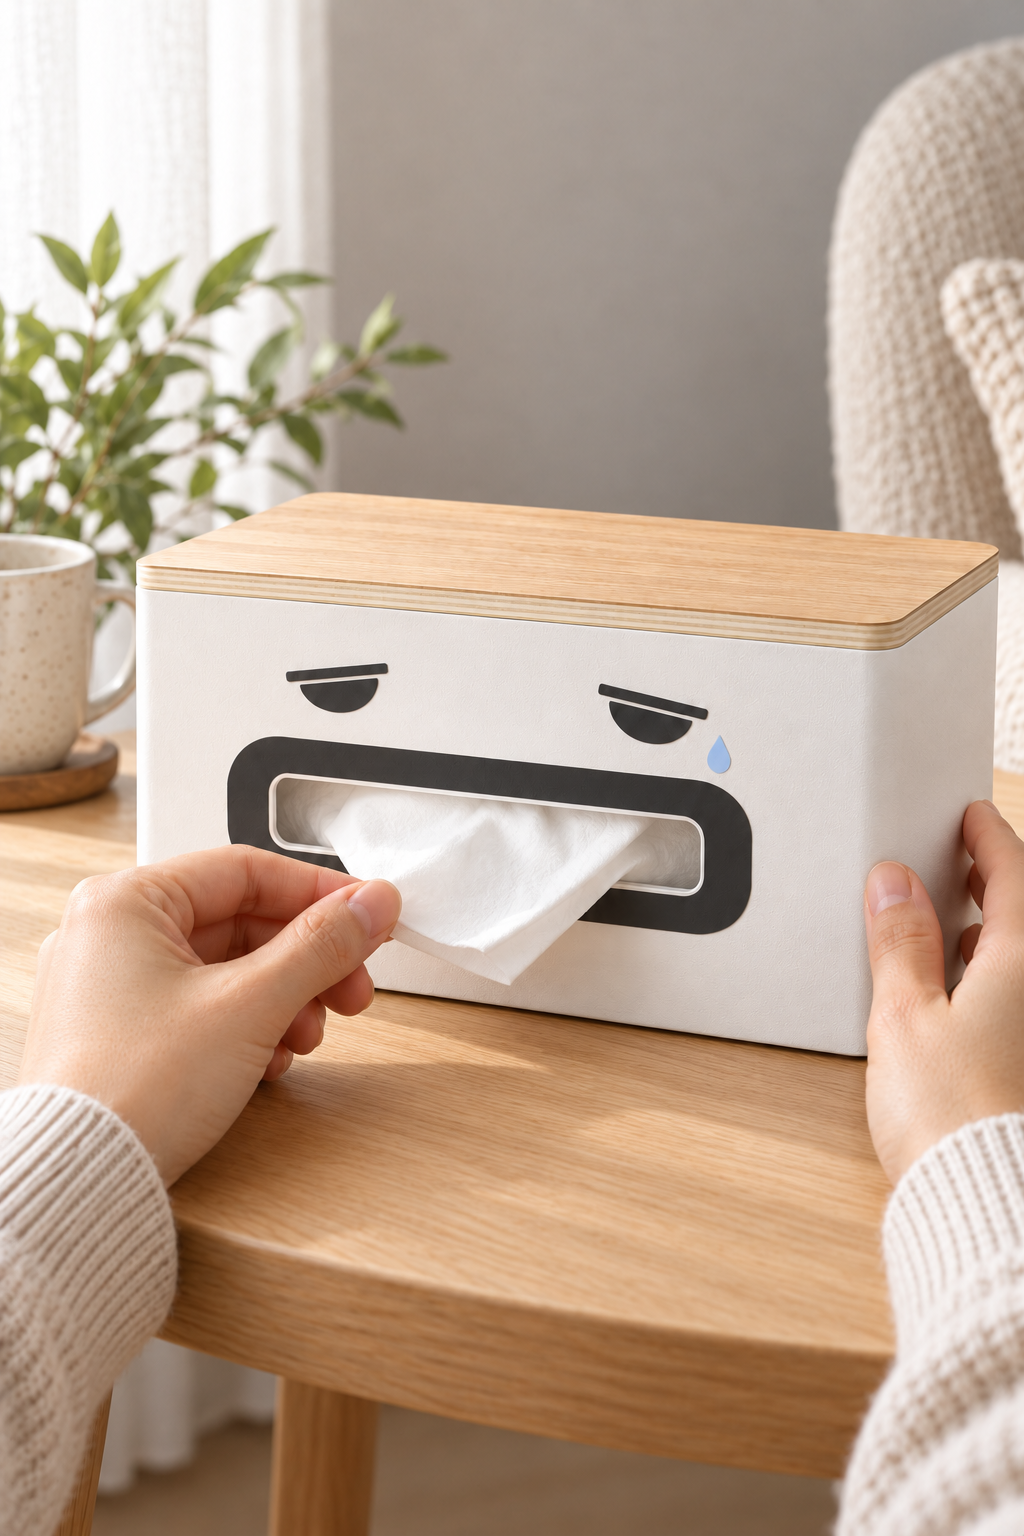
Open and close the lid once more after the pull check. A usable finish means both tissue dispensing and refilling remain unobstructed.
If the Tissue Catches or the Face Lifts
If plain paper catches even with the decoration removed, check the carton opening and divider pressure. That is a feeding problem, not a reason to alter the metal outlet.
If a tissue touches the vinyl, remove the affected mouth surround and enlarge the opening in the vinyl only, on the cutting mat. Keep at least the intended clearance all around. Replace a stretched, creased or contaminated piece rather than trying to secure its edge with exposed glue.
If a decoration comes off during a pull, stop using the case until the loose piece is removed and the attachment issue is resolved. Do not let the tissue itself serve as a test of how firmly a loose sticker can hold.
Give the Face a Slightly Different Mood
A dark brown face can soften the contrast, while a muted blue-gray tear keeps the same sleepy expression. Keep both eyes small relative to the mouth; making the tear larger or tilting the eyelids sharply can make the character look upset.
For another case, resize the eyes and tear separately from the mouth. Trace that case’s actual outlet and create a new inner cutout with clearance. Recheck lid and door movement, surface suitability and tissue compatibility independently. Scaling the whole face together cannot account for a different opening or refill mechanism.
Keep It Within Easy Reach
Use a stable reading-side table, desk or bedside surface with space to pull forward and lift the lid. Keep a drink beside the case rather than on top, so refilling does not require clearing the lid.
Dust the face gently with a soft cloth. Keep the wooden lid dry and follow the case maker’s care instructions. The decorated case is not a dishwasher project, even if the vinyl itself is sold as washable.
The little blue tear is enough of a finishing touch. Leave the rest of the case simple, and its everyday tissue opening gets to carry the joke.