
*This post may contain affiliate links for which I earn commissions.*
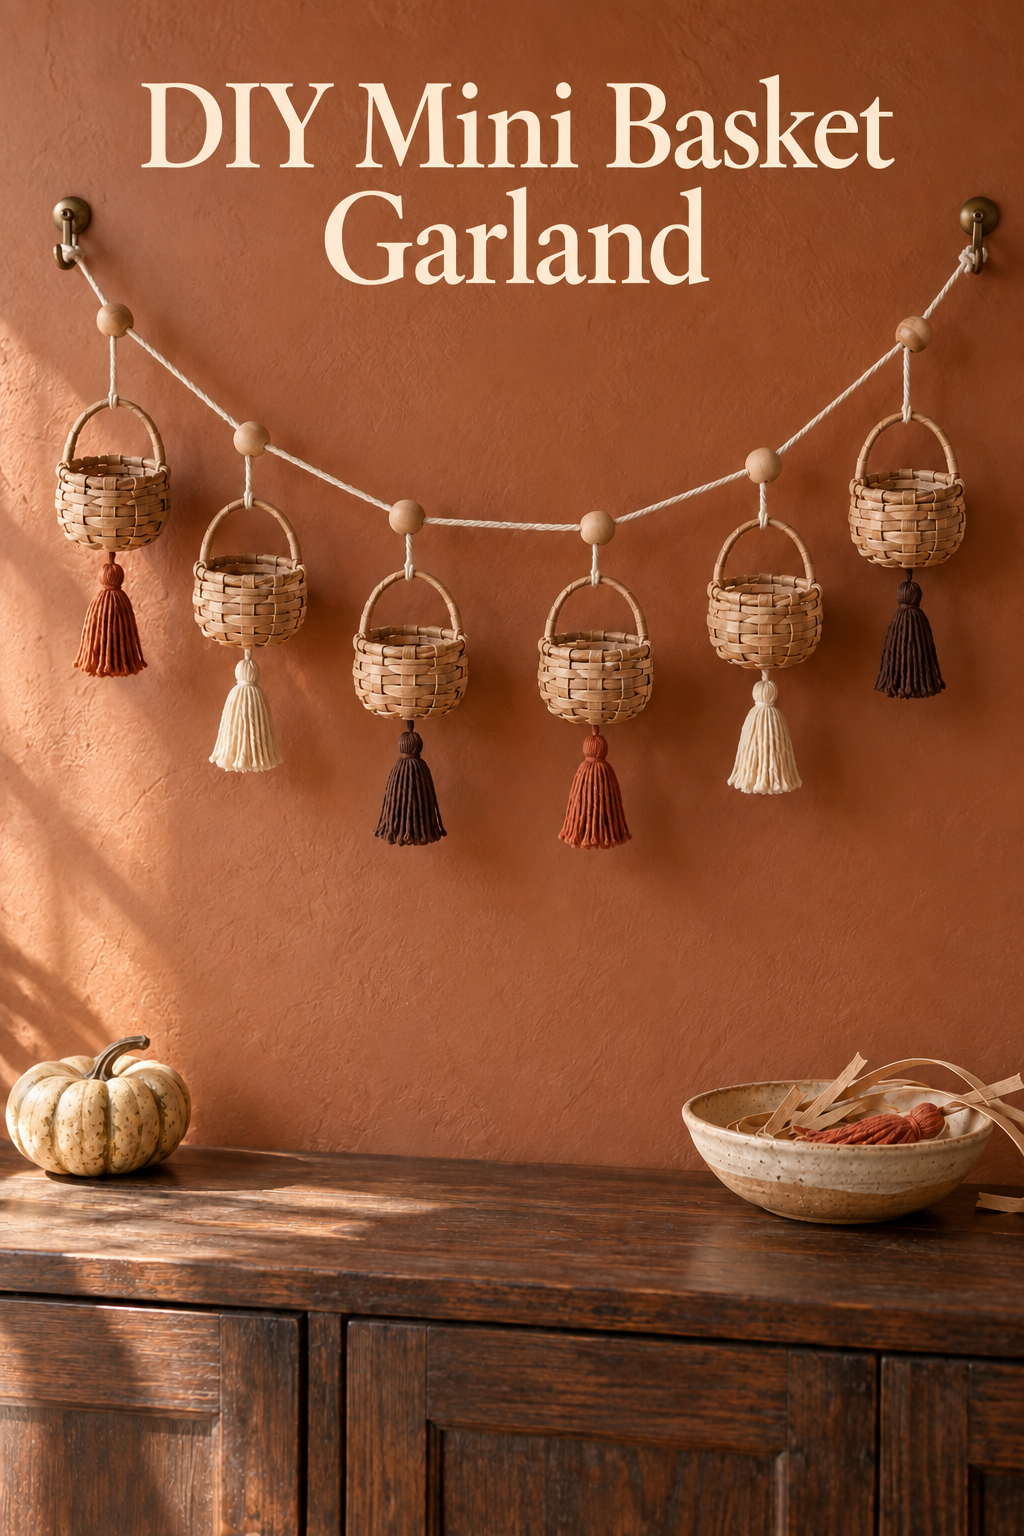
Image created with AI. This image serves as visual inspiration for the project below.
Small open baskets become hanging ornaments in this earthy fall garland. Their upright handles make the miniature vessel shape easy to recognize, while cotton tassels in terracotta, cream and brown extend the silhouette below each woven cup.
This version uses folded kraft-paper strips for the baskets. Paper gives a woven texture without requiring cane preparation or specialist basketry tools. Make one complete pendant first: the repeated weaving takes patience, and a successful sample is more useful than a pile of unfinished cups.
Materials and Tools
Paper for spokes and weaving
Use uncoated kraft paper or clean plain paper bags that fold without tearing. Fold wider strips lengthwise into narrower, layered bands for the upright spokes and handle. Flexible flat paper ribbon or narrower kraft strips can provide the horizontal weaving rows.
You also need paper-compatible craft adhesive, scissors, a ruler, pencil and small clips. Do not substitute stiff wood strips without changing the method; this tutorial relies on paper that bends by hand.
Tassels and the hanging strand
Gather cotton yarn in a few earthy colors, fine strong tying thread, natural cotton cord and smooth wooden beads with holes that accept the cord. A blunt large-eye needle helps pass the tassel tie through gaps in the woven base. A scrap of card serves as a tassel winding guide.
Use surface-appropriate hanging fixings. The baskets remain empty ornaments, not working storage vessels. Keeping them light also makes the strand easier to balance.
Before You Start
Choose a workable miniature size
Try a basket base roughly 3 cm across, a rim around 4 to 5 cm across and a wall about 3 cm high. These are adaptable trial dimensions for a small pendant. Allow a handle above and a tassel below when judging the full silhouette against your wall.
A very tiny basket requires finer strips and more precise handling. Increase the sample size if your paper repeatedly buckles or your fingers cannot reach the inside joins.
Cut enough strips for one sample
For a starting scale, fold strips about 2 cm wide lengthwise into four layers, making bands around 5 mm wide. Cut eight full spoke bands about 18 cm long, plus one half-length band. This creates seventeen radial spokes when the full bands cross at their centers and the extra band extends from the center in one direction.
Prepare flexible weaving bands separately. Their final width should suit the small basket; test a few bends before cutting the full supply. Do not wet ordinary kraft paper to imitate reed preparation.
Step by Step Instructions
Establish the radial paper base
Cross two full spoke bands at their midpoints, adding a small adhesive spot where they meet. Add the remaining full bands at different angles, spreading their ends into an evenly distributed wheel. Attach the extra half band at the center so it supplies one additional spoke. Clip and let the central join set.
Count seventeen separate ends. An odd number allows continuous over-under weaving to switch position on each circuit. Keep the center compact; excessive adhesive or a thick stacked lump makes the small floor difficult to shape.
Weave outward to form a small floor
Anchor the beginning of a flexible weaving strip to the underside of the central join. Bring it upward through a gap and pass it over one spoke, under the next, continuing around the wheel. Keep the strip flat rather than twisting it into rope.
After each circuit, nudge the row inward against the previous one. The odd spoke count means the next row crosses each spoke on its opposite face. If two adjacent spokes are accidentally treated as one, undo that section immediately; otherwise the repeated mistake will become a visible loose channel.
When you need more weaving length, overlap the strip ends behind a spoke, bond them neatly and let the join set before continuing. Stagger these joins rather than building a thick seam in one place.
Raise the spokes into an open cup
When the floor reaches your chosen diameter, bend the spokes upward at its outer edge. Continue the same over-under route around them to build the walls. Support the inside with your fingers and let the sides flare slightly toward the rim.
Do not pull the weaver tight like a drawstring. It should sit against the spokes while preserving the cup opening. Gently push rows together as you proceed. A rounded cup and readable horizontal bands matter more than perfectly identical vessels.
Turn down the spokes and cover the rim
Stop weaving at the intended wall height, leaving enough spoke length for finishing. Trim each spoke to a short tab, fold the tab over the upper row and tuck it beneath an adjacent row where accessible. Alternate inside and outside folds according to the easiest clean route.
Secure loose tabs with small adhesive spots. Fit a narrow folded-paper band around the top edge to cover and bind the tabs, overlapping its ends discreetly. Clip as needed and allow the bonds to set. The rim should remain open and smooth enough that it does not catch the hanger thread.
Build a handle with reinforced ends
Fold a fresh paper strip into a narrow layered band. Curve it into an arch tall enough to leave a clear opening above the basket. Slip each end down inside the weave on approximately opposite sides, spanning several rows instead of attaching only to the rim edge.
Bond the buried ends and add a few stitches of fine thread around each handle end and neighboring woven rows. A blunt needle can pass through existing gaps. Keep the stitches tidy and let the adhesive set. Lift the empty sample by its handle over the table; repair a moving join before repeating the design.
Wind and attach a compact tassel
Cut a card guide to your desired tassel length. Wind cotton yarn around it until the bundle looks full enough, then pass a long tying thread beneath the loops at one end and knot it tightly. Slide the loops off and cut through the opposite end.
Wrap a separate yarn length around the bundle just below the tied top to form the tassel neck. Knot it and conceal the ends among the strands, then trim the bottom level.
Pass the two long top-tie ends through separate gaps near the center of the basket floor, from outside to inside. Knot them together inside the cup so the tassel hangs beneath its base. The basket remains upright; the tassel should not pull it sideways.
Repeat the pendants and thread the swag
Make the remaining baskets using your completed sample as the scale reference. Rotate the tassel colors along the strand. Thread wooden beads onto the main cord, using stop knots to keep them near the planned pendant positions.
Tie a short hanger around the middle of each basket handle and attach it snugly to the main cord beside a bead. Space the vessels so their handles and tassels remain separate. Check each pendant over the work surface before installing the completed strand.
Hang the cups facing the room
Secure both cord ends to suitable fixings according to their instructions, leaving a natural shallow U. Adjust the individual hangers so the baskets remain upright and the tassels fall freely. If a cup turns sideways, reposition its tie on the handle rather than adding weight inside.
Use a dry interior wall above a cabinet or sideboard, clear of flames, heat and damp areas. Keep hanging cords and loose beads out of children’s and pets’ reach.
Store the Cups Without Crushing Them
Rest each vessel upright in a compartment or tissue nest, with its tassel laid beside it. Avoid folding the handles sharply. Remove the beads and main cord if they press against the cups during packing; paper is more forgiving during making than after being crushed in storage.
Shop Materials and Tools
Kraft paper that accepts a crease
Choose plain flexible paper with enough body for folded spokes. Avoid glossy coatings and heavily brittle recycled sheets. A small roll or existing bag supply is sufficient for testing; buy more only after your sample holds its shape.
Flat paper ribbon for smaller weaving rows
Compare the ribbon’s opened width and flexibility, not just the roll length. Narrow flat strips create the basket’s horizontal bands. Twisted paper twine must be opened and tested before use; it may not supply the broad, flat texture shown here.
Cotton yarn in a restrained palette
Choose yarn that winds cleanly and separates into hanging strands without becoming overly fuzzy. Cream, clay and dark brown supply contrast while the baskets stay natural. Similar yarn thickness across colors keeps the tassels proportionate.
Smooth beads and knot-friendly cord
Select beads whose holes comfortably accept the main strand. Their size should punctuate the cups rather than compete with them. A smooth cotton cord is easier to thread than heavily fraying jute, and smaller knots look tidier beside miniature handles.
Paper adhesive for small overlaps
Look for controlled application and compatibility with uncoated paper. Test how the product changes the paper color and stiffness. Adhesive supports the joins, while the handle stitches and woven tabs provide additional connection; do not rely on a tiny glue spot alone.
Final Project Tip
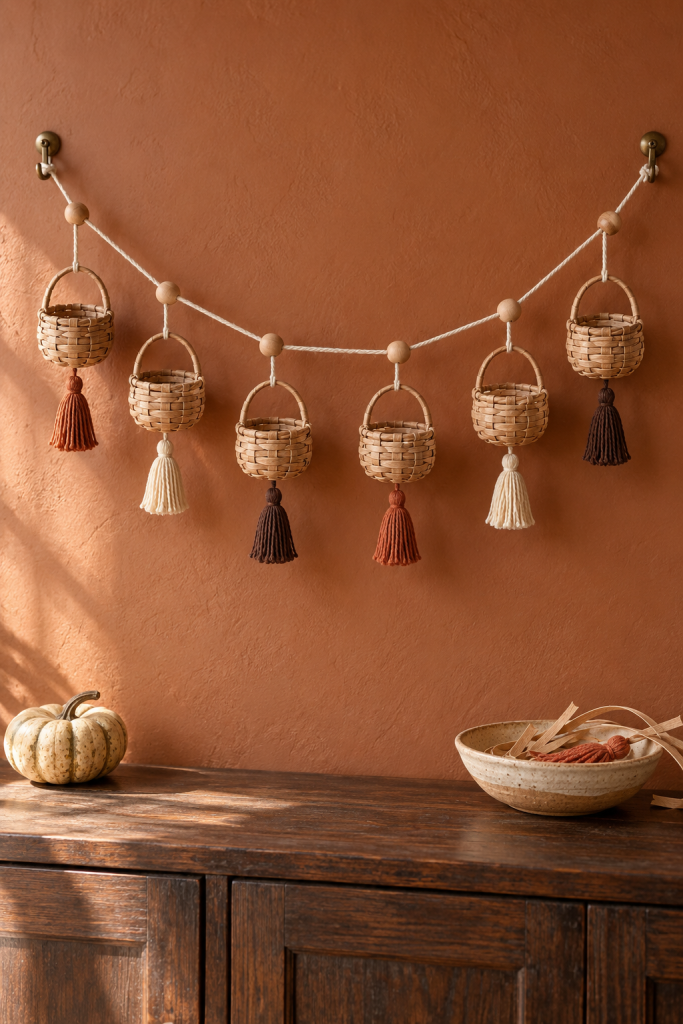
Write the successful sample’s strip width and spoke count on its tassel-winding card. Those two details are easy to forget and strongly affect whether later repair baskets match the originals.