*This post may contain affiliate links for which I earn commissions.*
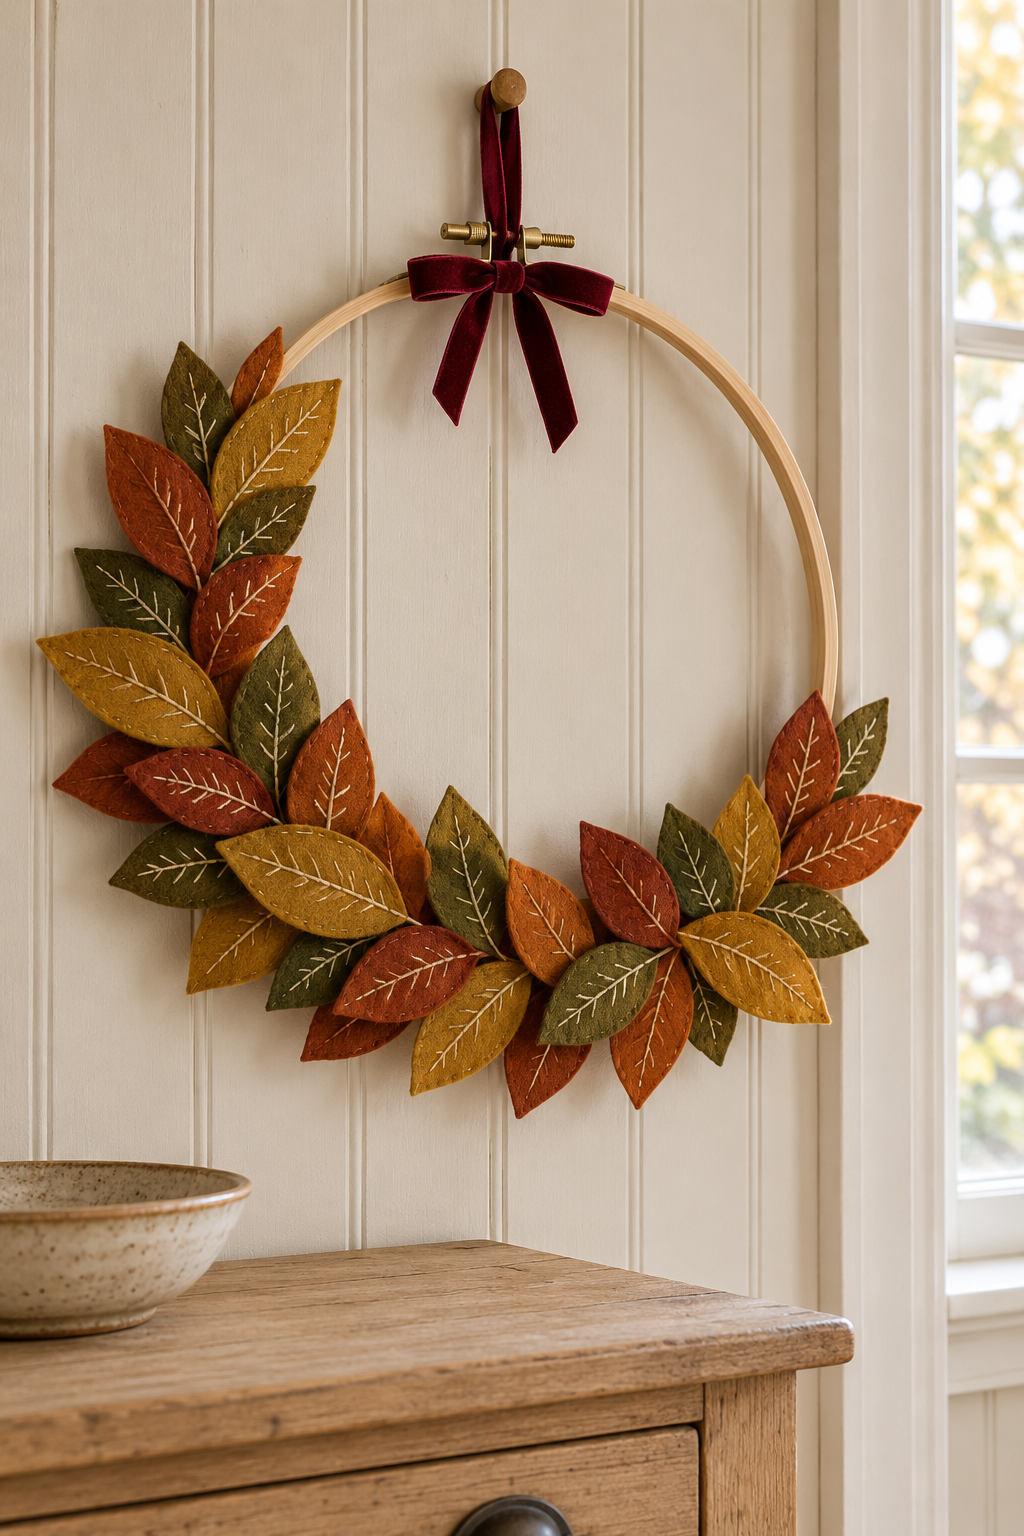
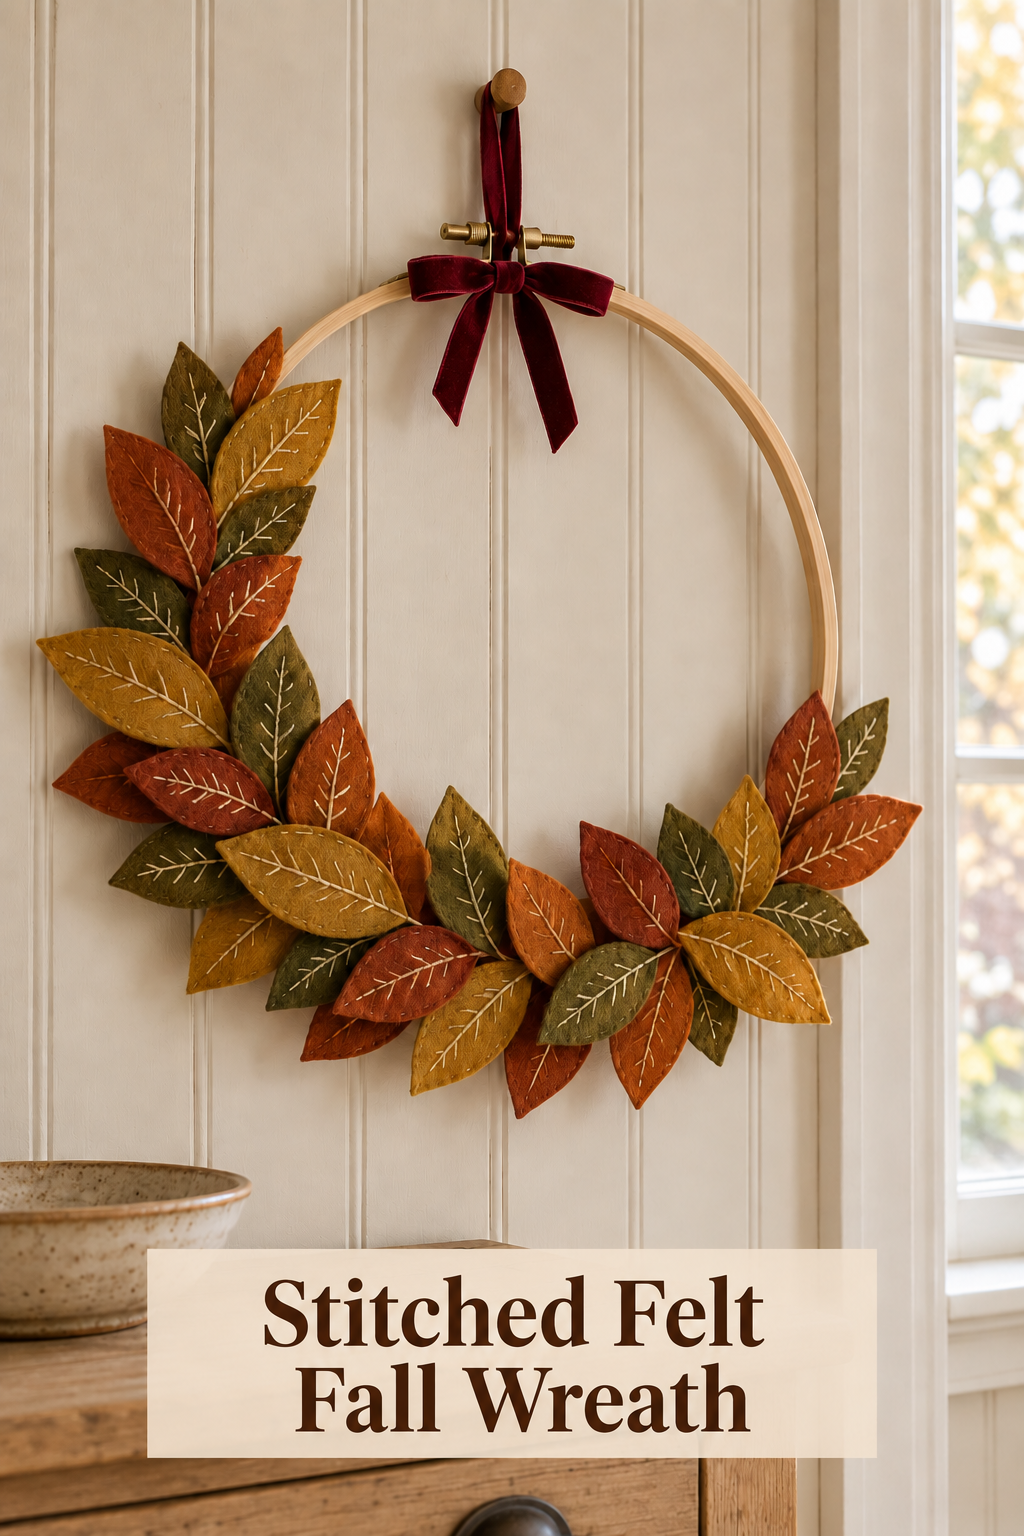
Image created with AI. This image serves as visual inspiration for the project below. The tutorial uses individually stitched felt leaves attached to a wooden hoop as a practical way to recreate the look.
Cream stitches give these autumn leaves a quiet handmade character. This DIY felt leaf wreath pairs a warm rust, ochre, and olive crescent with an open wooden hoop and a burgundy velvet bow. It brings fall color to a small wall without covering the whole circle in foliage.
What You’re Making
You will make a lightweight indoor wreath with overlapping pointed oval leaves around the lower portion of an embroidery hoop. Simple embroidered veins add detail; the upper wood arc remains exposed. A ribbon loop carries the wreath, with a separate small bow at the top.
Materials and Supplies
Main Materials
- Unfinished wooden embroidery hoop with tightening screw
- Craft felt in rust, ochre, and olive, firm enough to hold a cut leaf shape
- Cream cotton embroidery floss
- Craft adhesive labeled suitable for felt and unfinished wood
- Burgundy velvet ribbon, narrow enough to tie around the hoop
- Plain paper for a reusable leaf pattern
Tools
- Sharp fabric scissors
- Embroidery needle with an eye suitable for the floss
- Pencil
- Ruler
Before You Start
Choose the hoop diameter for the wall where the wreath will hang. An approximately 8- to 10-inch hoop is a manageable starting point, rather than a required size. Hold it in place and check the surrounding clearance before committing to the scale.
Make room on a flat, clean work surface for the full hoop and loose leaves. Keep a felt offcut for a glue trial. Follow the adhesive’s ventilation and surface-protection instructions for your workspace.
Step-by-Step Tutorial
1. Draw a Leaf You Can Cut Again
On the paper, draw a rectangle about 3 inches long and 1½ inches wide as a starting pattern for the suggested hoop size. Fold it along its length. On one folded half, draw a curved line joining the two ends of the fold, bulging toward the open edge at the middle. Cut along that curve through both layers and unfold a pointed oval.
Hold the paper leaf against the hoop. It should reach noticeably beyond the wood without overwhelming the opening. Adjust the pattern now if your hoop is smaller or larger. This simple shape supplies the cutting guide directly; no separate downloadable template is needed.
2. Cut the Three-Color Leaf Collection
Hold the pattern on the felt and cut around it with the fabric scissors. Start with a small handful in each color, then add more after arranging them on the hoop. This avoids buying or cutting to an arbitrary leaf count.
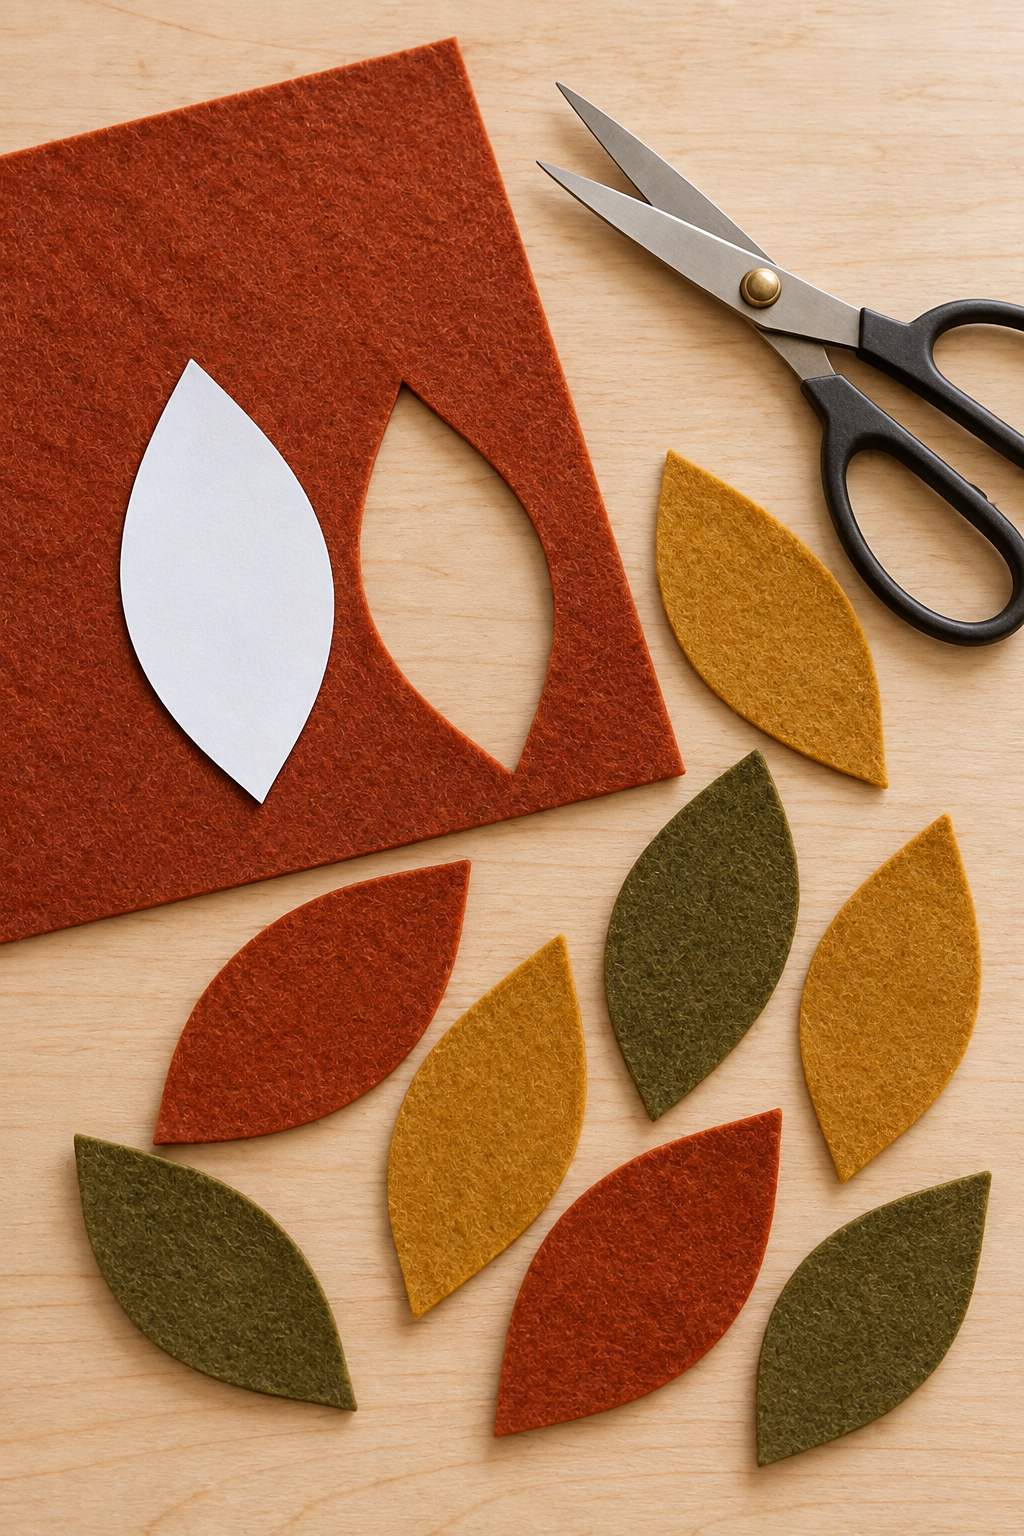
Keep the edges smooth and the tips intact. Turn the pattern slightly between cuts to use the sheet efficiently. Make a second, slightly smaller paper pattern if you want a few leaves that nest between the larger ones.
3. Stitch a Center Line and Branch Veins
Separate two strands from the embroidery floss as a starting choice, thread the needle, and knot the end. Test a few stitches on a felt offcut. If the needle makes conspicuous holes, use a finer needle; if the thread pulls the felt into ridges, loosen the tension.
Begin on the back near one pointed end. Work a running stitch toward the opposite tip: bring the needle up, move a short distance along the center, pass it down, then bring it up again a similar distance ahead. Leave a little felt beyond each end of the stitched line.
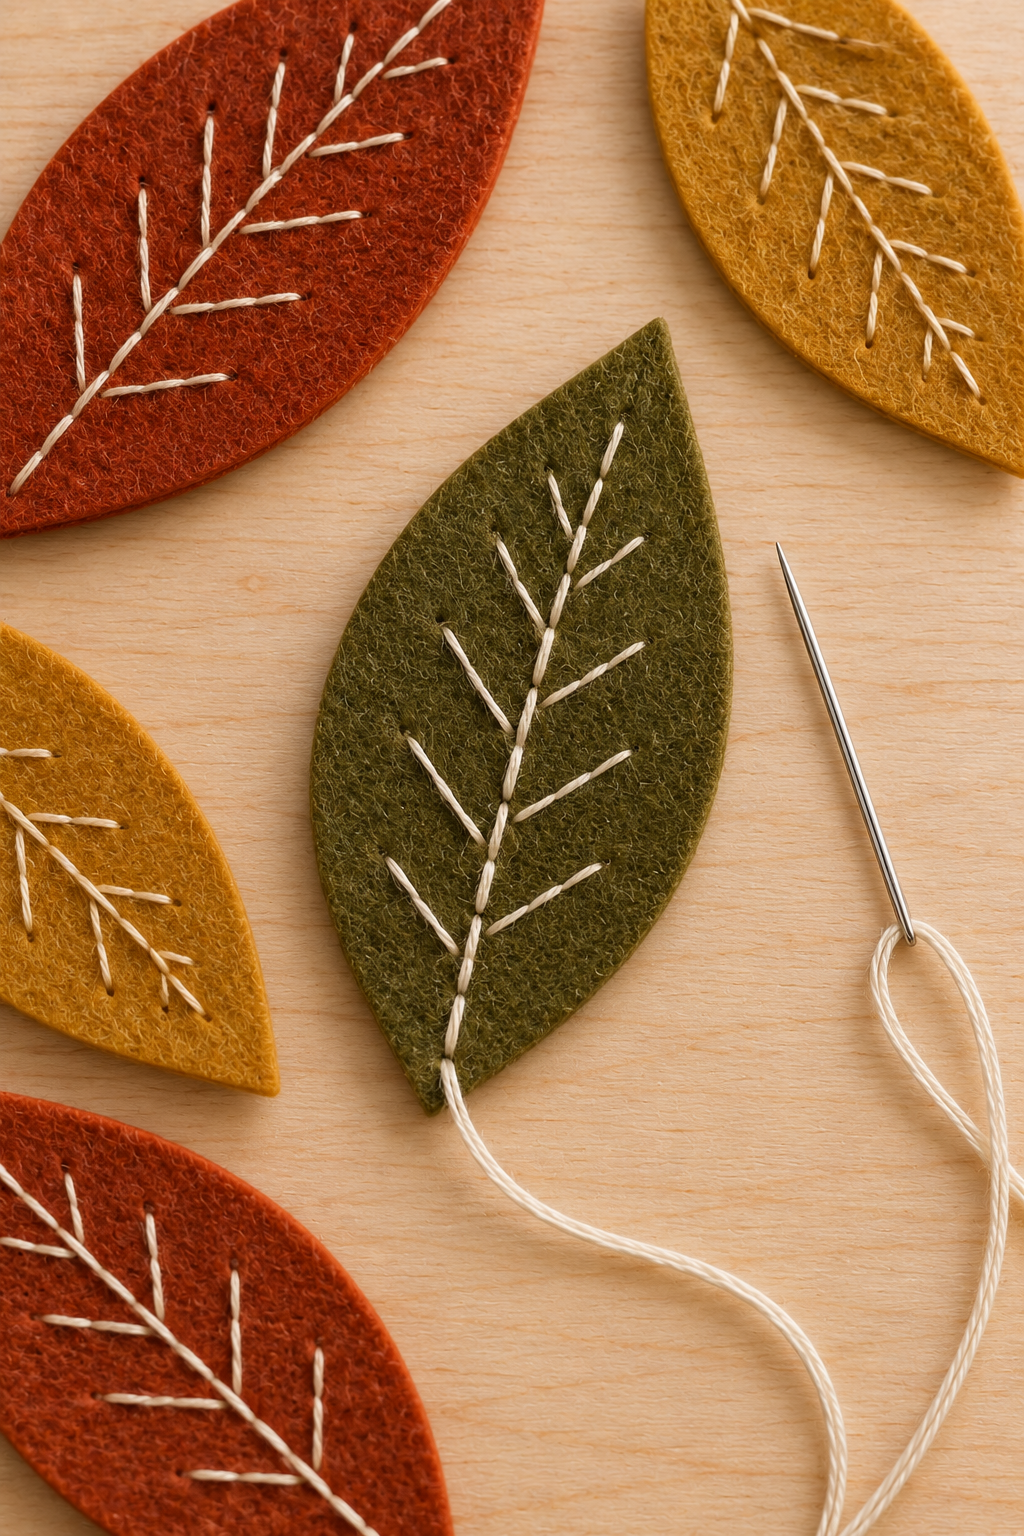
Add short slanting stitches from the center toward each side, leaving the outer edges untouched. The branches can alternate rather than meeting in perfectly matched pairs. Secure the thread on the back through an existing stitch and trim it. Finish the leaves before attaching them so their backs remain easy to reach.
4. Arrange the Crescent Without Glue
Keep both hoop rings nested and tighten the screw only enough to hold them together. Set the screw at the top. Begin the leaf layout near the lower center, then build toward each side, extending higher on the left to echo the inspiration.
Overlap the leaf bases along the wood and let their tips fan outward. Alternate colors without making a rigid repeating stripe. Leave a substantial bare upper arc. Lift individual leaves to check that each base reaches the hoop or a securely supported neighboring leaf, rather than relying on a loose tip for attachment.
5. Attach the Leaves in Manageable Groups
Try the adhesive on the reserved felt offcut and a small concealed area of the hoop, following its directions. Check for soak-through, staining, and an adequate bond before using it on the visible leaves. Use the stated curing time for the actual adhesive, not a generic craft timetable.
Keep the dry layout close by, moving only a few leaves at a time. Apply adhesive to a leaf’s reverse at the area that contacts the wood; press it into place as directed. Attach the underlying leaves first, then the ones overlapping them. At overlapping bases, add a small bonding area between leaves where needed, keeping the tips free.
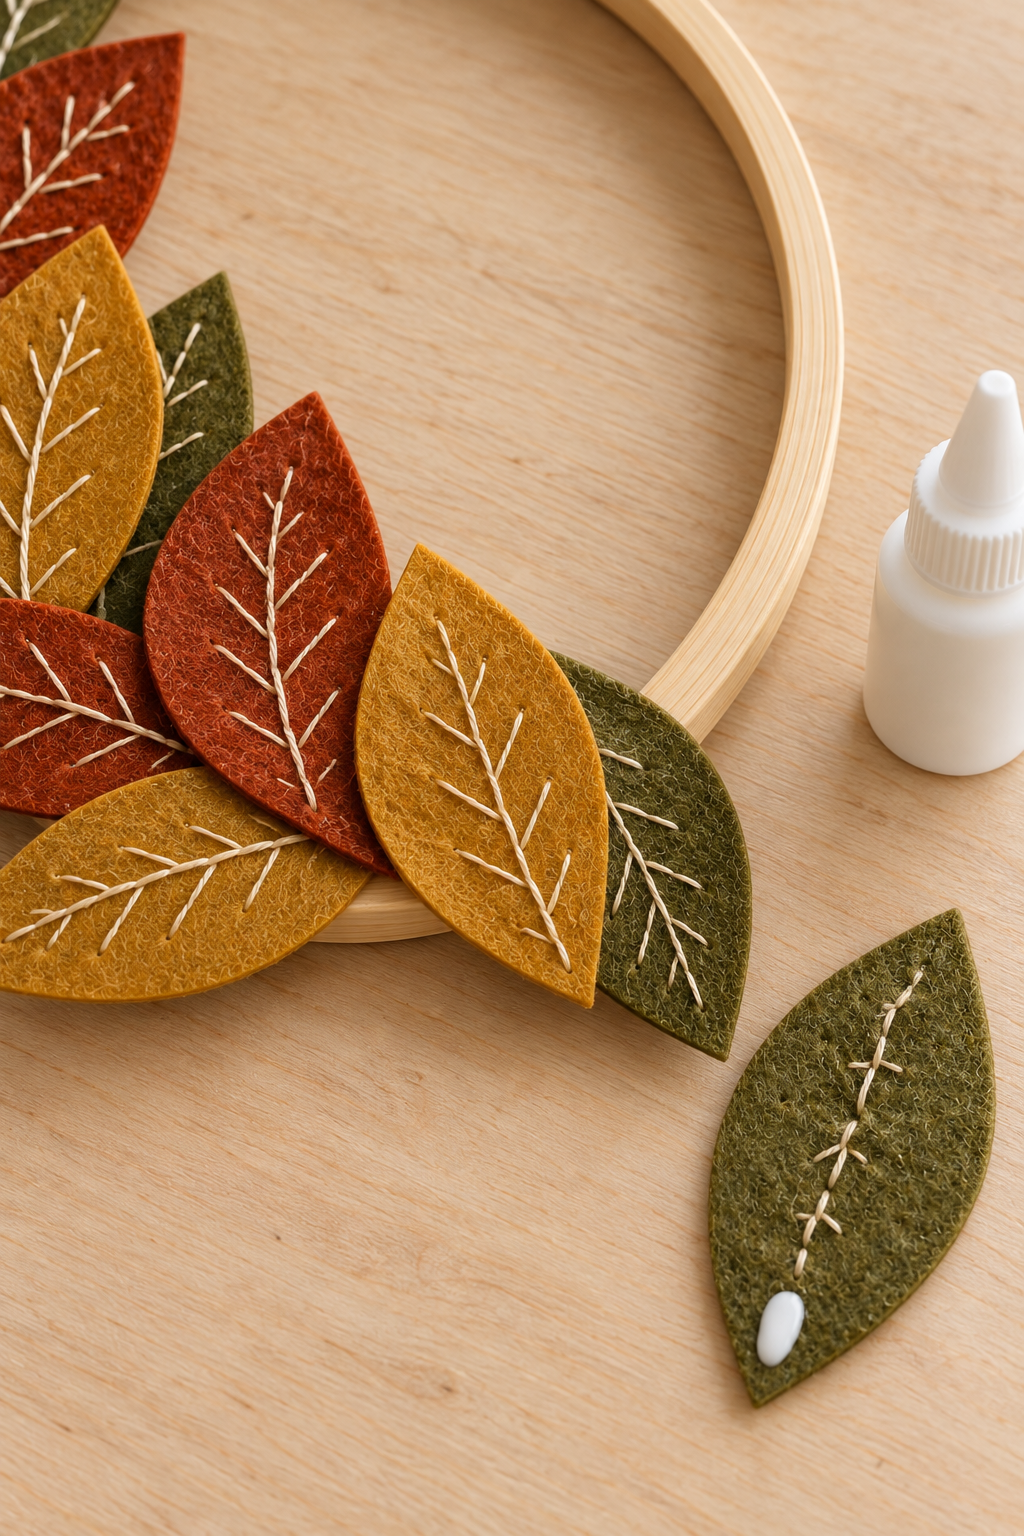
Continue outward from the lower center. Keep glue away from the stitched front and avoid bending the wood to meet the leaves. Allow the assembly to cure flat and undisturbed. Once cured, gently check the attached bases and repair any loose bond before hanging.
6. Add the Hanging Loop and Velvet Bow
Pass a piece of ribbon around the bare hoop near the screw and tie its ends together with a secure double knot to form a hanging loop. Dry-fit the loop length against the intended wall peg before trimming; hide the joining knot behind the hoop.
Tie a separate short ribbon piece around the hoop beside the loop, then make a small bow. Adjust its loops and tails so they sit below the hardware without covering the opening. Trim the tails neatly.
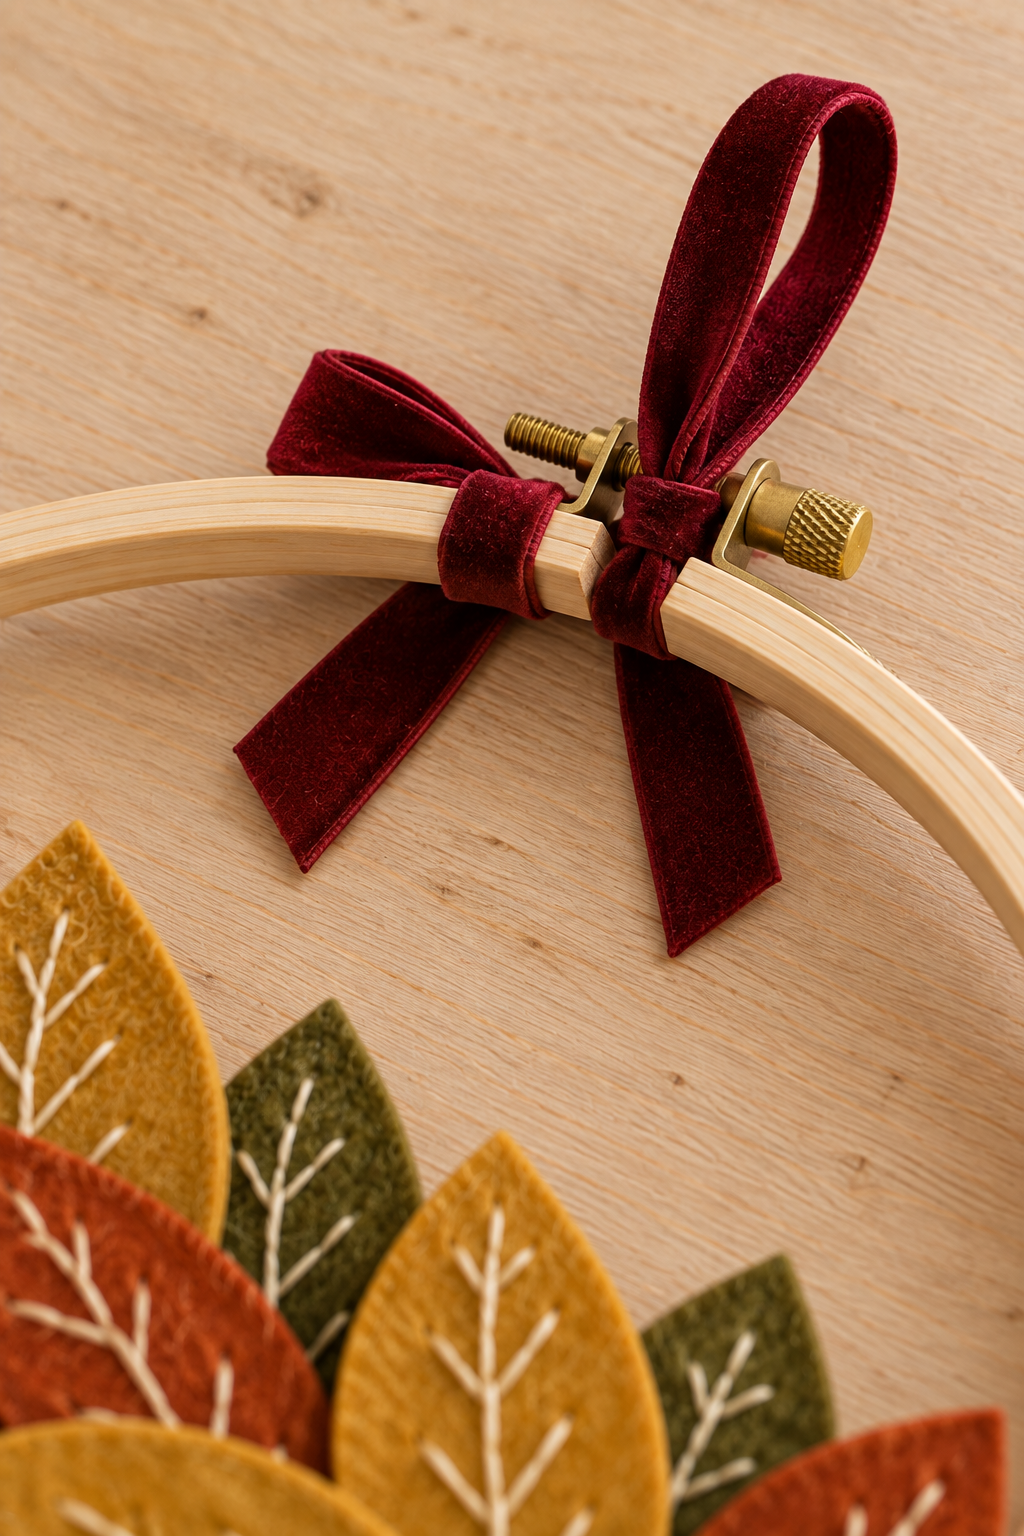
Lift the wreath by its loop over the work surface and check that it hangs level. Adjust the loop’s position along the bare wood if the heavier leaf side tilts the wreath. Use an existing wall peg or an appropriate hanging fixture selected for the actual surface and finished weight, following its instructions.
Small Adjustments That Keep the Leaves Crisp
Reserve a few of the smaller leaves for the two ends of the crescent. They create a gentler taper than stopping abruptly with a large leaf. Point these end leaves along the hoop’s curve, so the decorated portion seems to flow into the exposed wood rather than cutting across it.
Change the Palette Without Changing the Project
For a softer Thanksgiving version, replace rust with muted camel while keeping the cream thread. For a winter interpretation, use two green tones and cream leaves with dark red ribbon. A smaller hoop can also become a cabinet accent; scale the paper pattern down with the hoop so the open center remains readable.
Give the Wreath a Quiet Backdrop
An ivory wall or an interior cabinet door lets the embroidery remain visible. Place it where the leaf edges will not brush against a frequently used door or drawer. This felt-and-ribbon project is intended for dry indoor display. Store it flat in a roomy box after the season, without objects pressing on the foliage.
The open wood arc gives the finished wreath a lightness that suits a small breakfast nook or a narrow wall. Its character comes from the little stitched veins, a detail that rewards a closer look.