*This post may contain affiliate links for which I earn commissions.*
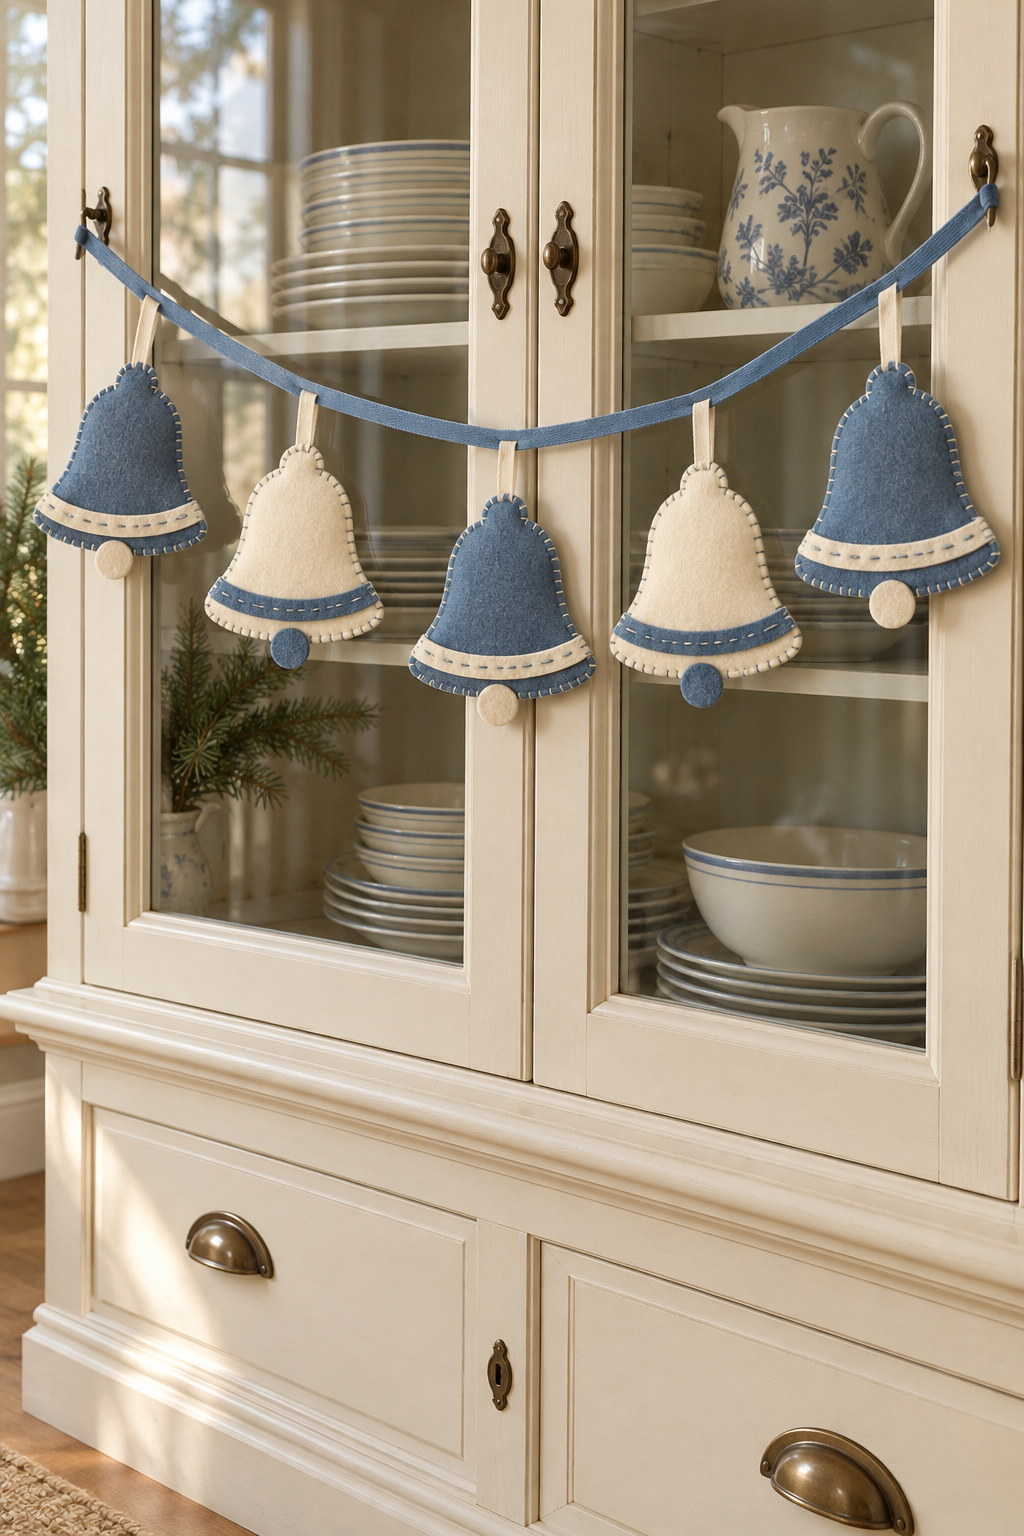
Image created with AI. This image serves as visual inspiration for the project below.
A row of soft felt bells makes a Christmas garland that suits a cabinet, shelf, or quiet dining corner. Muted blue and warm ivory give this version its gentle contrast, while visible stitching keeps the decoration personal and handmade. The bells stay flat, so you can pack them away without protecting a fragile three-dimensional shape.
The method here uses hand-sewn felt layers and ribbon loops to recreate a similar garland. The little circles beneath the bells are decorative felt clappers, so the finished pieces do not ring.
What You’re Making
Make a set of flat bell ornaments with contrasting bands and circular clappers, then suspend them from a blue ribbon. Each ornament has two matching felt body pieces, a band sewn to its front, and a short ivory ribbon loop caught between the body layers. The inspiration shows five bells alternating blue and ivory, with the blue bells at both ends.
Materials and Supplies
Main Materials
- Muted blue craft felt
- Warm ivory craft felt
- Blue embroidery floss
- Ivory embroidery floss
- Narrow warm ivory ribbon
- Muted blue ribbon for the garland
- Paper for a reusable pattern
Tools
- Fabric scissors
- Hand-sewing needle suitable for felt and embroidery floss
- Fabric marking pencil
- Ruler
- Sewing clips
Before You Start
Choose felt that holds its outline when lifted. Very thin, loose felt can stretch while you stitch; an excessively stiff sheet can make the small curves awkward. Test your needle and chosen number of floss strands through two scraps before cutting the whole set.
Measure the display span and leave extra ribbon for the end ties and a shallow sag. A palm-sized bell is a useful starting point, but decide its final size against your furniture. Larger cabinet doors may suit fewer larger bells; a narrow shelf may need smaller ones. Keep the garland out of the opening path of doors and drawers.
Step-by-Step Tutorial
Draw a bell pattern you can repeat
Fold a piece of paper in half. Beside the fold, draw half a bell: a small rounded dome at the top, a shoulder that curves outward, and a side that flares toward a broad bottom. Finish with a gently curved lower edge meeting the fold. Cut the folded paper and open it to obtain a symmetrical outline. The body should be wider at the base than near the dome, without sharp internal corners.
Lay the pattern where you plan to display the garland and check that its silhouette reads as a bell from a few steps away. Adjust the paper now rather than trying to correct all the felt pieces later.
Cut paired bodies and contrasting details
Trace the pattern twice for each bell on the reverse of your felt. Cut both bodies accurately, clip them together, and trim only any noticeable mismatch. For the five-bell arrangement, cut three blue pairs and two ivory pairs.
Use the lower part of the paper pattern to draw a narrow curved band that follows the bottom of the bell. Leave a visible strip of body beneath it. Make the band in the opposite color and keep its ends inside the outer stitch line. Cut a small circle in the same contrasting color for the clapper. It should project below the bell without competing with the body.
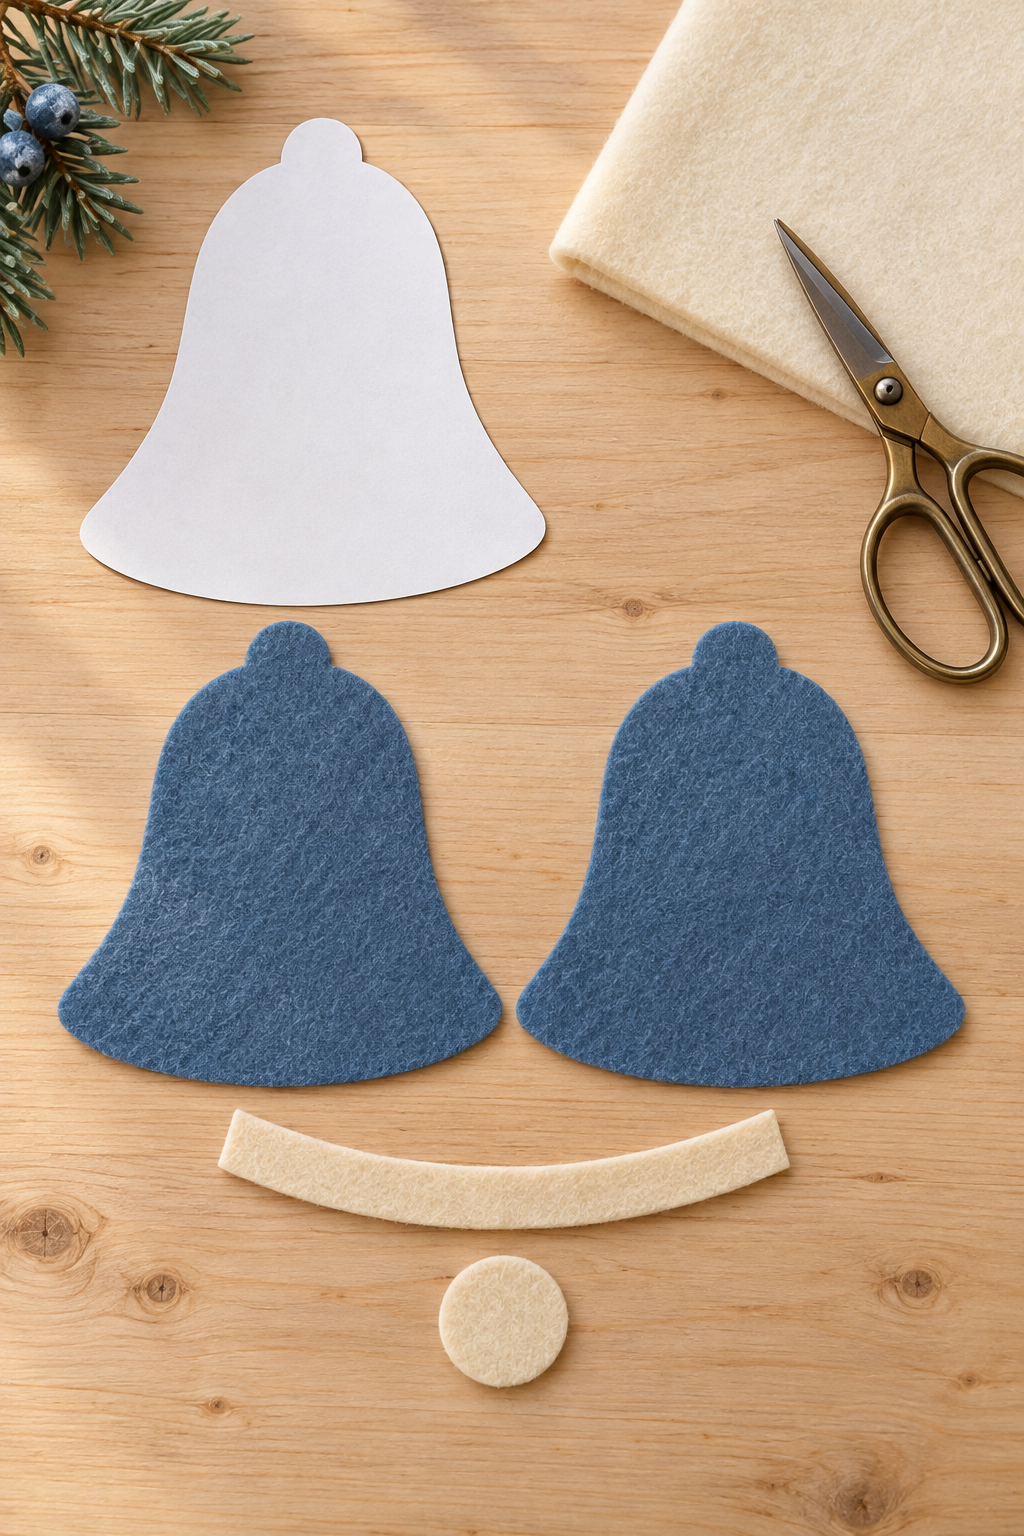
Repeat the same paper patterns across the set. Keep the pieces grouped by bell so a clapper or band does not disappear among the offcuts.
Sew the band onto the front
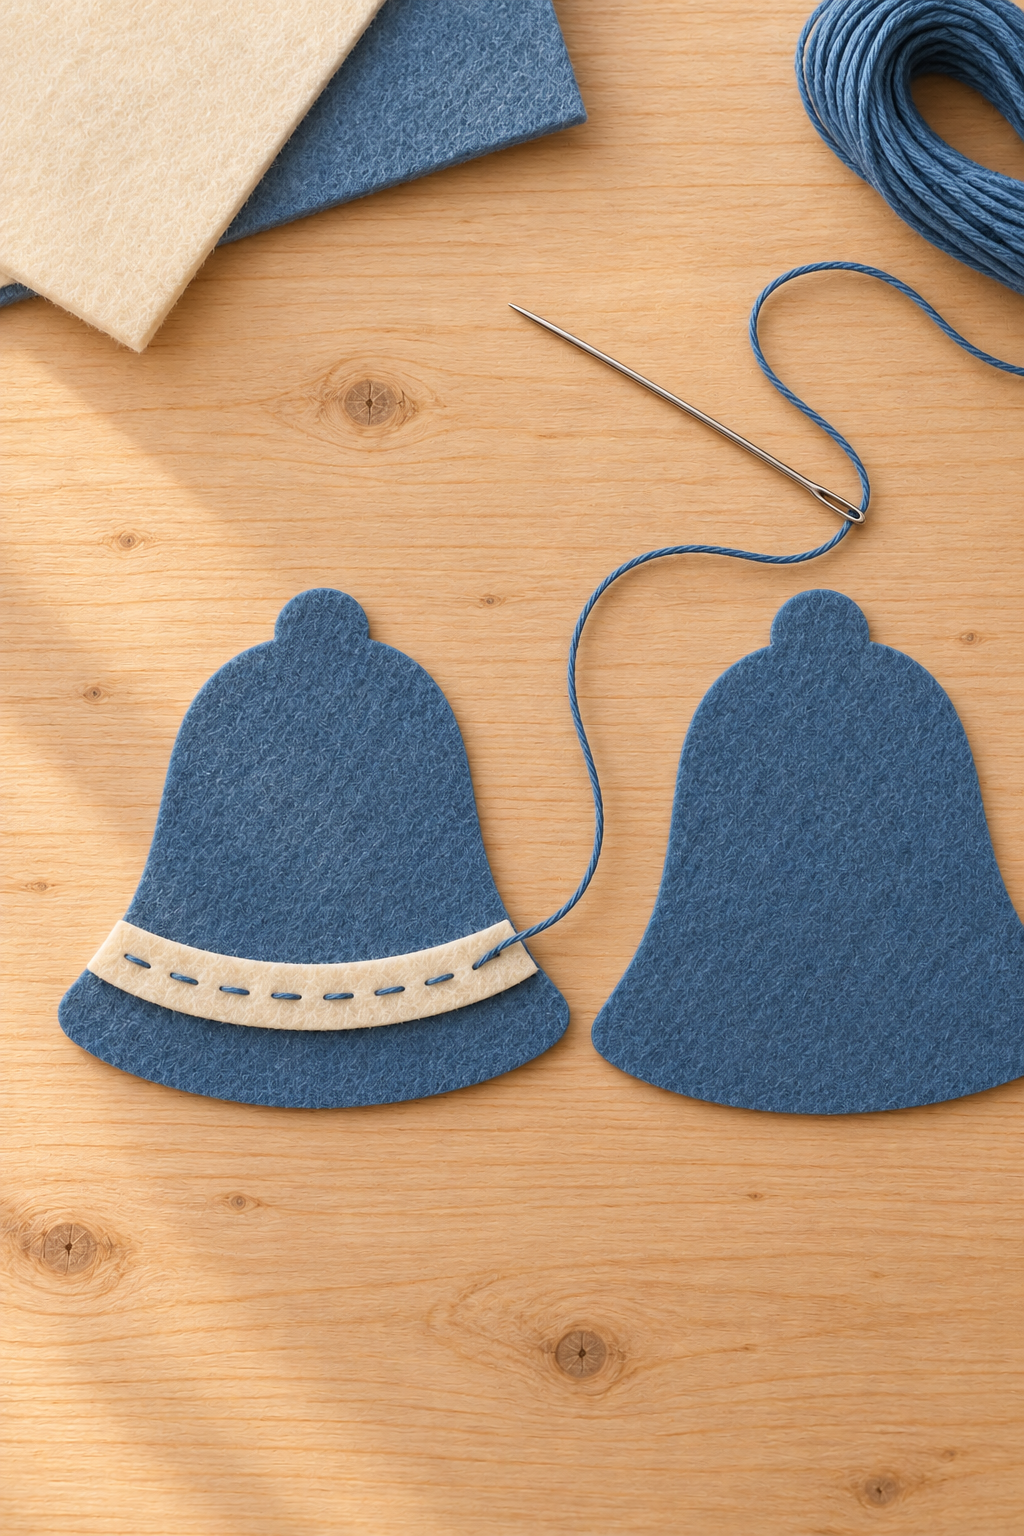
Position the curved band on one body piece and secure it with clips. Thread the needle with a manageable length of floss in the body color. Knot the end and bring the needle up from the back beneath the band, hiding the knot between the layers.
Work a running stitch along the middle of the band: pass down through both pieces, leave a small gap on the back, and come up again. Keep the spacing regular without pulling so tightly that the band puckers. Secure the thread on the reverse. This stitching attaches the band to the front only, leaving the back plain.
Place the loop and clapper between the layers
Cut a short length of ivory ribbon, fold it into a loop, and place both ends behind the top of the decorated front. Let enough ribbon extend to pass around the garland strand. Position the felt clapper so its upper edge overlaps the back of the lower body and the rest protrudes below it.
Lay the second body behind the front and clip the edges together. Both ribbon ends and the clapper overlap should now be sandwiched between the body pieces. Before sewing, lift the bell gently by the loop while supporting the unstitched layers to check its balance.
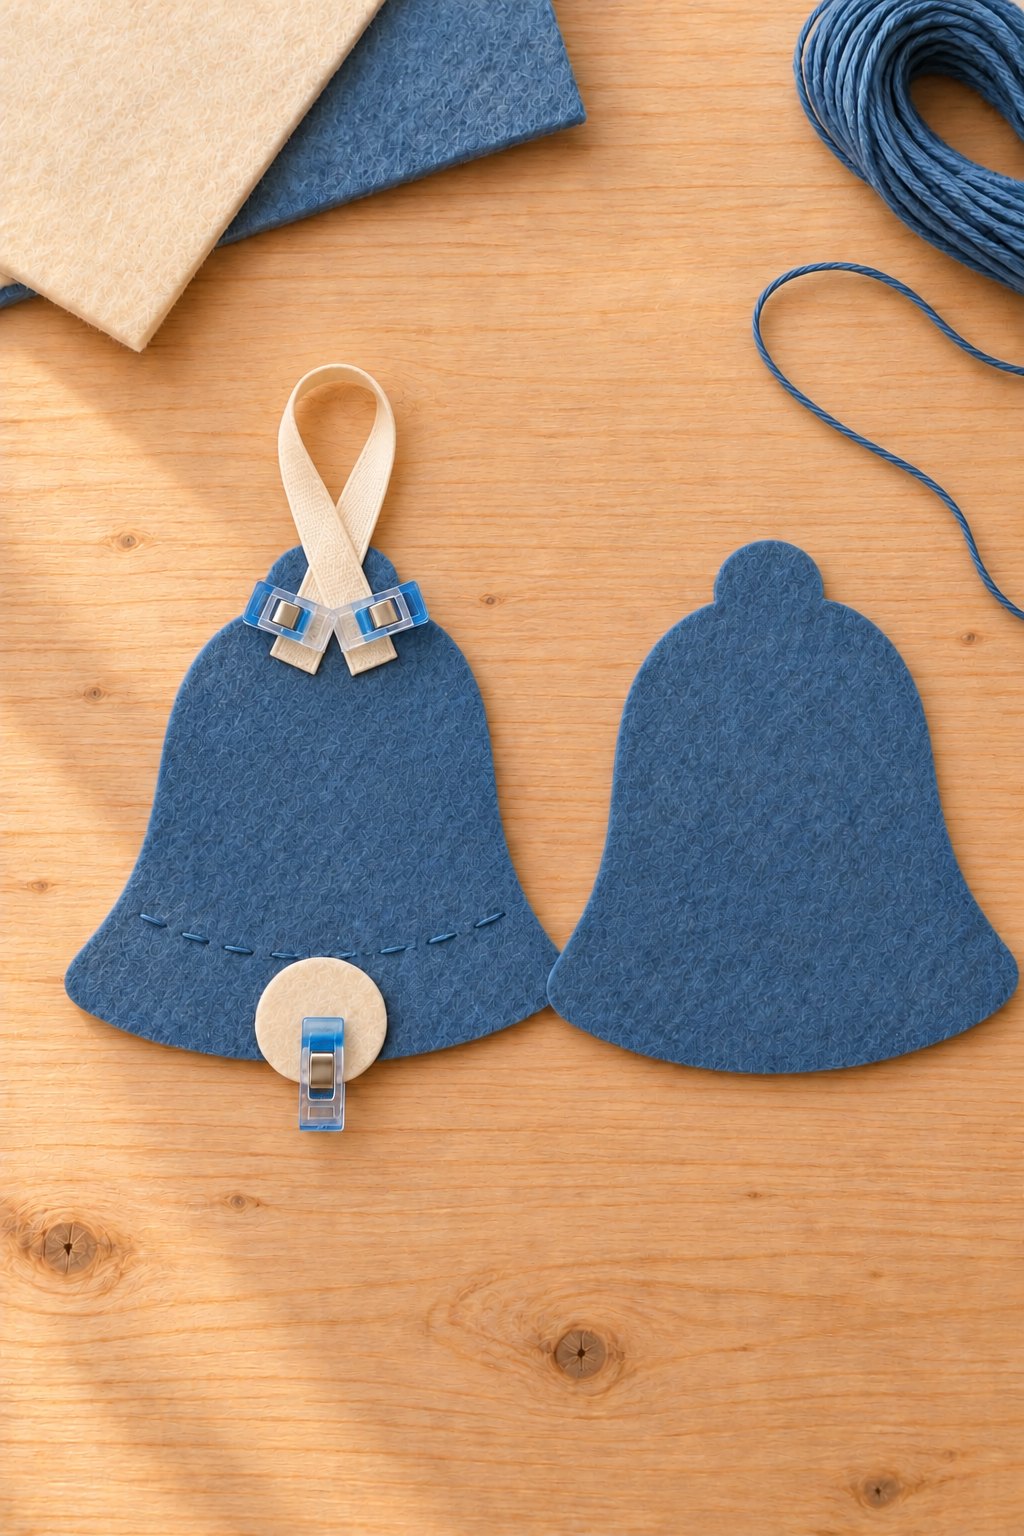
Join the outline with blanket stitch
Use contrasting floss for the perimeter. Hide the starting knot between the bodies. Bring the needle through both layers a short distance inside the edge, leave a loose thread loop, pass the needle through that loop, and tighten gently so the thread rests along the cut edge. Repeat at an even spacing. Keep each stitch close enough to the edge to look tidy but far enough in to avoid tearing through the felt.
At the dome, stitch through both ribbon ends as well as the felt. At the bottom center, stitch through the clapper overlap. Add a few short securing stitches within those overlap areas if needed, then resume the outline. Do not add stuffing. Finish with a small concealed knot and draw the tail between the layers before trimming.
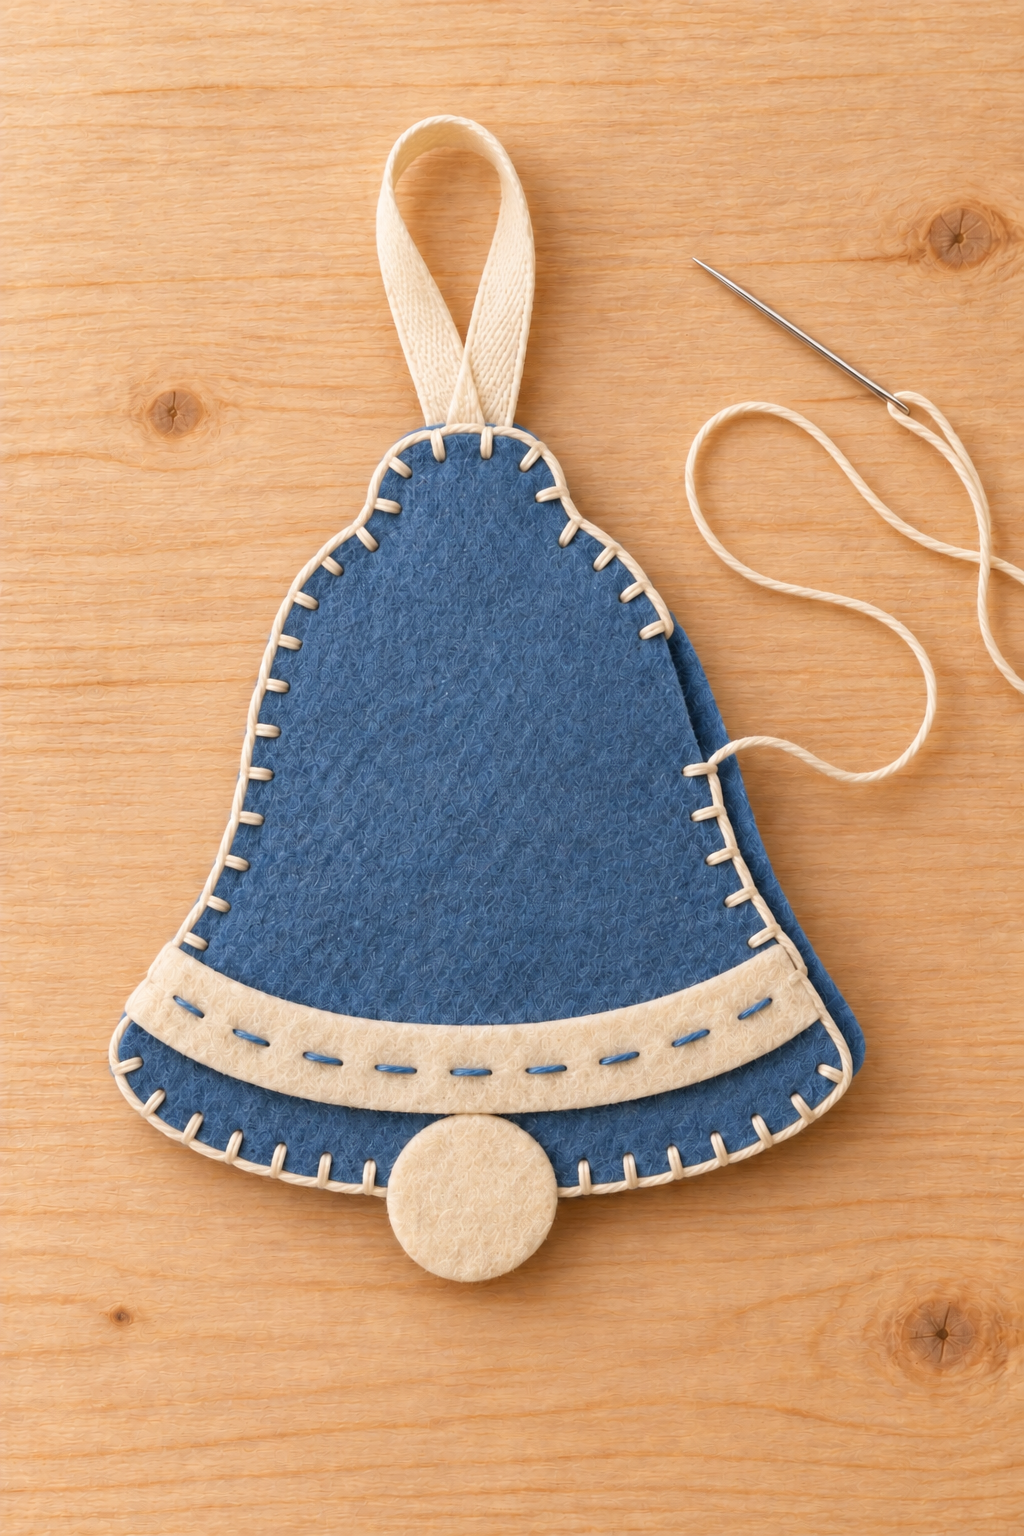
Check each loop and clapper with a light tug. If either shifts, reinforce that attachment before putting the bell on the garland.
Thread and hang the completed bells
Pass the blue garland ribbon through each ivory loop. Alternate the colors and slide the bells apart until the spacing feels even. If they drift together, secure each loop to the strand with a small stitch on its back. Use existing suitable hooks or another attachment intended for your furniture and the actual display weight; follow its instructions.
Keep the Silhouette Crisp
Round the band ends rather than leaving pointed corners that can catch. If the felt curls while you sew, loosen the last few stitches rather than stretching the opposite edge to compensate. Reserve the neatest pair of body pieces for the middle bell, where the garland naturally draws the eye.
Adapt the Bell Set
Use the same pieces as individual ornaments by leaving their loops free of the garland ribbon. For a shorter display, make three bells and keep the alternation clear. A slightly taller dome changes the outline without requiring a new assembly method. Keep the band narrow so both blue and ivory remain readable instead of turning each bell into a patchwork surface.
Display and Store Your Garland
Hang the felt bells on a dry indoor surface, away from heat and open flames. A glass-front cabinet offers a quiet backdrop, but do not let the strand prevent the doors from opening. Remove it before using the cabinet if necessary. Store the bells flat with their loops untangled and avoid folding the felt across the middle.
A simple row is enough to show the alternating colors and stitches. Give the garland a clear stretch of furniture, and let the bells carry the Christmas detail.