*This post may contain affiliate links for which I earn commissions.*
This visual was generated with AI as a home decorating inspiration.
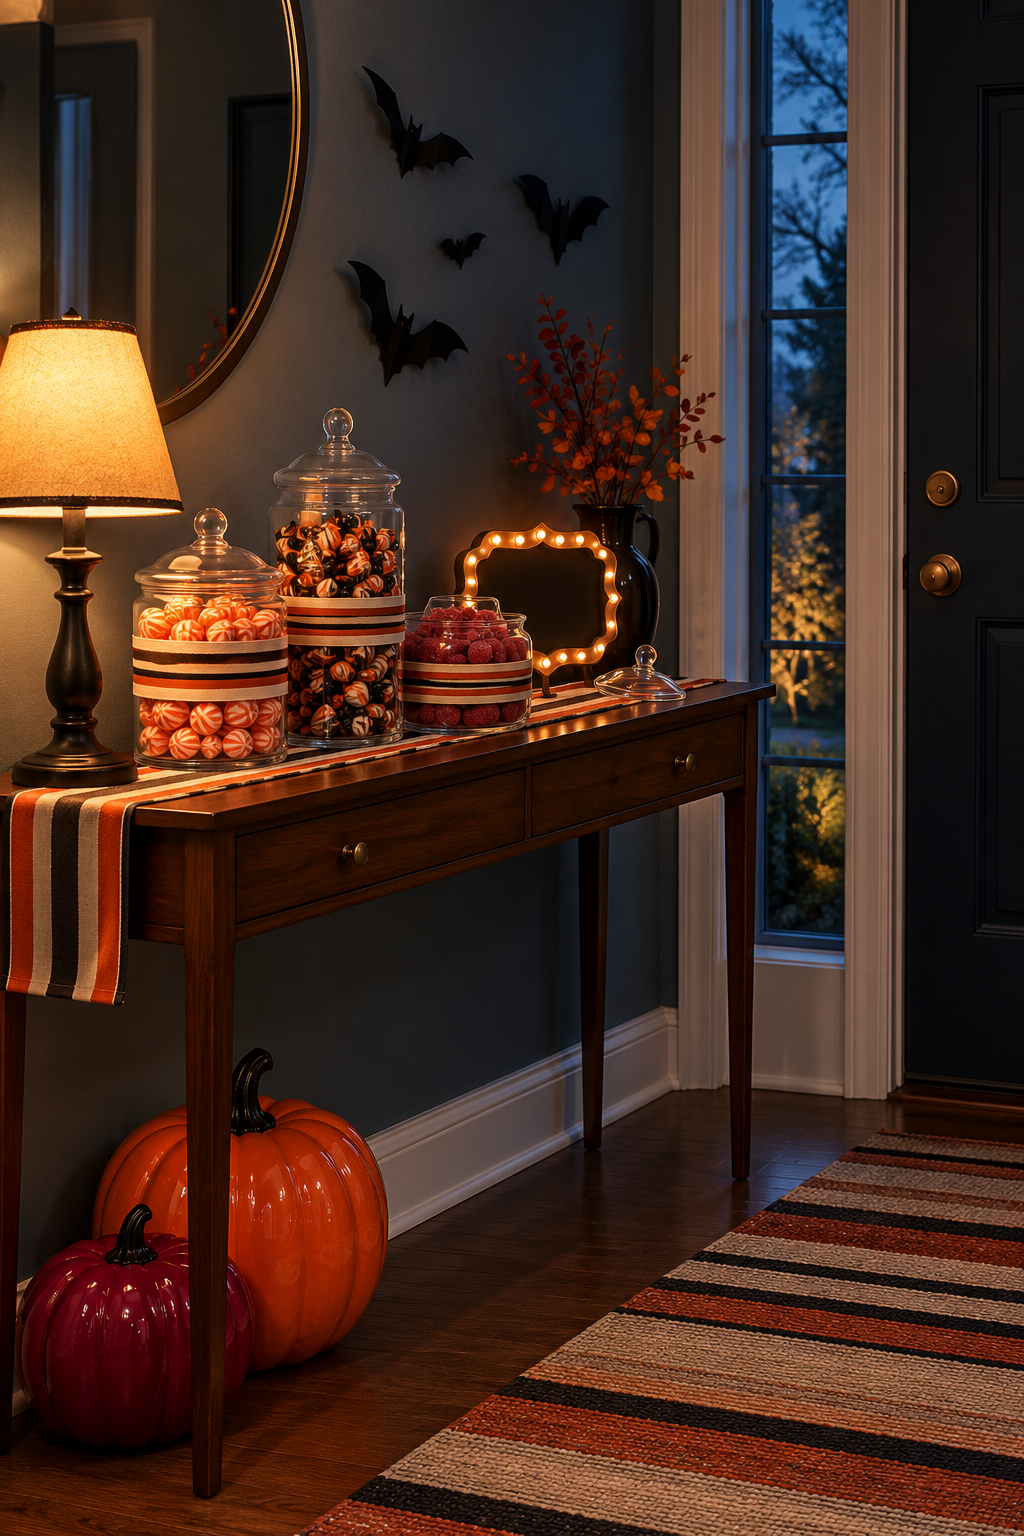
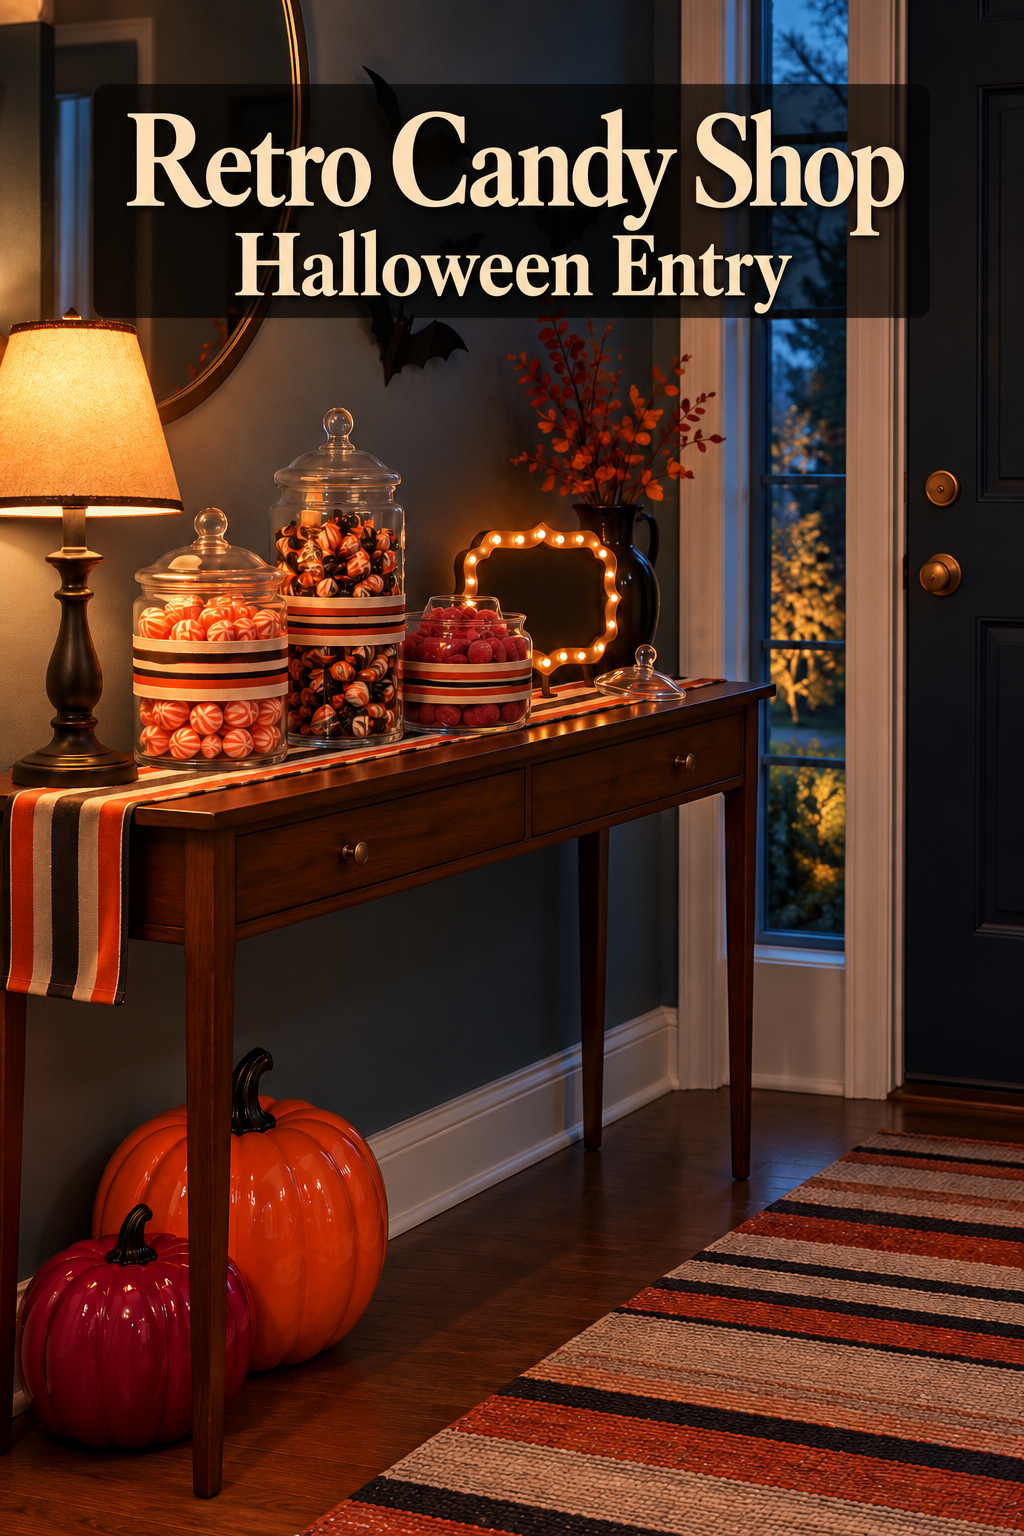
Striped candy jars, glossy pumpkins and a little illuminated frame give this entry console the atmosphere of a vintage candy shop after closing. A warm lamp lights the display while the narrow window holds the cool blue of evening. Black bats above the jars make the Halloween theme clear without covering the whole entrance in decorations.
What Makes This Look Work
Repeated stripes suggest a candy shop
Bands around the clear jars echo the striped runner beneath them. The candies remain visible above and below those bands, so the jars look like part of a coordinated display rather than ordinary kitchen storage. Different jar heights help the little collection read across the console, with one open jar giving the scene a just-finished-serving detail.
Two kinds of light set the evening mood
The lamp and illuminated frame create a warm pool on the console. Cool light at the window makes that warmth more noticeable. The scene suggests an evening ritual, but it remains an entrance in a home: the door, slim furniture and open floor establish a familiar everyday setting.
Halloween accents occupy separate levels
Black bats use the wall above the jars, while glossy orange and deep pink pumpkins sit beneath the console. These placements leave the serving surface available for the main candy-shop idea. Autumn-colored branches soften the edge of the display without becoming another large Halloween motif.
Key Pieces to Recreate the Look
Clear lidded candy jars
The clear bodies and rounded lids give the arrangement its old-fashioned counter character. Use manageable jar sizes that fit your console depth, with accessible openings if the contents will actually be served.
Striped ribbon or removable jar bands
Broad horizontal bands connect otherwise different jars. Choose a coordinated stripe with cream, orange and dark accents, and keep the band low enough that the sweets remain easy to see.
A narrow striped table runner
The runner joins the separate containers into one display and repeats their graphic pattern. A short drop at one end can work, provided it does not catch on a drawer or hang into a busy walkway.
Black bat wall decorations
Dark silhouettes provide a clear Halloween cue against the wall. A small assortment of sizes is enough; the bats should sit in a defined group rather than spread across the door and every available surface.
Glossy decorative pumpkins
Orange and deep pink pumpkins bring the candy palette down to the floor. Rounded shapes with visible stems suit this scene, and a shiny finish contrasts with the quieter wall and woven runner.
A small illuminated frame
The blank bulb-edged frame suggests a shop marquee without needing lettering. Treat it as an optional decorative accent, and choose a stable tabletop design instead of assuming a large wall sign will fit the same role.
A shaded table lamp
A compact lamp supplies the main pool of warm light. Its shade should sit comfortably beside the jars, with enough separation for the lid of each jar to be lifted without brushing the fabric.
How to Style It at Home
Work with the entrance you already have
Measure the usable top of your console and check where keys, mail or a bag usually land. Keep that function available, even if it means displaying fewer jars than the illustration. A candy-shop vignette does not require a new console, matching mirror or a dark-painted front door.
If your entry gets little natural light, use the lamp to create the evening mood and let the surrounding room stay softly lit. Trying to make a bright hallway artificially dark can make it less comfortable to use. The warm display is the part worth borrowing.
Arrange the jars from the lamp outward
Put the tallest container where it can catch the light without overlapping the lampshade. Place shorter jars in front or to the side, leaving their openings reachable. Check that the lids can be lifted and set down somewhere secure; a narrow tabletop can become crowded quickly once people begin serving themselves.
The image uses an open jar and a separate lid as part of its story. For everyday display, close the containers when they are not in use. If you want guests to take candy, provide a suitable scoop or offer wrapped sweets rather than treating the decorative arrangement as a complete serving setup.
Make the stripes feel connected
Choose the jar bands and runner together. Their stripes do not have to be identical, but a shared cream background and one strong orange note will help them belong in the same display. Keep adhesive and decorative ribbon on the outside of the jars, away from any food-contact area.
Test a band on one empty jar before repeating it. A loose band can slide as the jar is picked up, while an overly thick tie may catch on neighboring pieces. A simple flat treatment will be easier to manage than bulky bows around every container.
Place the bats and pumpkins after the console is settled
Try paper bat positions with a temporary layout before attaching them to the wall. Group them where their shapes remain visible above the jars, and use a mounting method appropriate to your wall finish. A small test in an unobtrusive spot is useful before applying removable adhesive broadly.
Set the pumpkins under the console where feet and the working door will not reach them. If the floor space is tight, use one smaller pumpkin on the console instead. Finish by viewing the display while walking in through the entrance, since the most attractive angle in a photograph may not be the angle visitors see first.
Shop Similar Pieces
Compare jar openings as well as height
Look for food-use information, a stable base and an opening that accommodates the sweets you plan to offer. A narrow ornamental jar may resemble the image but be inconvenient for reaching or cleaning; check whether the lids and bodies have different washing requirements.
Look for stripes that hold their shape
For jar bands, compare ribbon width, edge finish and how easily the material curves around glass. For the runner, check the reverse side and fabric thickness so the pattern does not come with a bulky backing that makes the jars wobble.
Keep the pumpkins proportionate to the console
Product dimensions matter more than a close-up listing photo. Compare the widest part of the pumpkin with the space between the console legs, and check whether the glossy finish continues around the back if the object will be visible from the doorway.
Consider the lighted frame’s power supply
Check whether a small marquee-style frame uses batteries or a cord, how it stands upright, and whether the lights can be switched independently. Leave out this accent if no suitable compact version is available; the striped jars and lamp already establish the central idea.
Final Styling Tip
Keep a small covered refill container elsewhere in the house. Topping up one jar at a time lets the display stay orderly without leaving extra candy bags or packaging on the entrance console.