
*This post may contain affiliate links for which I earn commissions.*
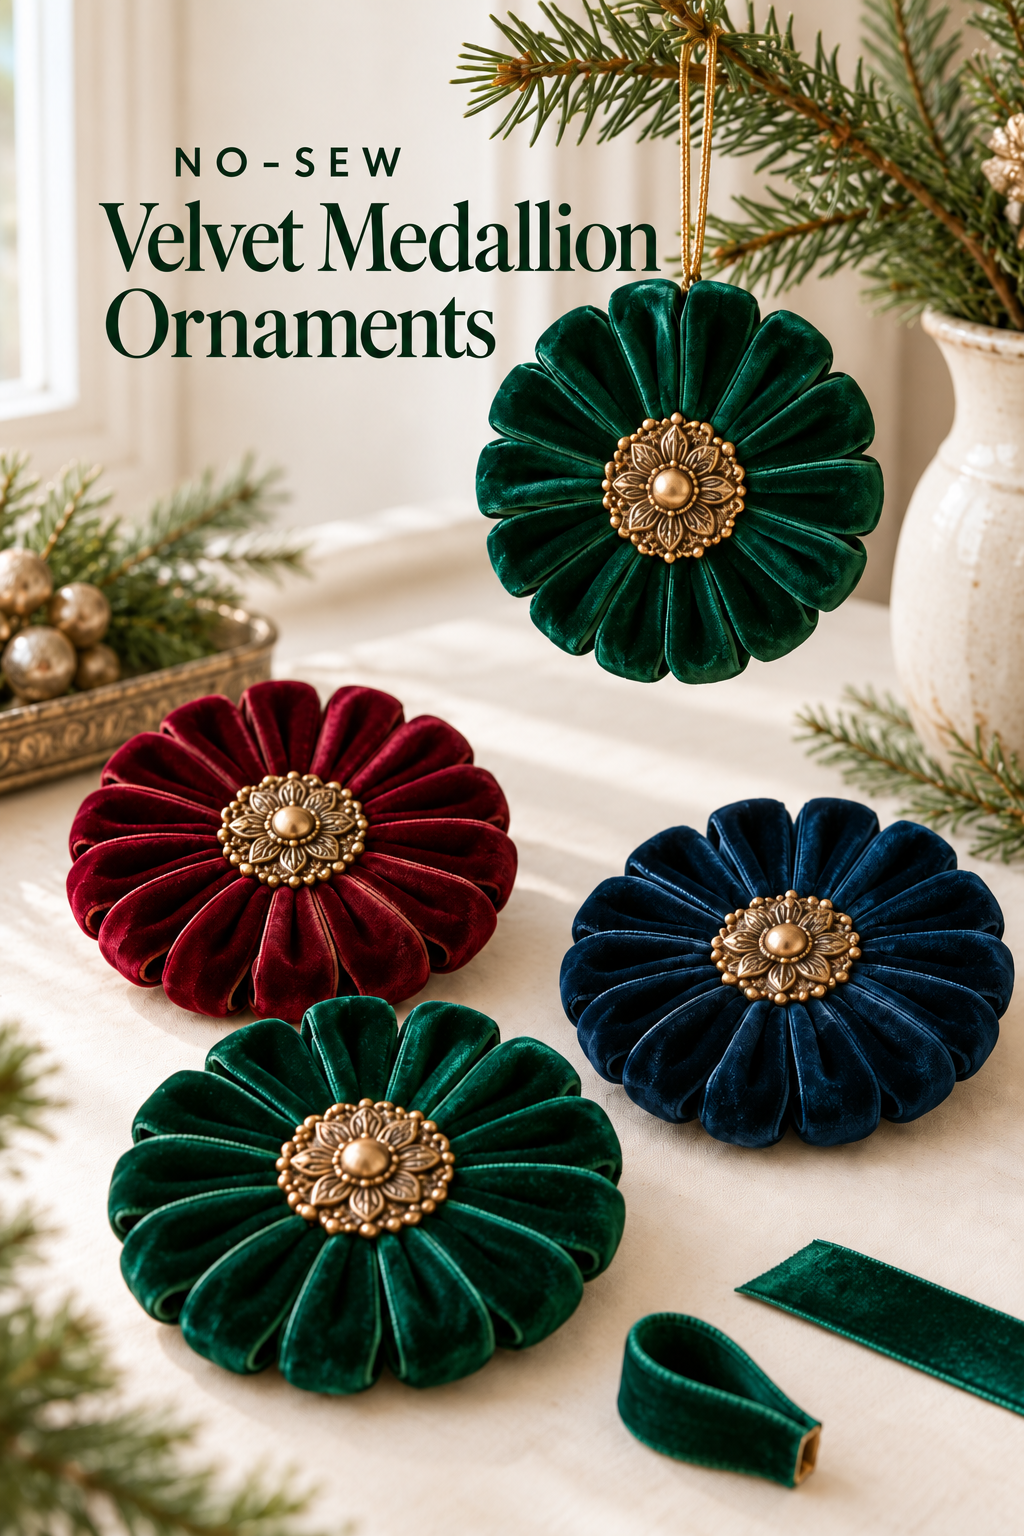
Image created with AI. This image serves as visual inspiration for the project below.
Velvet ribbon can become a small Christmas medallion with a raised, scalloped edge and a jewelry-like center. Make individual folded petals, arrange them around a lightweight backing, and conceal the joins beneath a decorative disc. The repeated folds give emerald, burgundy, and navy ornaments a coordinated identity without making every piece identical.
This is a genuinely no-sew project. Adhesive holds the ribbon folds and backing together, while a cord loop provides the hanging function. Start with one ornament to settle the proportions before cutting ribbon for a whole collection.
Materials and Tools
Ribbon and a lightweight foundation
Use flexible, unwired velvet ribbon, cardstock, and a small piece of felt for the back. Ribbon around 5/8 to 1 inch wide is a useful starting point for a palm-sized ornament. Narrow ribbon makes more delicate folds; wider ribbon gives a fuller scalloped edge. Cardstock supports the petal arrangement without adding the weight of a wooden disc.
Adhesive and the decorative center
Choose a fabric-compatible craft adhesive that also bonds the backing material, checking the actual product instructions. A low-temperature glue gun with suitable sticks is another option for the concealed joins, after a scrap test. Include a lightweight flat-backed floral embellishment or decorative disc, thin hanging cord, scissors, a pencil, a ruler, and a small round object to trace. Small clips can hold glued ribbon ends while the bond sets.
Before You Start
Check the ribbon face and adhesive
Brush the velvet gently in both directions and choose which way the pile should run from center to edge. Fold a scrap with the plush surface outside. Test the adhesive on the ribbon backing and cardstock, then let it set according to its label. Reject a combination that seeps through the face, leaves a dark stain, or makes the ribbon too stiff to fold.
Decide the proportions with loose pieces
A backing circle about 2 inches across, ribbon pieces roughly 3 inches long, and a center about 1 inch across provide an adaptable first trial. These are layout starting points, not a required pattern. The petals must hide the backing, and the center must cover the pinched ends. Increase the center or reduce the backing if the proposed arrangement leaves card exposed.
Step by Step Instructions
Cut the disc and establish a center zone
Trace and cut a cardstock circle. Mark its center and sketch a smaller circle around it to indicate the area the decorative center will cover. Keep this area available for the inner ends of the petals. Cut a matching felt circle for later, but leave it unattached while arranging the front.
Fold one ribbon petal before making the rest
Cut one ribbon length and bring its short cut ends together with the velvet facing outward. The midpoint becomes the rounded outer fold, and the two raw ends form the inner foot. Overlap the ends slightly if needed, then pinch their sides inward to narrow that foot. Leave the outer fold open rather than flattening the whole piece.
Apply a small amount of compatible adhesive between the touching raw ends and inside the pinched foot. Hold with a clip until secure. The result should resemble a short teardrop-shaped loop with a broad rounded rim and a narrower base. If it looks too tall or floppy, shorten the next test piece; if it is squat and crowded, lengthen it slightly.
Make a ring of matching folded pieces
Use the successful trial as a cutting guide. Make enough petals to surround the disc, beginning with about 12 to 16 and adjusting for ribbon width and finished diameter. Keep their outer folds approximately level. Prepare a few extra pieces rather than stretching the last two petals to fill a gap.
Lay the petals loosely with their narrow feet pointing toward the marked center. Their sides should touch or overlap modestly so the card does not show. Place four petals at quarter points first, then fill the spaces between them. This makes it easier to distribute fullness around the circle.
Attach the radial ring without crushing the folds
Lift one petal at a time and apply adhesive beneath its inner foot where it contacts the card. Return it to the layout and press only that small attachment area. Work around the disc, checking the outline after every few petals. Leave the rounded outer folds free so they retain their depth.
If using hot glue, follow the gun and stick instructions and avoid touching the nozzle or melted adhesive. Use a blunt tool to press a join if necessary. Allow each join to hold before shifting neighboring petals; a wet ring can drift out of alignment as the later pieces are added.
Conceal the center and secure the hanging cord
Dry-fit the decorative center over the ring. It should overlap the raw ribbon ends and rest on a reasonably even attachment surface. Use an adhesive suitable for both the center material and ribbon, then hold it in place without compressing the entire ornament. A heavy brooch with a projecting pin is unsuitable; choose a lightweight flat-backed detail instead.
Turn the ornament over after the front has set. Cut cord long enough for the intended branch, allowing two generous tails. Form a loop and use small clips to hold both tails temporarily against the upper portion of the cardstock back. Keep the cord attachment separate from the loose outer folds. Leave the felt circle unattached so the cord position remains accessible for the hanging test.
Check the balance before repeating the project
Hold the ornament just above the table by its loop, with your other hand beneath it, and check whether it sits level. If it tilts sideways, return it to the table, reposition the clipped cord tails on the accessible backing, and test again.
Once the hanging position is satisfactory, glue both tails to the cardstock in that position and let the cord bond set according to the adhesive instructions. Remove the clips, then glue the felt circle over the back so it covers the tails and card.
Allow the final adhesive assembly to cure fully before normal handling or display. If a petal lifts, repair its inner join rather than coating its visible surface. Once the first ornament holds its shape, repeat the same proportions in the other velvet colors.
Keep the Folds Raised Between Christmases
Hang the medallions where their faces can turn toward the room rather than disappear among dense branches. The felt backing gives a quiet reverse side. Store finished ornaments flat in a shallow compartmented box, without piling heavier decorations on their raised folds. Keep them away from heat, damp storage, and direct contact with candles.
Shop Materials and Tools
Flexible velvet ribbon
Compare ribbon width, backing thickness, and the availability of coordinated colors. Avoid wired edging for this folded-loop method. A plush face with a pliable reverse is more useful than stiff decorative ribbon that keeps springing open.
Adhesive for the actual materials
Look for stated compatibility with fabric and the chosen backing. A fine applicator helps control small joins. For a hot-glue option, match the gun temperature and stick type to the materials instead of assuming every craft glue behaves alike.
Light floral centers
Choose a flat reverse and enough diameter to hide the gathered feet. Antique-gold color can connect the jewel tones, but solid heavy metal pieces may overload a delicate ornament. Check dimensions against the trial layout before ordering a large pack.
Cord and backing supplies
Thin nonstretch ornament cord creates a discreet loop. Felt should be flexible and thin enough to cover the reverse without making it bulky. Reuse suitable cardstock already on hand; buying a large backing kit is unnecessary for a small set.
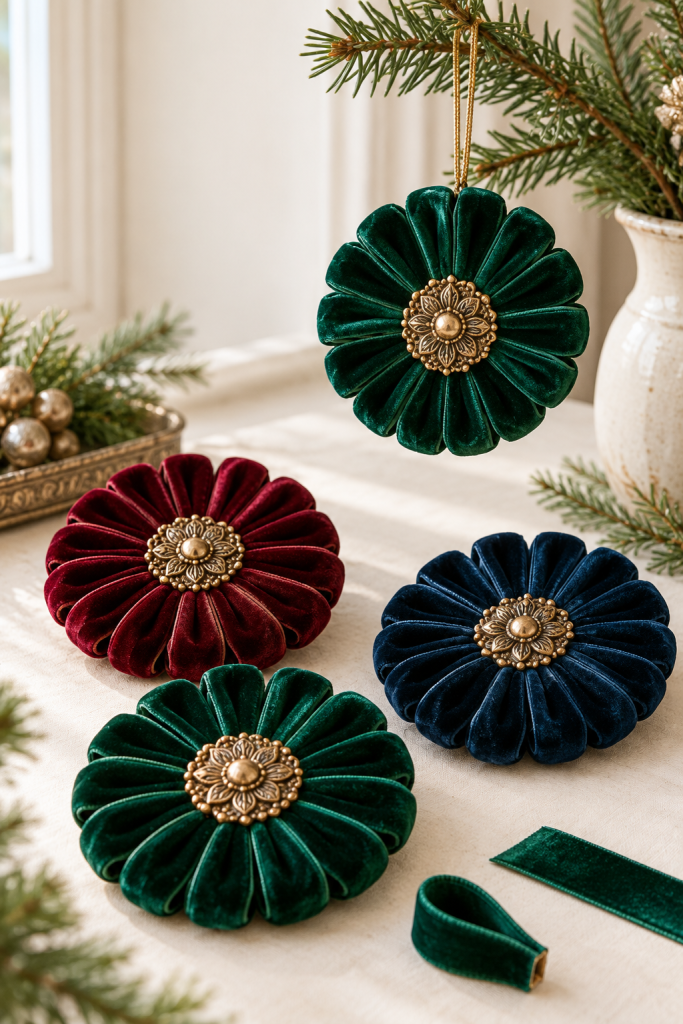
Final Project Tip
Keep one spare folded petal in each color with the storage box. It gives you a matching replacement if a single outer fold is damaged later, without dismantling the whole medallion.