*This post may contain affiliate links for which I earn commissions.*
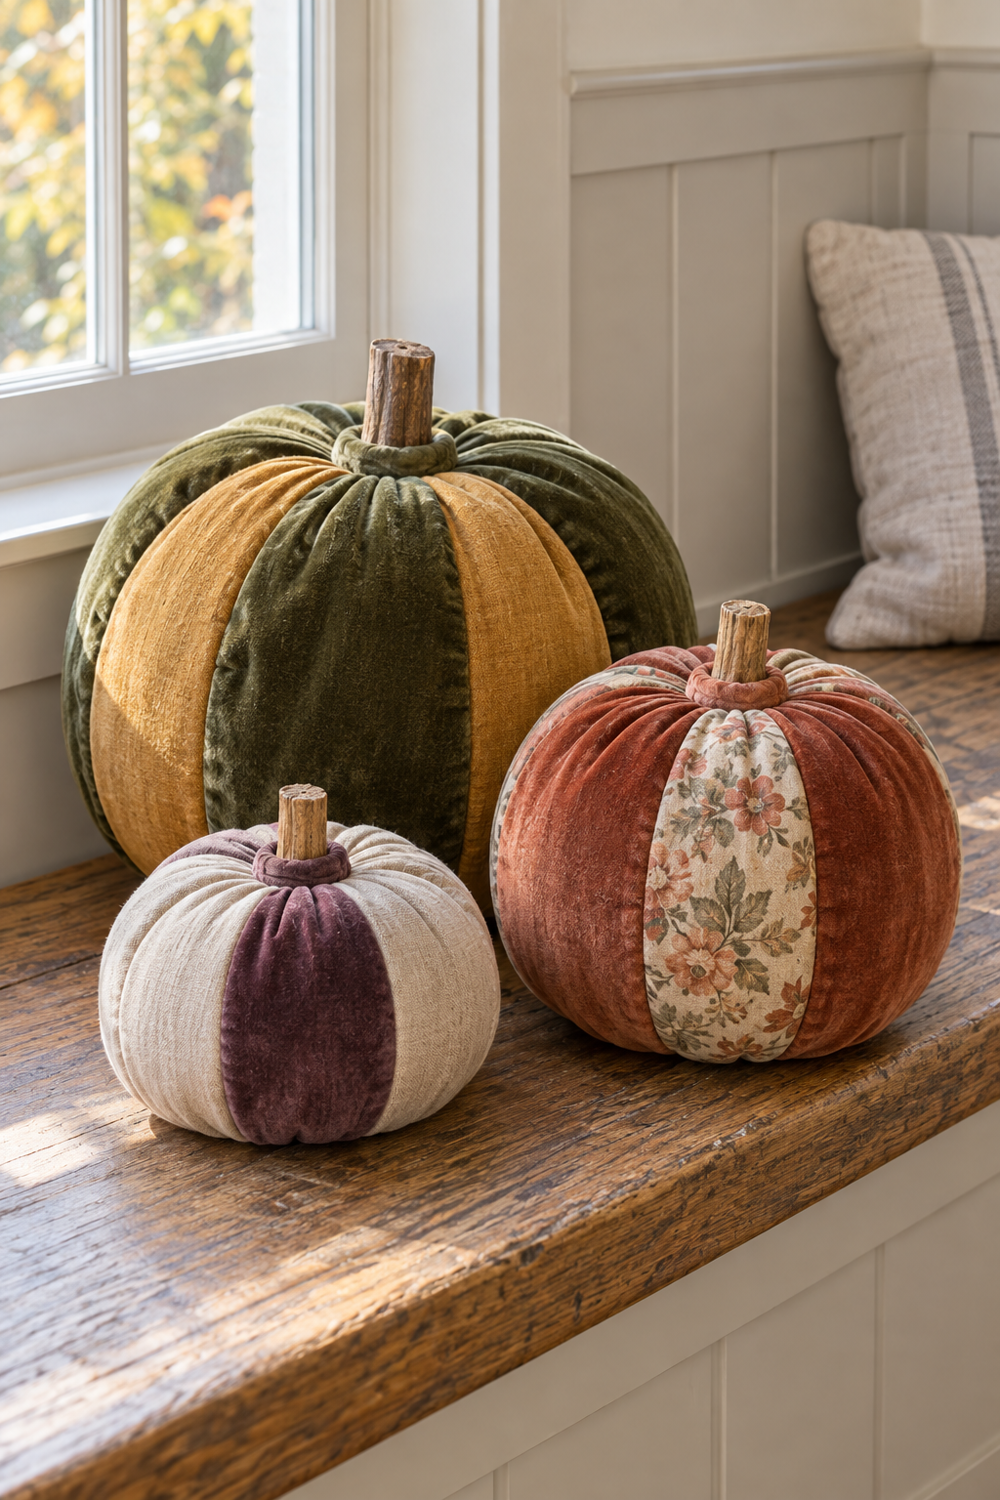
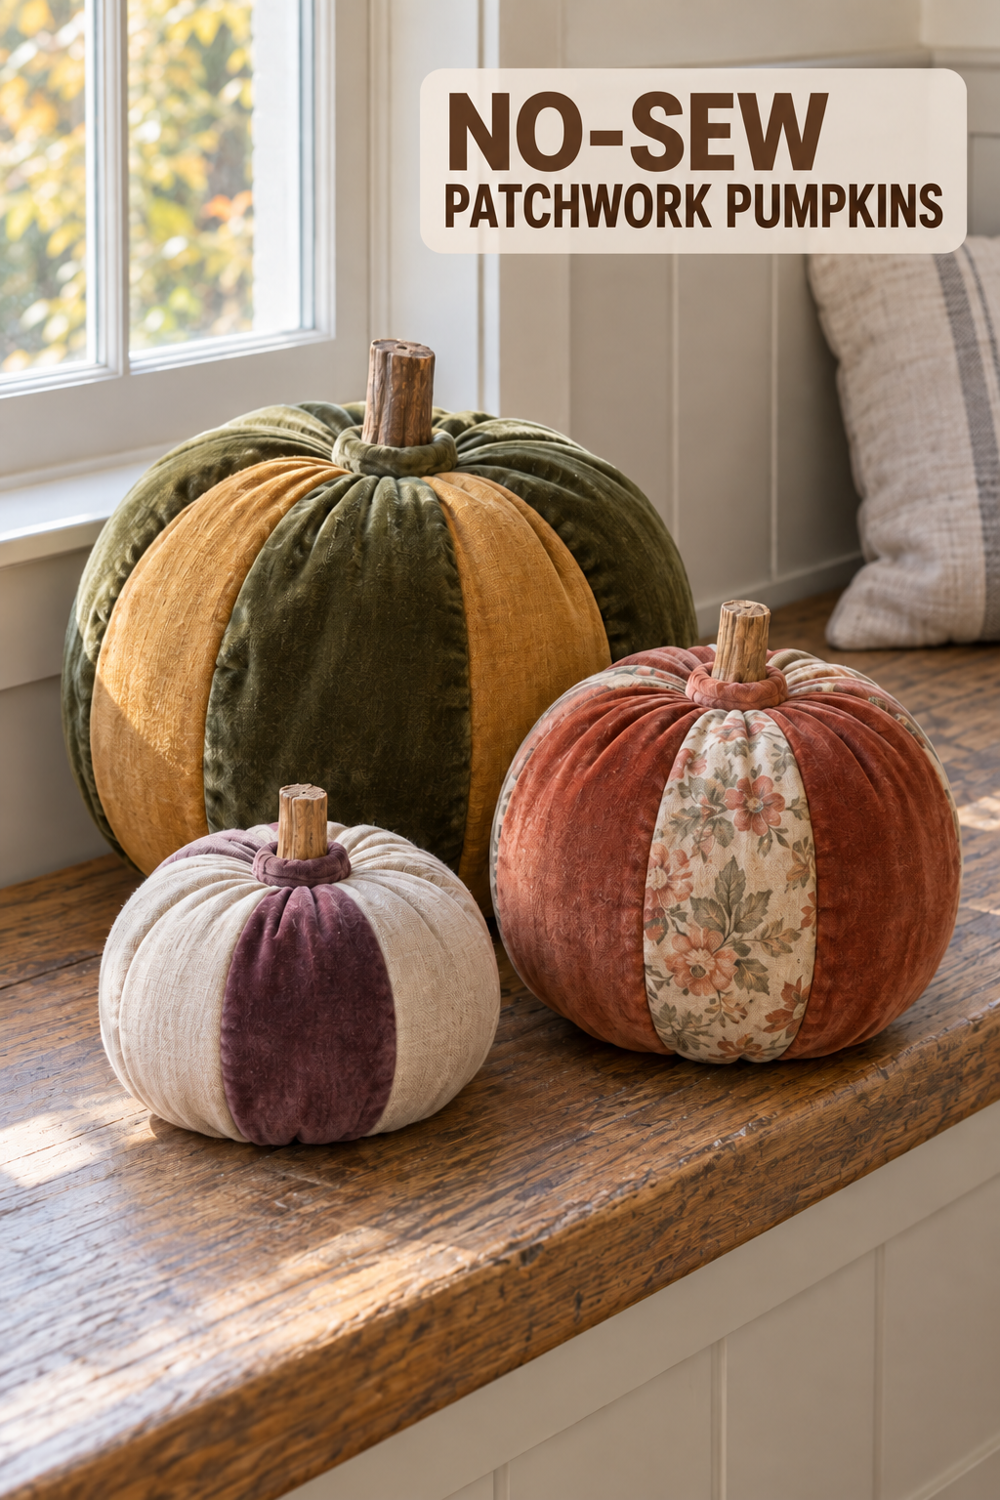
Image created with AI. This image serves as visual inspiration for the project below. Scored craft-foam pumpkins provide a practical base for recreating the curved fabric panels without sewing.
You don’t need to sew a patchwork pumpkin to give it a rich, layered textile look. This autumn project combines moss velvet with ochre linen, dusty rust velvet with a faded floral panel, and oatmeal linen with muted plum. The three sizes create a small seasonal grouping, with a different fabric pairing on each pumpkin.
Materials and Supplies
Main Materials
- Solid craft-foam pumpkins in three descending sizes, with clearly defined ribs and stable bases. Choose foam that can be carefully scored to create shallow grooves for fabric tucking.
- Cotton velvet in moss green, dusty rust, and muted plum; choose pliable fabric without a thick upholstery backing.
- Linen in muted ochre and oatmeal, with a close, stable weave.
- Faded floral cotton with subdued rust flowers and green leaves on a warm cream ground.
- Thin pattern paper flexible enough to follow a rounded pumpkin rib.
- Natural wood stems sized appropriately for each pumpkin, if replacement stems are needed.
- Compatible craft adhesive, if required for the stems or fabric collars.
Tools
- Pencil
- Removable fabric marker
- Fabric scissors
- Craft knife for carefully scoring shallow grooves in the foam
- Blunt fabric-tucking tool for pressing fabric edges into the scored grooves
Note: Choose solid craft-foam pumpkins rather than hard decorative pumpkins or flat foam cutouts. The foam should have a three-dimensional pumpkin shape with clearly defined ribs and be suitable for carefully scoring shallow grooves that can hold the tucked edges of neighboring fabric panels.
What You’re Making
The project is a trio of firm, fabric-covered craft pumpkins with wood stems and narrow fabric rings at the top. Individual fabric wedges cover the sections of each scored foam pumpkin, creating a patchwork look without sewing the pieces together.
Use a large moss pumpkin with two ochre front panels separated by moss, a medium rust pumpkin with one floral panel, and a small oatmeal pumpkin with one plum panel. Their stem collars are moss, rust, and plum respectively. The foam forms determine the shape, so choose rounded pumpkins that already resemble the proportions you want.
Before You Start
Check the foam pumpkin’s construction before you begin. It should be solid enough to hold its shape but soft enough to score shallow, clean grooves along the rib lines. If the stem is removable, take it out before covering the pumpkin. If the stem is molded into the foam, leave it in place rather than forcing it out.
Test the removable fabric marker on an offcut before marking the project fabric. On an inconspicuous area of the foam, make a short test groove and tuck in a small fabric scrap with the blunt tool. This will show whether the groove holds the fabric securely and how much allowance will fit comfortably inside it. Test two fabric edges together as well, since neighboring panels will share the same groove. Keep enough extra fabric for these trials before cutting the full set of wedges.
Identify the front of each pumpkin before working. Plan the two ochre panels on the large one and the single floral and plum panels on the smaller ones. Keep velvet nap running in the same direction within each pumpkin so neighboring panels do not look like different colors.
Step by Step Tutorial
Step 1 Form a paper pattern over one rib
Press thin paper gently over one rib of the large foam pumpkin, following its curve from the top area to the underside. Mark the two rib boundaries and both ends. Cut along these marks, then return the paper to the section to check the fit. It should match the visible rib without extending onto the next one.
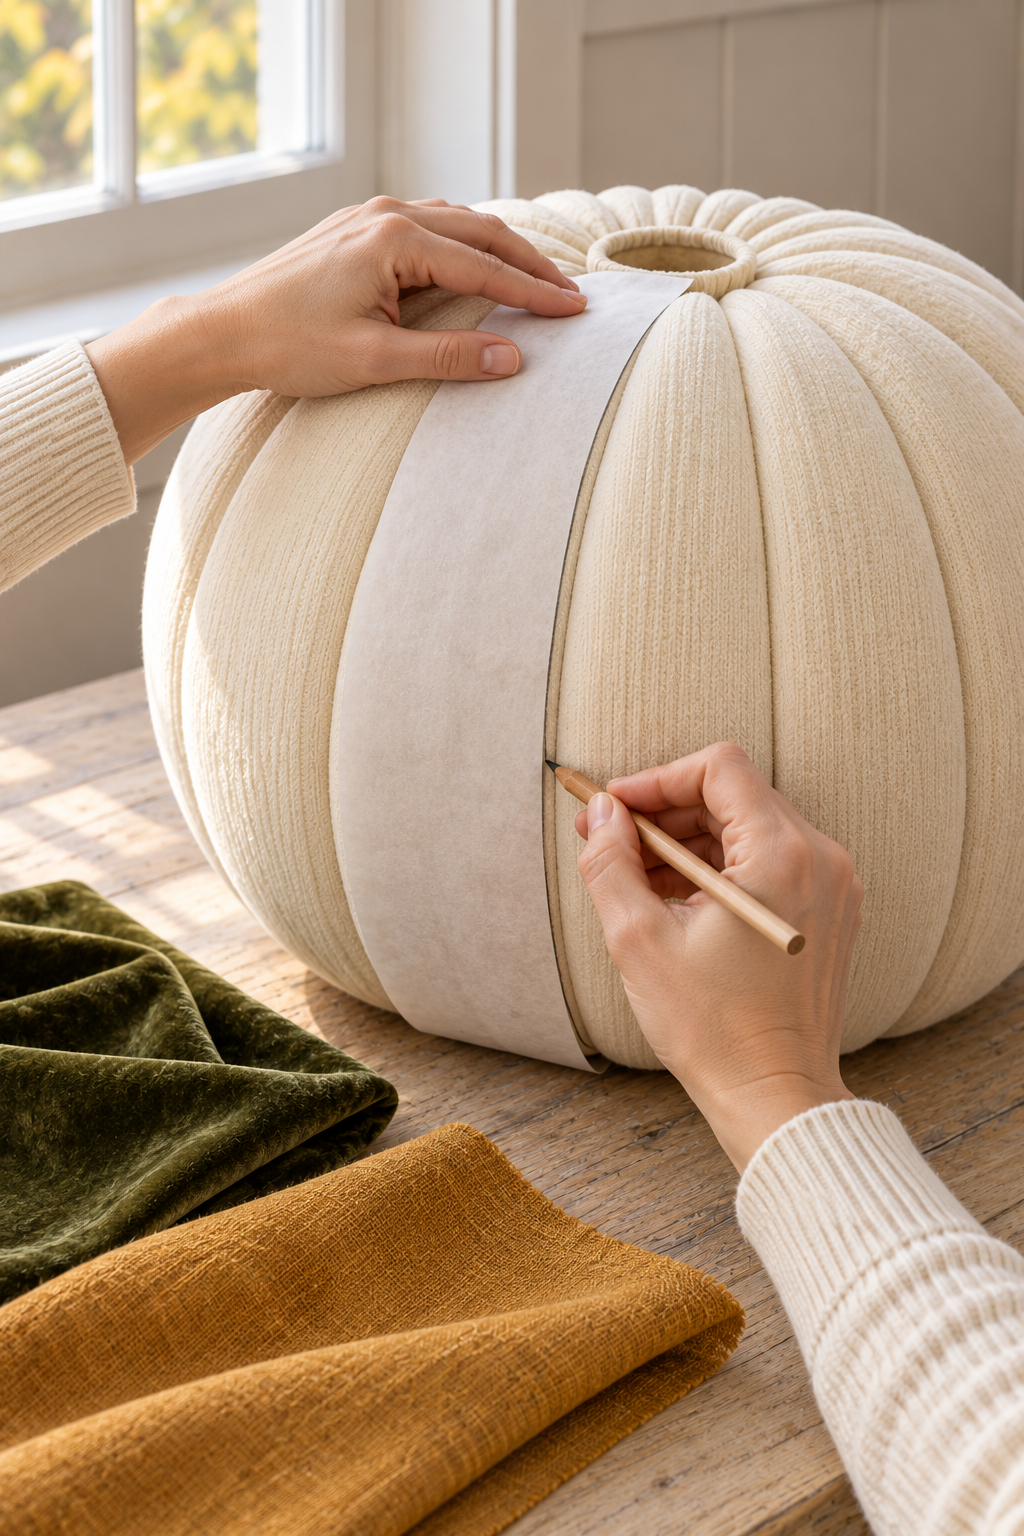
Use this paper shape as a guide, not a universal pattern. If another rib is wider or narrower, adjust its paper shape before cutting cloth. Add the tucking allowance on the fabric rather than including an untested amount in every pattern.
Using the rib boundaries as guides, carefully score shallow grooves along the lines where the fabric panels will meet. Work gradually with the craft knife rather than cutting deeply in one pass. The grooves only need to be deep enough to accept the tucked fabric edges securely.
Step 2 Test-fit the first velvet wedge
Trace the first shape onto the back of moss velvet with the nap oriented as planned. Add a modest allowance along the edges and ends based on the scrap test. Cut and center the wedge over its rib, keeping the fabric clear of the stem area.
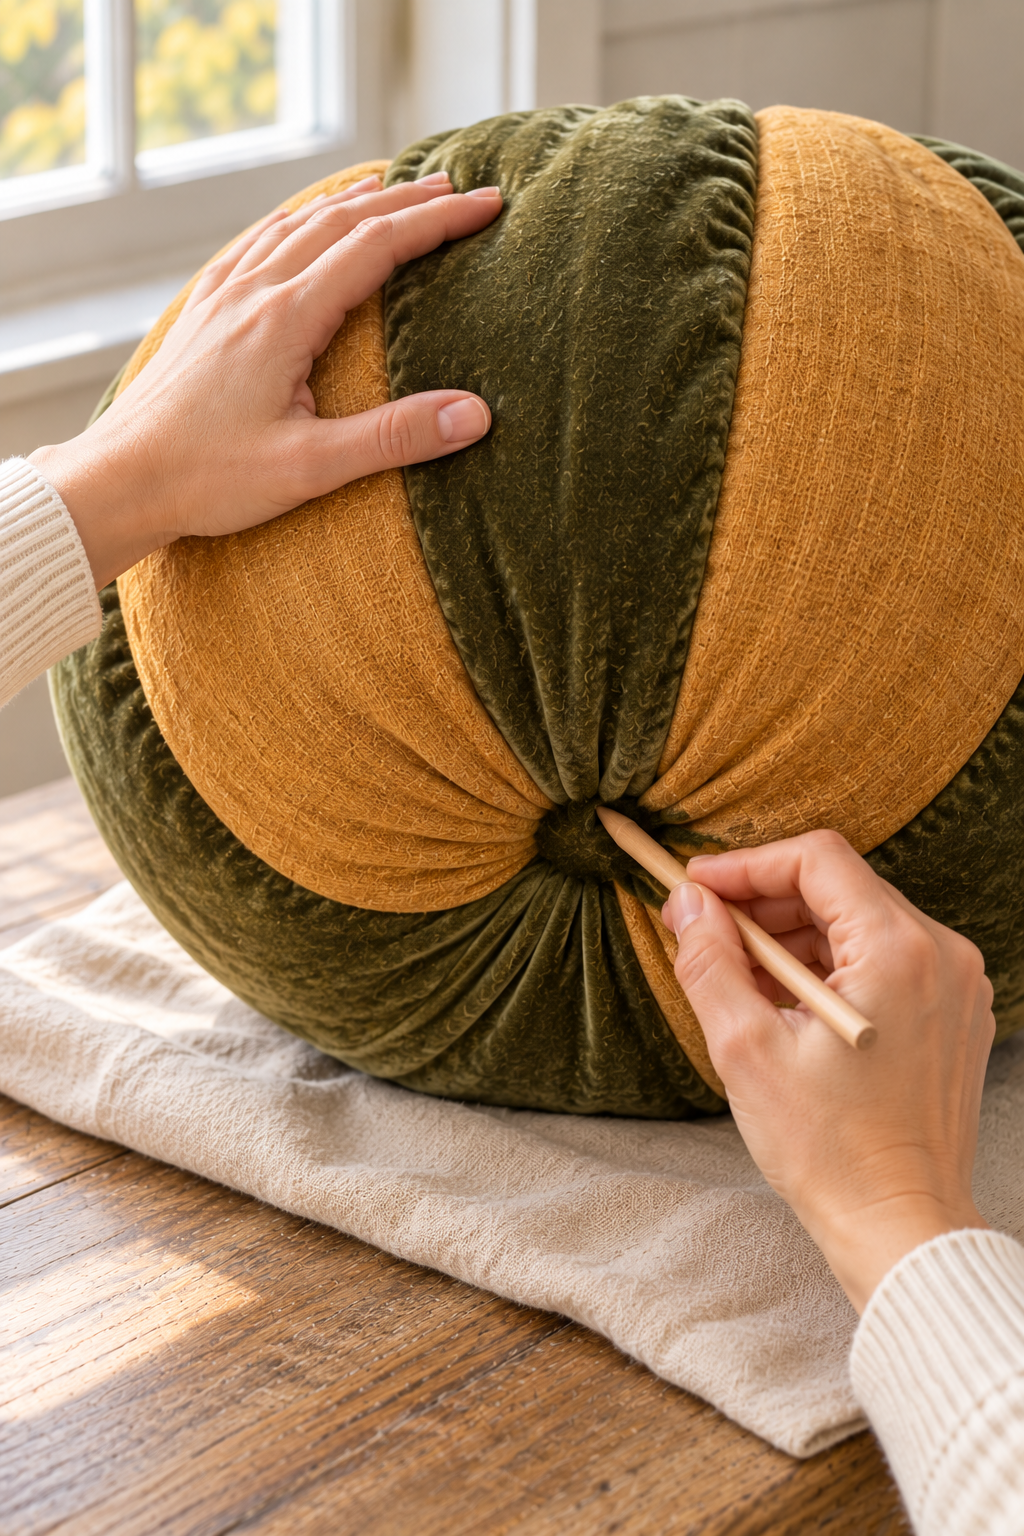
Smooth the fabric over the middle with one hand. Use the blunt tool to tuck one long edge into the scored groove a little at a time, beginning near the widest point and working toward the ends. Then tuck in the opposite edge, gently smoothing the fabric over the curve rather than stretching it.
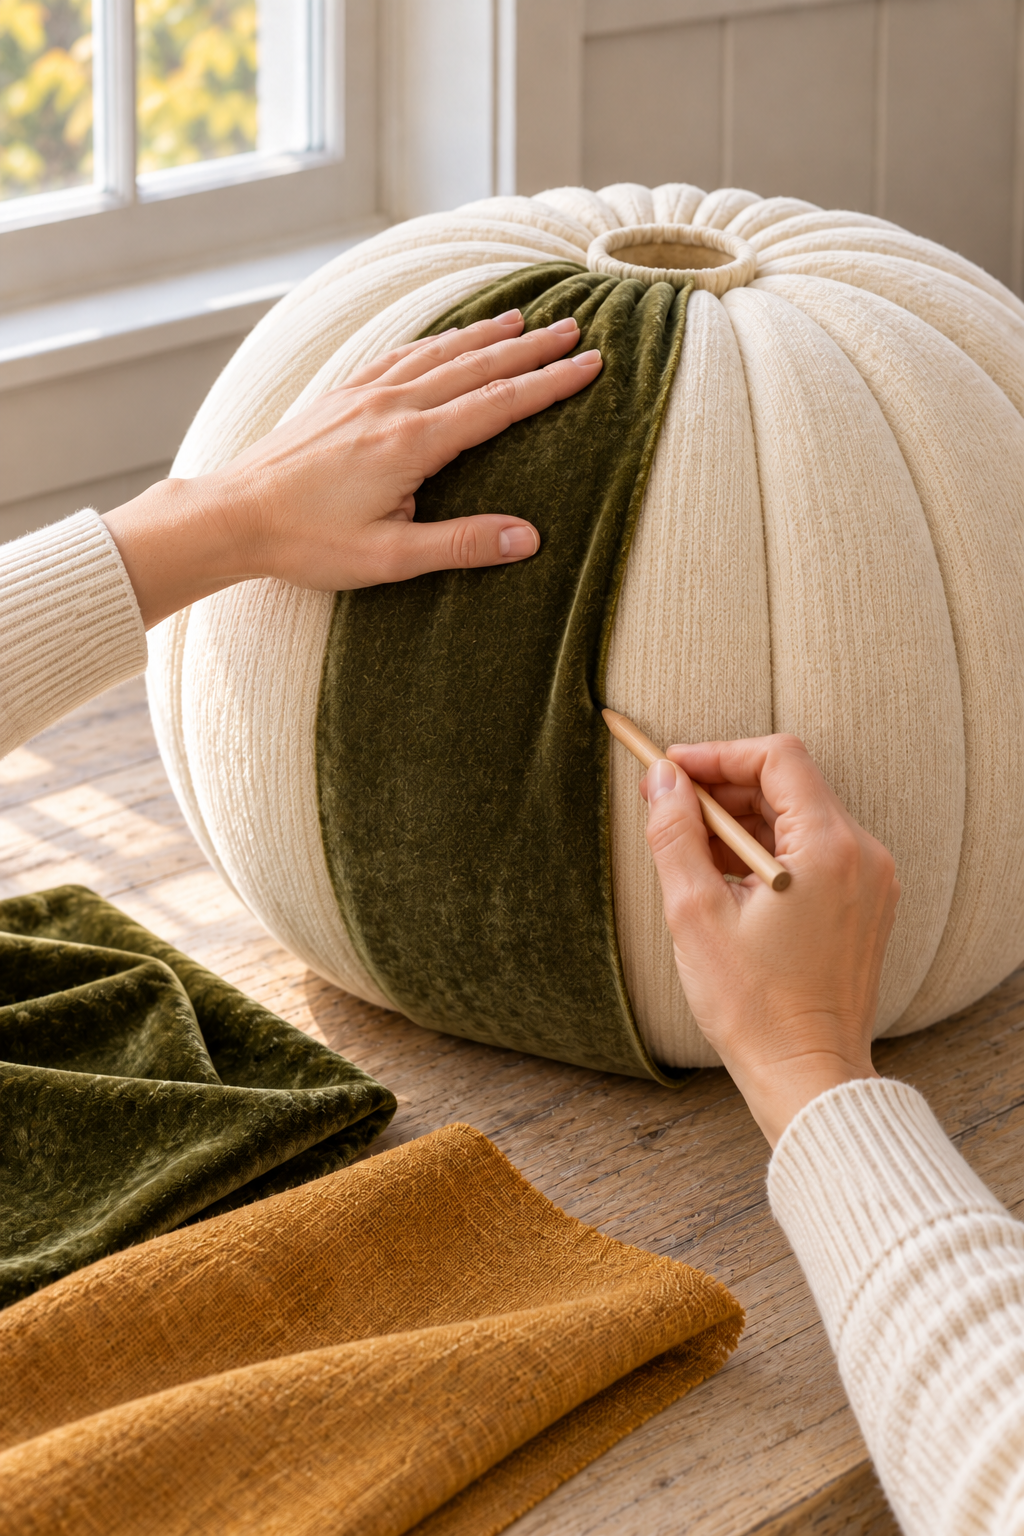
If the panel develops a large fold, release that portion and reposition it. Trim a small amount from the hidden allowance only if the groove becomes too crowded to hold both edges neatly. Once the first wedge fits well, use it as a starting point for the next panels.
Step 3 Cover the surrounding ribs in the planned order
Prepare the remaining moss wedges and the two ochre pieces, checking each against its assigned rib. Keep the central front panel moss, with one ochre panel on either side. Cover the other sections with moss.
When a new panel meets an installed one, tuck its allowance into the same scored groove beside the neighboring panel’s hidden edge. Keep the fabrics separate on the surface, with the meeting edges following the groove. Work around the foam pumpkin without forcing a thick stack into the groove.
Trim small amounts from a crowded hidden edge as needed rather than forcing excess fabric into the foam. Leave the upper and lower ends accessible until the side joins are settled.
Step 4 Finish the fabric at the base
Lay the covered pumpkin carefully on its side on a clean scrap of cloth, with the underside facing you. Bring the panel ends toward the base recess and tuck them into the scored grooves or recess. Trim bulky overlapping tails while keeping enough allowance to hold the fabric securely.
Return the pumpkin upright and check that it rests evenly, without excess fabric creating a lump underneath. If adhesive is needed at the underside, use one that is compatible with both the foam and the fabric, and let it set according to the manufacturer’s directions before handling that area.
Step 5 Secure the stem and conceal the top join
Tidy the upper panel ends around the stem area. If you are using a replacement wood stem, dry-fit it and make sure it can be attached without damaging the foam. Remove it, apply a foam-compatible adhesive if required, and replace it in the same position.
Fold the long edges of a narrow moss offcut inward and roll it into a soft cord. Wrap it around the stem base, adjust the length, and tuck the ends beneath the ring. Secure the collar with adhesive if needed, following the manufacturer’s directions.
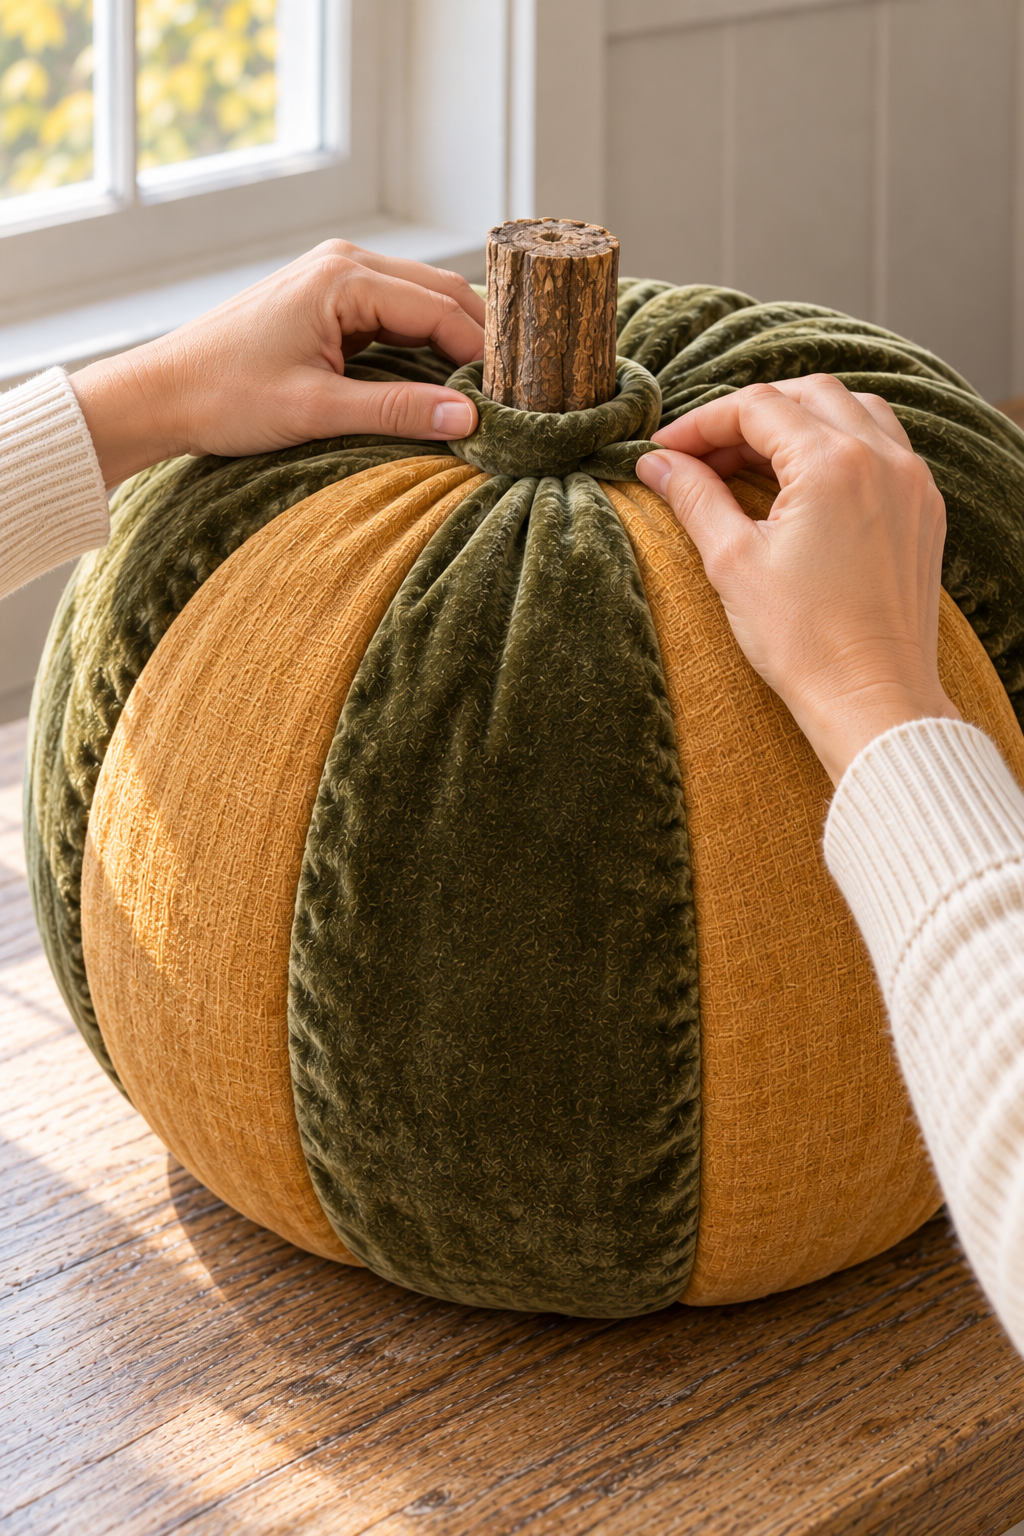
Let the adhesive cure completely before moving or displaying the pumpkin.
Step 6 Make the two smaller pumpkins
Create patterns directly from the smaller foam pumpkins rather than shrinking the large pattern by eye. Repeat the process with dusty rust velvet around one faded floral cotton panel, then finish with a rust collar and, if needed, a replacement natural wood stem.
For the smallest pumpkin, pair oatmeal linen with a single muted plum velvet panel and a plum collar. Complete and check each base separately. Match the three designs through materials and proportions, without requiring identical ribs or identical stems.
Better Results with Mixed Textiles
When positioning the floral wedge, center a recognizable part of the print in the widest area. A flower that disappears entirely into a join loses the point of using a patterned panel.
Keep scraps under pieces that are resting on the worktable. Velvet can pick up small fibers, and brushing these away after assembly is easier than rubbing the pile during every step.
Adjust the Scale of the Set
For a narrow shelf, choose flatter foam pumpkins while keeping the same large-to-small progression. Select shapes that fit the available space before purchasing fabric rather than trying to squeeze a rounded group into an unsuitable spot.
For a future second set, a smaller floral motif can make the contrast panel feel quieter. Keep the number of patterned panels limited so the linen and velvet still carry the patchwork structure.
Arrange and Protect the Finished Pumpkins
Set the large pumpkin slightly behind the two companions on a dry indoor surface. Turn their contrasting panels toward the main viewing direction, leaving a little space between the wood stems.
Keep the cloth away from open flames, heat, and damp windowsills. Remove dust with a soft brush and pack the pieces without weight pressing on the velvet or collars when the season ends.
Closing
The floral panel brings a small point of interest to the group, while the two solid pairings keep it balanced. Together, the pumpkins give autumn decorating a warm textile focus that works beyond one holiday.