
*This post may contain affiliate links for which I earn commissions.*
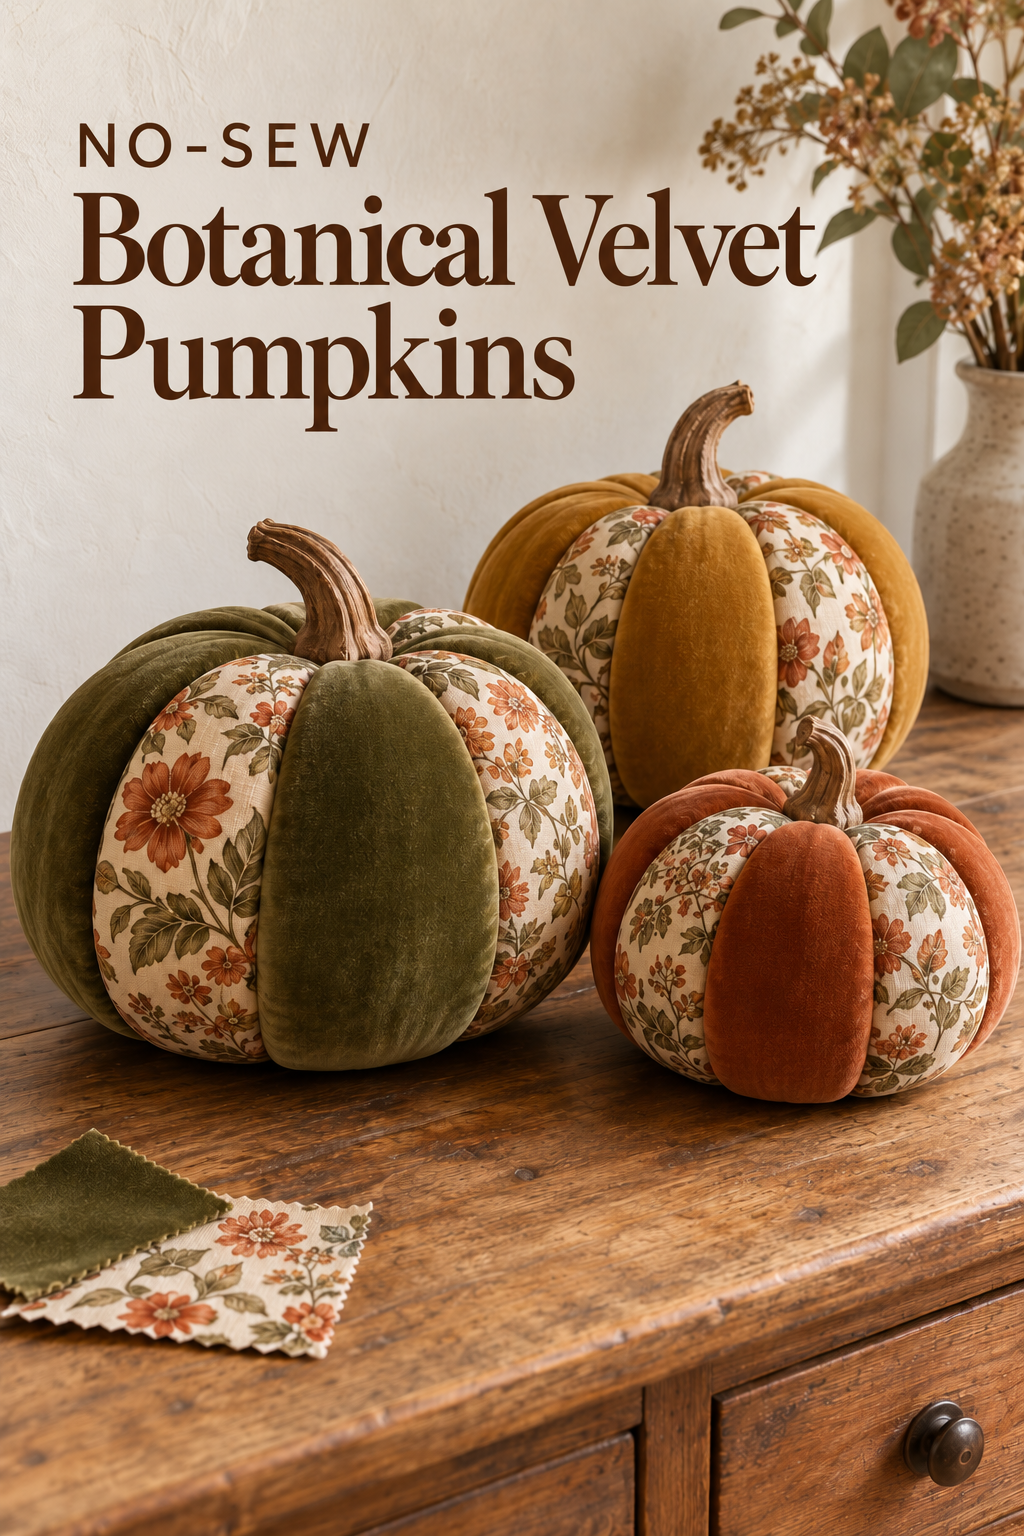
Image created with AI. This image serves as visual inspiration for the project below.
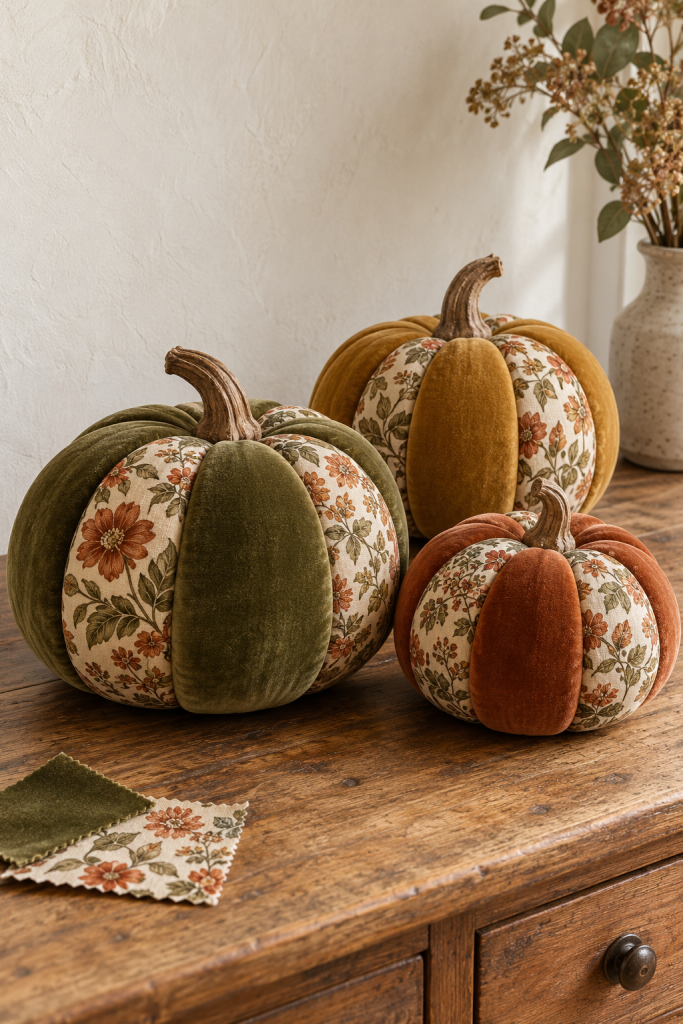
Olive, rust, and ochre velvet give these little pumpkins a plush autumn surface. A few botanical cotton panels interrupt the solid color like pieces collected from an old fabric drawer. The narrow joins follow the pumpkin ribs, so the patchwork reads as part of the rounded form rather than a loose covering laid over it.
The method uses solid foam pumpkin blanks, fabric panels, and tucked edges. There is no hand stitching or machine sewing. These are lightweight fabric-covered decorations with a firm inner form, rather than stuffed cushions. Choose a small blank for the first attempt so you can learn how the two fabrics behave at the grooves.
Materials and Tools
A pumpkin form that accepts tucked fabric
Choose solid, uncoated craft-foam pumpkins with distinct ribs and a stable underside. The material must permit shallow cuts and gentle fabric tucking. Hollow plastic pumpkins, hard resin forms, and rigid coated shells do not suit this method. Keep the original removable stem if it works with your fabrics, or obtain a lightweight craft stem with a broad attachment base.
A small coordinated fabric selection
Gather supple velvet, fine woven botanical cotton, and a small felt scrap for the underside. Use one botanical print with colors that appear in the velvet. Velvet should occupy most panels, with cotton on only a few. Thick upholstery fabric or coarse tapestry is difficult to tuck neatly and can obscure the ribs.
Cutting and attachment tools
You will need paper, pencil, scissors, a craft knife, a protected cutting surface, and a blunt narrow tucking tool such as a rounded plastic modeling tool. Choose an adhesive explicitly suitable for the actual foam and fabric when securing loose ends and the stem. Do not assume fabric glue is automatically foam-safe. No heated cutting tool is required.
Before You Start
Test the blank and textile thickness
Try a shallow groove on the underside, away from the finished display face. Insert a small folded fabric edge with the blunt tool. If the foam crumbles excessively, the coating resists cutting, or the fabric cannot sit securely, change the blank or use thinner cloth. Test the adhesive on the same hidden area before covering the pumpkin.
Plan the panel arrangement around the actual ribs
Use the existing rib divisions instead of forcing a standard number onto every blank. Six to eight panels can work well on a small pumpkin, but the blank determines the count. Arrange two or three botanical panels among mostly velvet ones. Position one printed panel toward the front, then avoid clustering all the print on one side. Photograph the loose fabric order as a reminder before cutting.
Step by Step Instructions
Open narrow channels along the ribs
Remove a detachable stem gently and save it. Rest the blank on a stable protected surface. Follow each existing valley from the top depression toward the underside with a shallow cut. Begin conservatively and deepen only enough to receive the fabric edges, checking the scrap test as you work. Do not cut through the form or carve out wide trenches.
Use an unheated craft knife according to its instructions, keeping fingers out of the blade path. Rotate the pumpkin to keep the work reachable rather than cutting toward the hand supporting it. The desired join is a narrow recess between rounded ribs, not a deeply split pumpkin.
Make a paper guide for each curved segment
Lay thin paper over one rib and smooth it from top to bottom. Mark the two bordering groove lines and the upper and lower endpoints, then cut out the resulting elongated leaf-like shape. This paper guide describes the visible panel surface. Add fabric beyond every edge to create a tucking allowance.
Around 1/4 inch of extra fabric is a useful initial allowance on a small form, but increase it if the groove needs more grip or trim it if the join becomes crowded. Test one velvet panel before cutting the full set. Different ribs may vary in width, so make separate guides where the trial does not fit.
Cut velvet and cotton without losing the pattern
Place each guide on the back of its fabric. Orient the velvet pile consistently from the pumpkin top toward the base. Center a small botanical motif within the visible part of a cotton panel so it is not entirely swallowed by the grooves. Cut with the trial allowance, preserving enough material at the narrow tips to tuck them neatly.
Number the guides and arrange the cut pieces beside the matching ribs. Do not glue a patchwork sheet together first. Each panel is fitted separately, which lets you adjust the curved surface without creating bulky seams between different textiles.
Fit the first velvet panel from its middle outward
Place the velvet face outward over its assigned rib. Hold the center flat with one hand, then use the blunt tool to ease a short stretch of edge into one groove. Work the opposite edge next, alternating sides from the middle toward the top and bottom. This balances tension and keeps the panel from sliding sideways.
Smooth the visible fabric over the rounded rib without pulling so hard that the nap flattens or the blank deforms. If wrinkles gather across the face, lift an edge and redistribute the allowance. Trim only hidden excess. Use a tiny amount of tested compatible adhesive inside a troublesome groove if the tucked edge will not stay seated.
Add the neighboring panels and clear crowded joins
Fit the next panel in the same way, placing its edge alongside the first edge in their shared groove. Keep both cut margins concealed. A blunt tool should tuck them gently; forcing a thick wad into the channel can break the foam or make a ridge.
Where the join becomes bulky, pull back the newest margin, narrow its hidden allowance, and reseat it. Continue around the pumpkin according to the planned fabric order. Check it from several angles before completing the last segment. A print that appears balanced from above may still crowd the front when the pumpkin sits at eye level.
Close the top and bottom with minimal bulk
At the top depression, trim hidden overlapping tips gradually and tuck them into the ends of the grooves. Preserve enough allowance to hold each panel. Attach the saved or replacement stem with the foam-compatible adhesive, covering the small fabric junction without introducing an oversized collar.
Finish the underside similarly. Cover only the small meeting point with felt if needed, keeping the original stable base clear. Let every adhesive join cure according to its product instructions. Check that no raw edge shows at the front and that the stem stays seated when the pumpkin is handled by its body.
Arrange a Collected Autumn Trio
Repeat with different sizes or velvet colors while retaining the same botanical print. One wider pumpkin and two smaller companions make the material variation easier to read. Leave space between them so their curved sides remain visible. Store them individually without compressing the velvet, and lift them by the body rather than the stem.
Shop Materials and Tools
Solid ribbed foam blanks
Look beyond the listing’s word “foam.” Confirm a solid craftable interior, reachable rib valleys, and a flat enough underside. Avoid buying a bulk bundle until one blank has passed the tuck test. The right foundation matters more than matching an exact decorative size.
Supple velvet in autumn colors
Compare the reverse as well as the plush face. Fabric that bends readily at a small cut edge is preferable to heavy stiff upholstery velvet. Select enough cloth for the measured panels and allowances rather than purchasing by pumpkin diameter alone.
Small botanical cotton prints
Choose finely woven cotton with a motif small enough to remain readable on one rib. A restrained floral or leafy pattern in olive, rust, and cream links the solids. A coordinated bundle is useful only if you need its fabrics; one suitable remnant can supply every printed panel.
Foam compatible glue and light stems
Check that the adhesive names the actual foam type and supports the intended fabric and stem material. Solvent products may damage some foams. Choose a short light stem with enough contact area, and reuse a good original stem before buying decorative replacements.
Final Project Tip
Save the numbered paper guides in an envelope with a fabric swatch. If one panel becomes stained, you can cut a replacement to the same shape and repair that segment without stripping the pumpkin.