
*This post may contain affiliate links for which I earn commissions.*
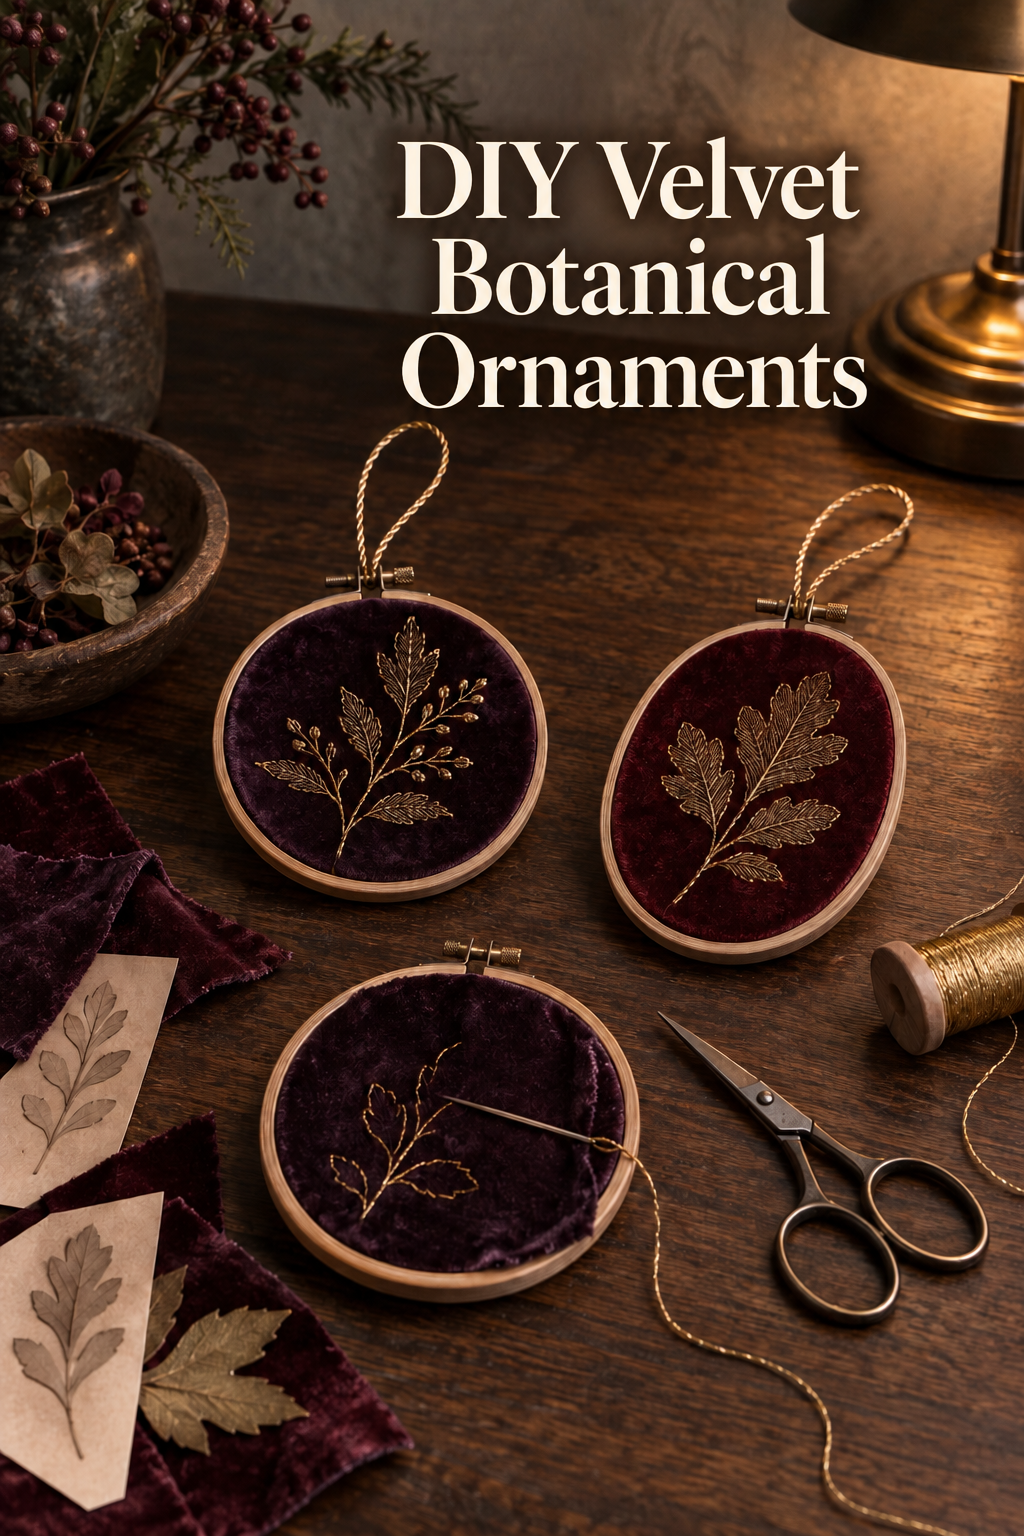
This inspiration image was created with AI.
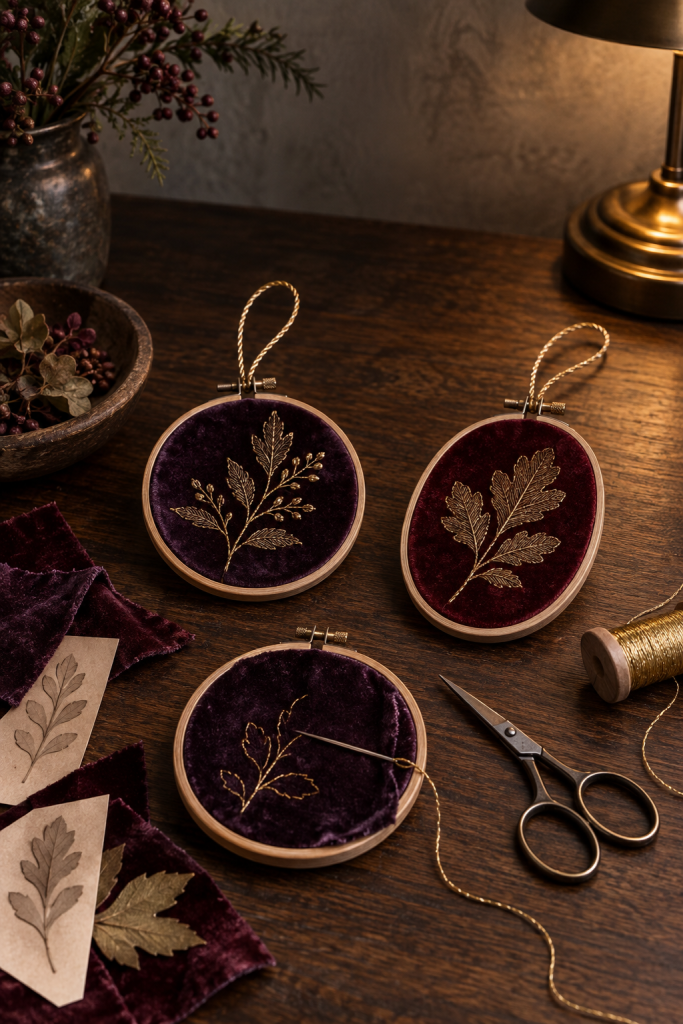
These velvet botanical hoop ornaments combine deep plum color, soft texture, and fine gold lines in a project that feels special without requiring complicated construction. The finished pieces can hang on a Christmas tree, a cabinet knob, or a small branch display, and the hoop itself becomes both the frame and the structure. The inspiration image shows round and oval wooden hoops on a dark worktable, with stitched leaf forms that catch the warm light.
The method below is a practical way to make a similar ornament, rather than a claim about how the pictured pieces were constructed.
Materials and Tools
You will need small wooden embroidery hoops, non-stretch velvet, embroidery floss or fine metallic thread, an embroidery needle suited to the thread, paper for a botanical template, a removable fabric-marking method, small sharp scissors, and cord or ribbon for the hanging loop. A lightweight backing fabric or felt is optional if you want to conceal the gathered fabric behind the hoop. A thimble can also help because velvet and metallic thread may offer more resistance than plain cotton.
Before You Start
Choose a simple leaf silhouette with an open stem and a few branches. Dense veins and tiny curves are harder to read on plush fabric. Test the marking method on a scrap, since some pens and chalks can leave a lasting line or crush the velvet pile. Check the care and handling guidance for the actual fabric and metallic thread you use. Work under bright task lighting even if you plan to display the ornament in a moodier setting.
Step by Step Instructions
Cut Velvet with Room to Grip the Hoop
Lay the inner hoop over the velvet and cut a generous margin around it. The extra fabric gives you something to pull while tightening. Keep the velvet grain running in the same direction if you are making a set, because light will otherwise reflect differently from one ornament to the next.
Transfer a Simple Botanical Guide
Place the paper leaf template beneath or over the velvet according to the marking method you selected. Mark only the main stem, outer leaf shapes, and a few essential veins. I would simplify the drawing before stitching rather than trying to preserve every line. The gold motif looks clearer when the dark velvet still has quiet space around it.
Mount and Tension the Velvet
Center the marked motif over the inner hoop, place the outer hoop on top, and tighten gradually. Pull the fabric in small increments around the circle instead of tugging hard in one place. The velvet should look smooth from the front without being stretched so aggressively that the motif distorts.
Stitch the Stem and Leaf Outlines
Start with the central stem so the design has a stable visual spine. Use short, even stitches along curves and slightly longer stitches on straighter sections. Outline each leaf before adding selected veins. If metallic thread kinks, shorten the working length and let the needle hang occasionally so the twist can relax.
Add Restrained Interior Detail
Use a few vein stitches or tiny knots to suggest berries, but stop before the motif becomes solid gold. The inspiration works because the velvet remains visible between the lines. For a coordinated set, vary the leaf species or hoop shape while keeping the same thread color and similar stitch density.
Finish the Back Neatly
Tighten the fabric one last time, then trim the excess to a manageable border. Gather that border toward the center with a running stitch, or lace opposite edges together so the tension stays even. Add a felt circle only after the front looks right. Keep glue away from the visible velvet and follow the adhesive instructions if you choose to use it.
Attach a Balanced Hanging Loop
Tie cord or narrow ribbon securely beneath the hoop screw. Hold the ornament by the loop before finishing the knot and check whether it hangs upright. I would adjust the loop at this stage, because an off-center knot can make an oval hoop tilt noticeably. Trim the ends only after the balance is correct.
Display and Store the Finished Ornaments
Hang the ornaments where their velvet surfaces will not rub against rough branches or abrasive hardware. On a tree, leave a little space around each hoop so the botanical lines remain visible. A small group also works on a bare branch secured in a weighty vessel, provided the branch and container can safely support the ornaments. Keep the loops at slightly different lengths so the hoops do not knock together.
If you want a larger coordinated set, make one test ornament first and use it to settle the stitch scale, thread color, and amount of open velvet. Then vary only one feature at a time, such as the leaf outline or hoop shape. This gives the collection a handmade rhythm without making every piece look unrelated. For storage, place tissue between pieces and avoid pressing the velvet under heavy decorations.
Shop Materials and Tools
Choose Stable Small Embroidery Hoops
Look for smooth hoops with reliable screws and enough grip to hold velvet without slipping. Mixed round and oval shapes can add variety, but similar wood tones will keep the set connected.
Select Velvet That Accepts Hand Stitching
A non-stretch velvet with a manageable backing is easier to tension than a very fluid or elastic version. Buy enough for test stitching and for aligning the pile direction across several ornaments.
Find Metallic Thread Made for Needlework
Choose thread that passes cleanly through your needle and bends without flaking. A muted antique-gold tone usually reads more softly against plum and oxblood than a bright yellow metallic.
Use a Removable Fabric Marking Tool
The best option depends on the velvet fiber and color. Check the manufacturer instructions, test removal on a scrap, and avoid pressing so firmly that the pile stays flattened.
Final Project Tip
Before packing the ornaments away, loosen any ribbon loops that have been pulled tightly against the velvet edge. That small step helps prevent a lasting compressed mark during storage.