*This post may contain affiliate links for which I earn commissions.*
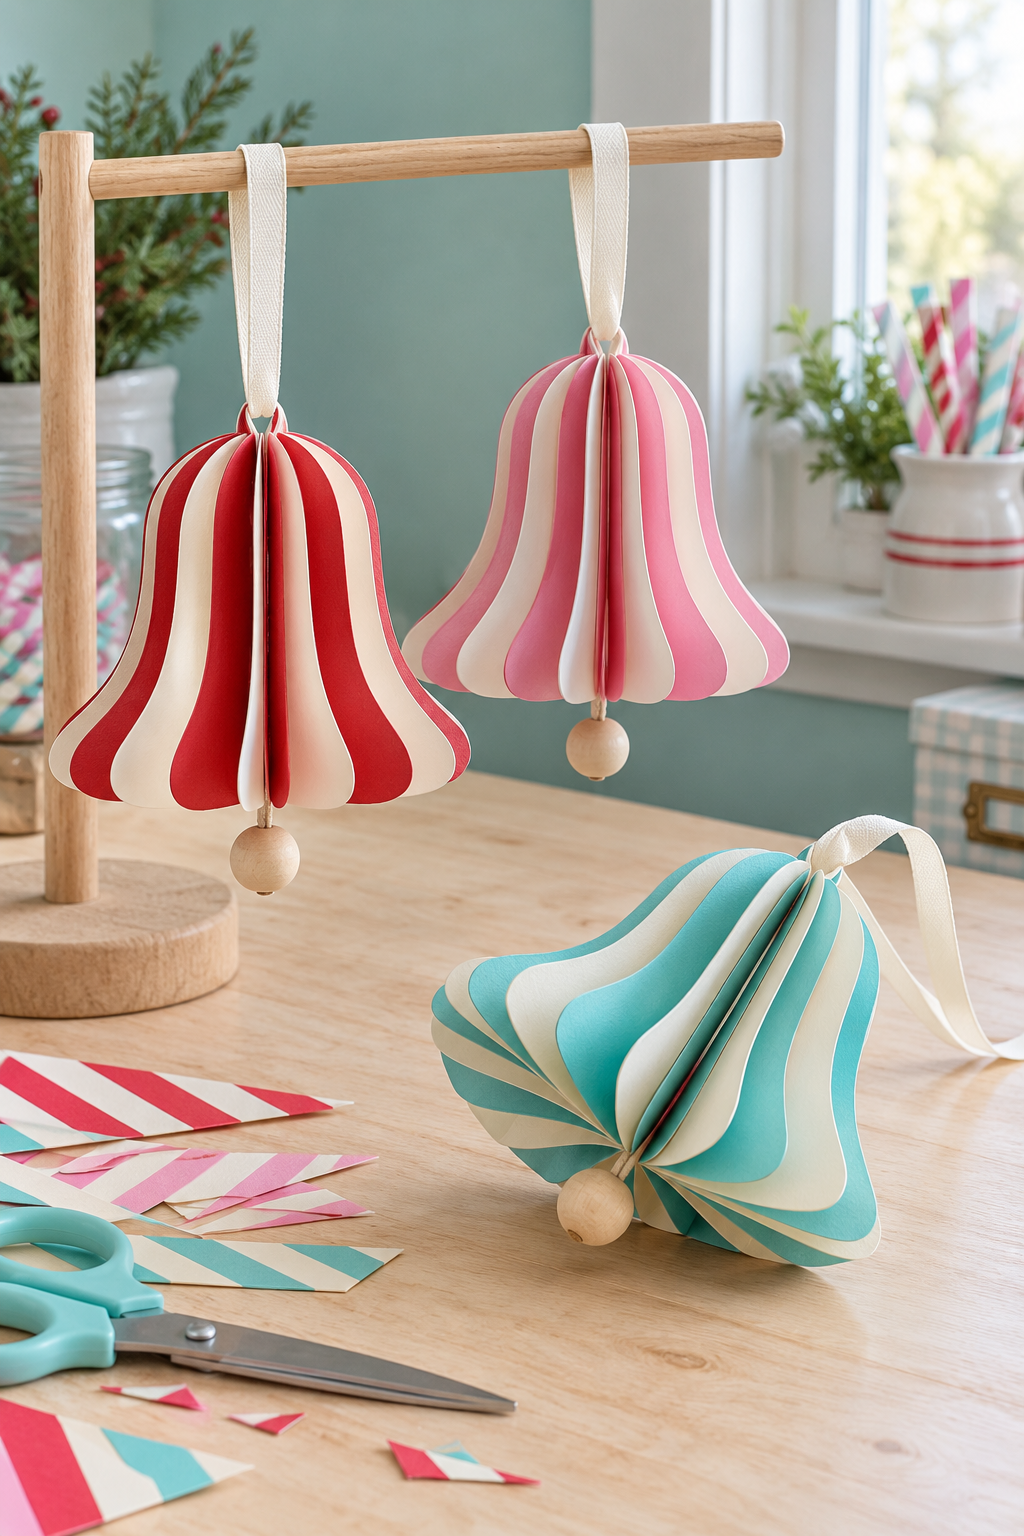
Image created with AI. This image serves as visual inspiration for the project below.
Red, pink and aqua paper bells bring a candy-shop palette to Christmas decorating. Cream paper between the colored sections gives each bell a striped appearance, while a ribbon loop and a wooden bead keep the finish simple. This project uses repeated folded shapes, so you can make a coordinated set without learning a complicated origami pattern.
The method here builds the rounded bell from folded cardstock profiles joined back to back. The instructions explain the shape directly, so no downloadable template is needed.
What You’re Making
Each ornament is a lightweight radial paper bell with a narrow crown and a flared skirt. Alternating colored and cream faces create the candy stripes. A wooden bead hangs below the center as a decorative clapper; it is not intended to make a ringing sound. Make one practice bell before cutting the pieces for a whole set.
Materials and Supplies
Main Materials
- Colored cardstock in cherry red, pink or aqua, flexible enough to fold cleanly.
- Cream cardstock of a similar weight.
- Paper craft glue that dries clear and is suitable for cardstock.
- Natural wooden beads with holes large enough for the chosen cord.
- Fine cotton cord for the bead clapper.
- Narrow cream ribbon for hanging loops.
Tools
- Scissors.
- Pencil.
- Ruler.
- Bone folder or paper creasing tool.
- Small craft clips for holding glued joins.
Before You Start
Choose a manageable bell size
A profile about the height of your palm is a useful starting point. Choose a bead that reads as a small clapper rather than pulling attention away from the paper. Check that the folded cardstock springs open without cracking. If it feels stiff or bulky, try a lighter sheet before committing to the full set.
Plan the alternating faces
For a first bell, cut twelve identical full bell profiles: six in one color and six in cream. This is a workable starting quantity, not a requirement for every paper weight. Lay them in alternating order and keep the crown and lower edge facing the same direction. A second ornament can use a different color while retaining the cream intervals.
Step-by-Step Tutorial
1. Draw and cut a reusable bell profile
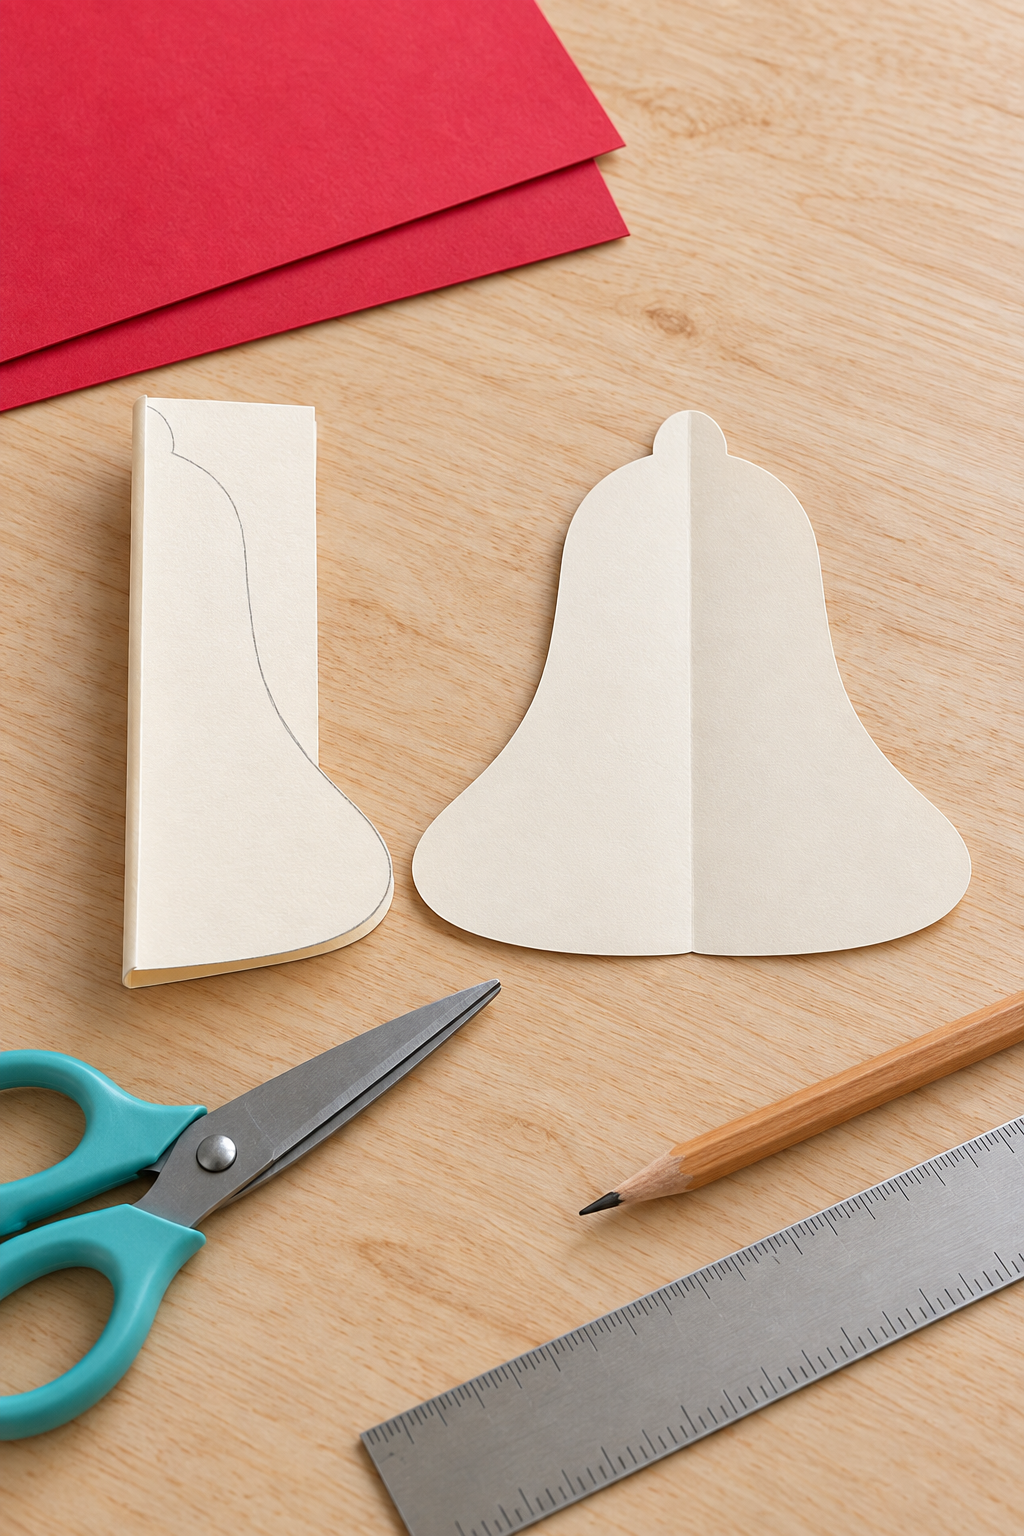
Fold a scrap of cardstock vertically. Draw half a bell against the fold, with the fold forming the straight centerline. Start with a small rounded crown at the top. Let the side descend almost vertically through the upper body, then sweep it outward toward a broad skirt. Curve the outer lower corner gently back to the bottom of the centerline. The bottom should be shallow, not a deep pointed dip.
As adaptable proportions, make the full skirt width roughly three-quarters of the bell height and the upper body about half the skirt width. Cut around the outer pencil line while leaving the center fold intact. Open the scrap to check that both halves mirror each other and the silhouette clearly reads as a bell. Refine this master before tracing the colored and cream pieces.
2. Fold each profile along its center
Use the master fold to identify the center of each cut piece. Fold the full profile in half vertically, matching its two skirt corners and its crown edges. Run the creasing tool along the fold with light pressure. Keep the paper supported on the table so the curved lower edge does not bend accidentally.
Open a few pieces slightly and compare them. Correct an uneven fold now; after assembly, mismatched halves make the outer fins look ragged. Stack the prepared pieces with all folds on one side.
3. Join the folded pieces into an alternating stack
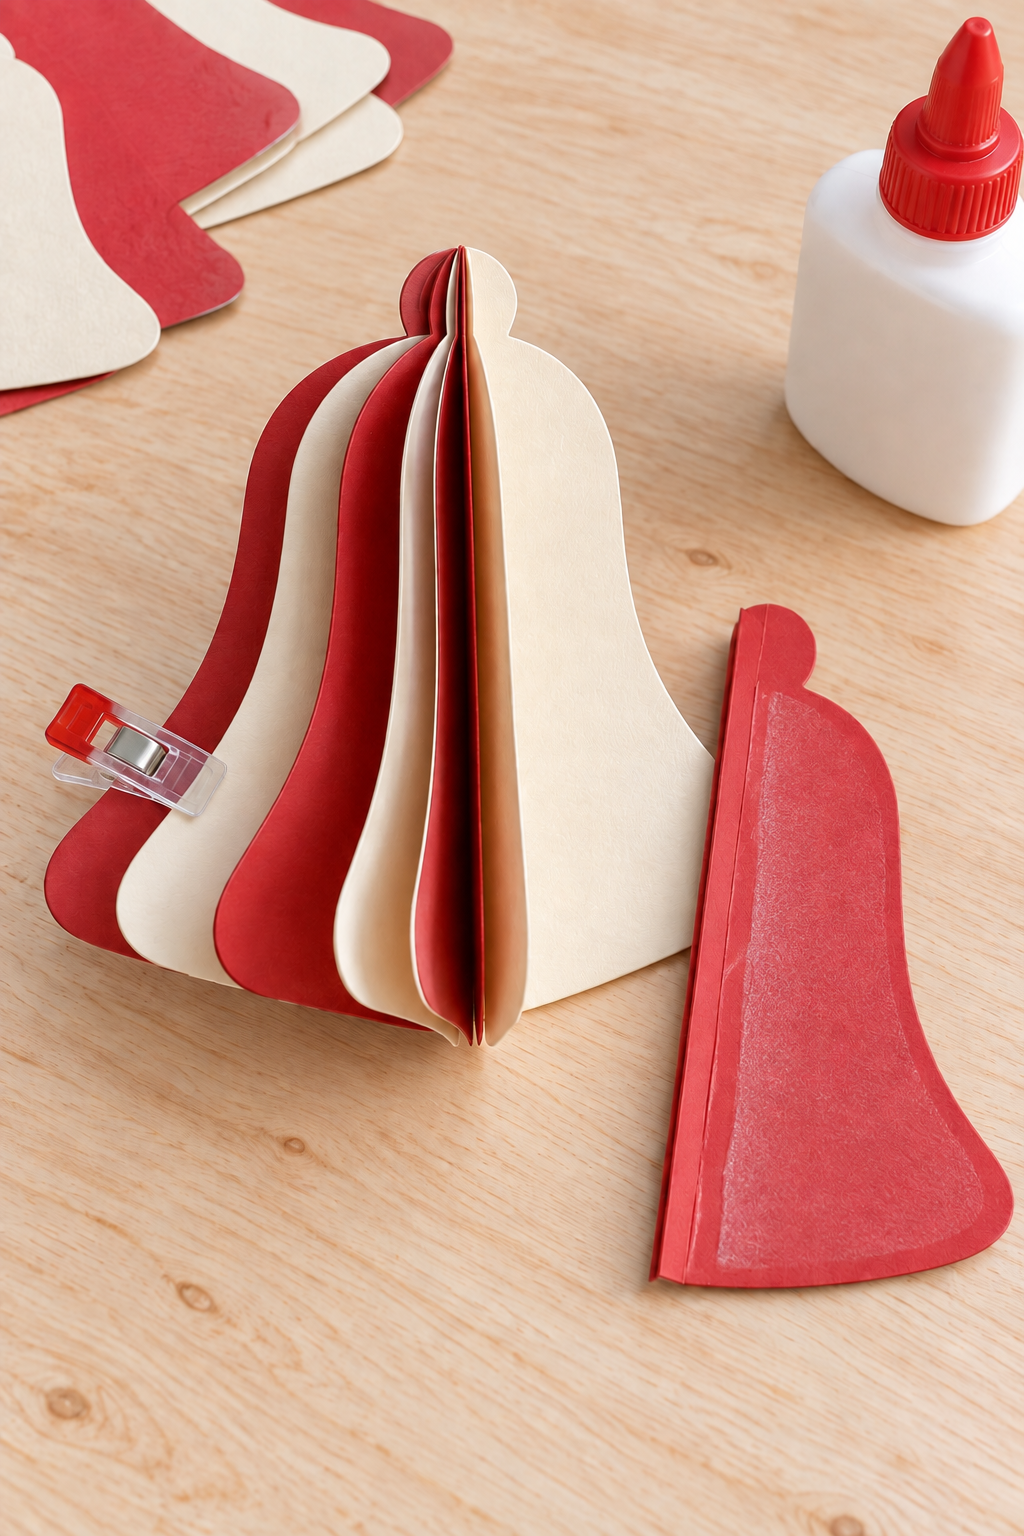
Apply a thin, even layer of glue to the outside of one folded half. Place the outside half of the next, opposite-colored piece against it. Match the crown, center fold and lower contour, then press the two faces together. Continue adding folded profiles in alternating color order.
Keep glue slightly back from the center fold so the center retains a narrow route for the clapper cord. The unglued inside faces of each folded profile will become the visible fins. Clip a few outer edges while the glue sets according to its directions, protecting soft paper from clip marks. Do not glue the first and last free halves together yet.
4. Prepare the bead and position the center cord
Thread a short length of cotton cord through the wooden bead and knot beneath it. If a knot pulls through the hole, use a bead with a smaller bore or enlarge the stopper knot rather than relying on glue alone. Allow the bead to sit just below the bell skirt when the cord follows the centerline.
Bring the upper cord along the central fold of the assembled stack. Leave enough at the crown to tie it securely to the hanging ribbon in the next step. Check the bead position by gently opening the paper into a fan; it should hang freely beneath the center, not catch on a paper fin.
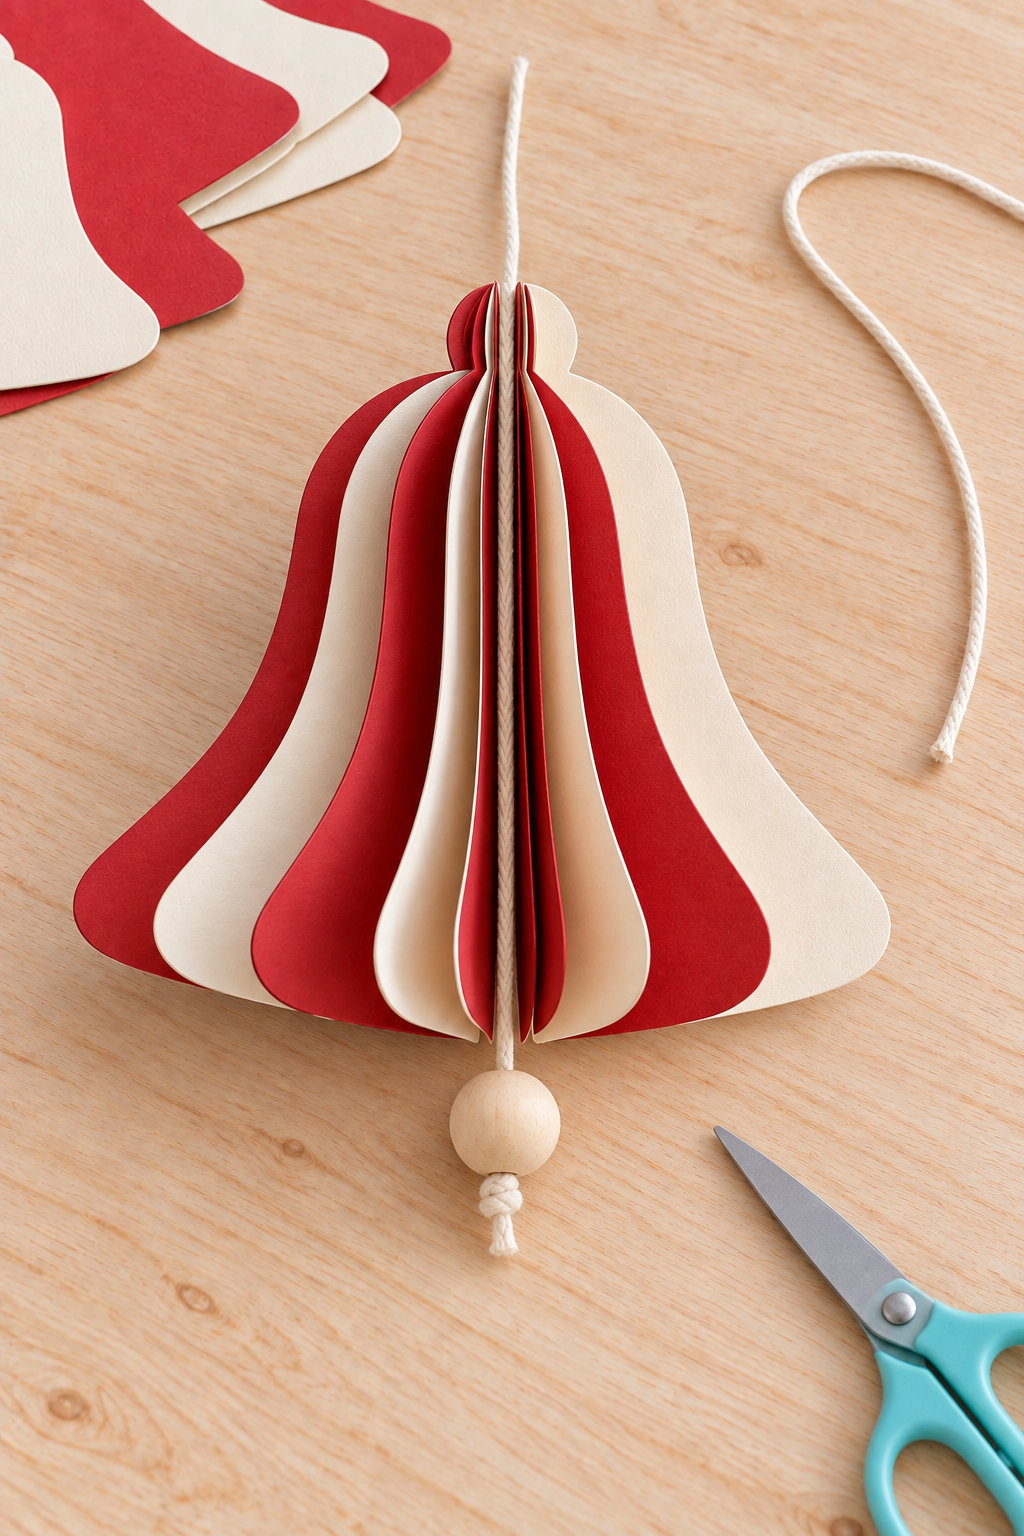
5. Add the loop and close the radial form
Fold a length of cream ribbon into a loop. Tie the upper end of the bead cord around the ribbon near its two cut ends, so the bead is supported by the loop. Position those ribbon ends against the inside of the final joining faces at the crown, leaving the loop above the paper.
Fan the stack around the center, then glue the first and last free halves together. Capture the ribbon ends within this final seam using the paper adhesive’s instructions. Keep the cord centered and the glue off the exposed bead. Hold the seam closed until it can support itself, then let the adhesive finish setting before hanging.
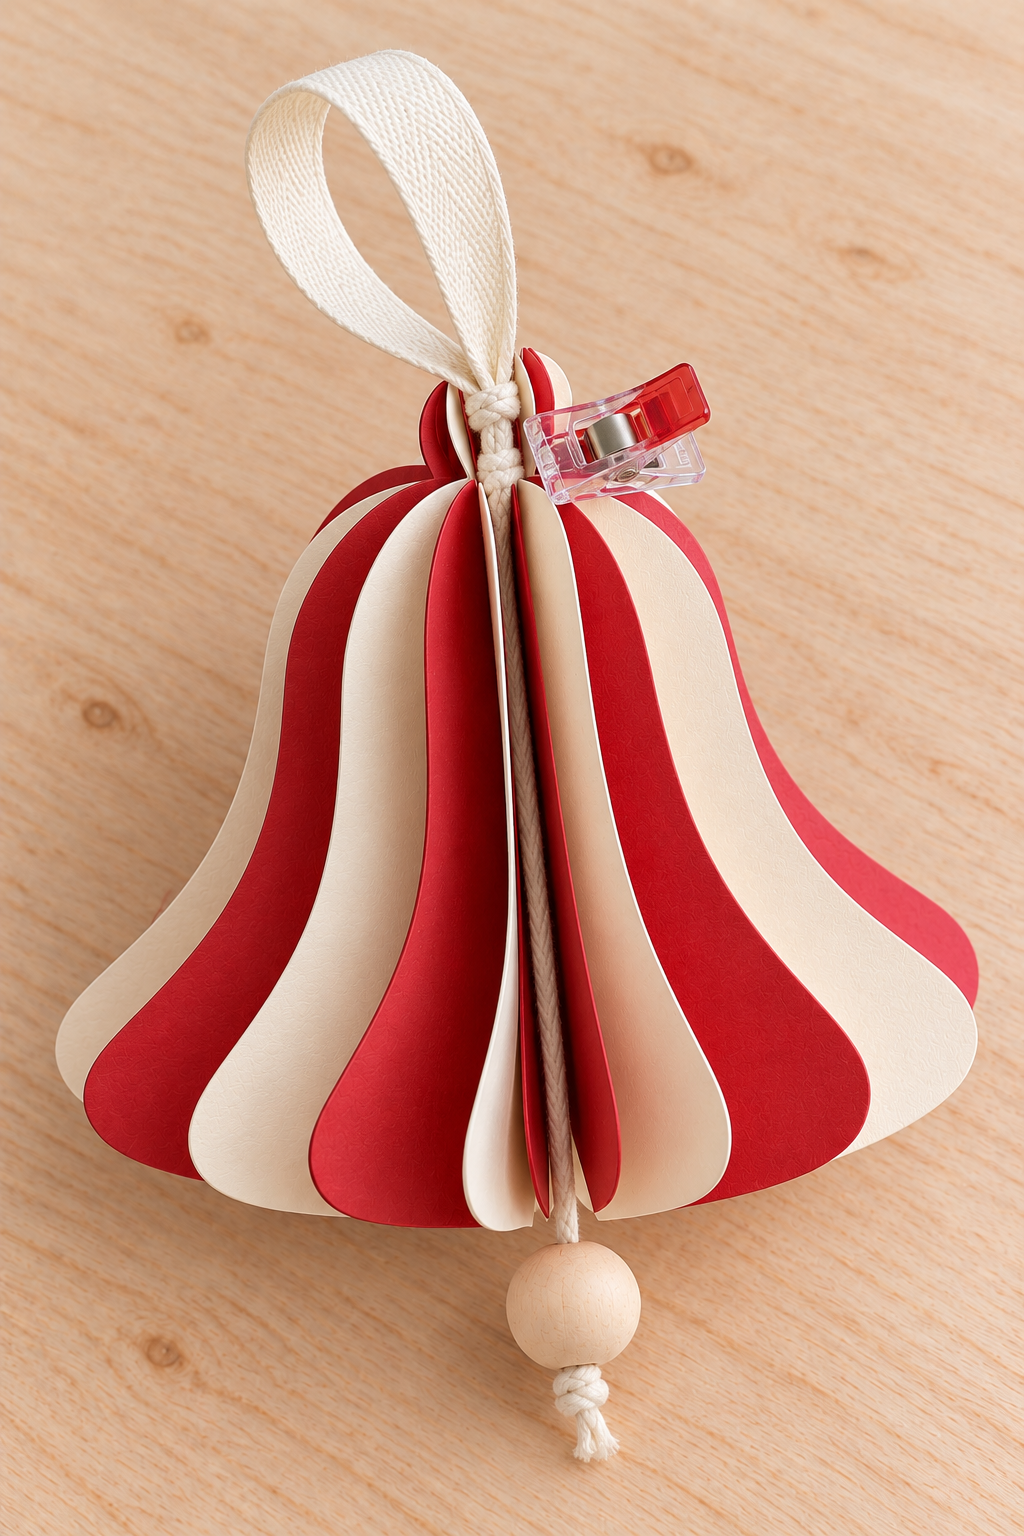
6. Spread the fins and check the finished bell
Separate any fins that have lightly stuck together, working from the outside edge toward the fold. Space them around the center without pulling against a fresh seam. Hang the ornament from its loop at table height first and check that the crown stays closed, the bead hangs below the skirt and the ribbon cannot slide out. Repair a weak join before displaying it.
Keep the Paper Edges Crisp
Cut one or two profiles at a time if thicker stacks make the scissors wander. Avoid sanding or heavily rubbing cardstock edges, which can leave a fuzzy outline. A little variation in fin spacing looks handmade; pronounced steps along the skirt usually mean the profiles were not aligned when joined.
Change the Colors Without Changing the Method
Try red and cream for a peppermint effect, or alternate two soft colors with cream for a less traditional set. Keep the same master profile across the group so color provides the variation. For a larger bell, make a fresh paper mock-up and reassess the bead weight rather than simply enlarging every component.
Hang and Store Your Bells
Use the loops on indoor branches or a small display rod, with room between ornaments so the fins remain open. Keep paper away from flames, heaters and damp windows. For storage, lay each bell in a roomy box with soft paper around it; flattening the radial shape repeatedly can strain the glued seams.
A small set in red, pink and aqua gives you the candy-colored character of the inspiration while letting the folds and cream intervals do most of the decorating.