
*This post may contain affiliate links for which I earn commissions.*
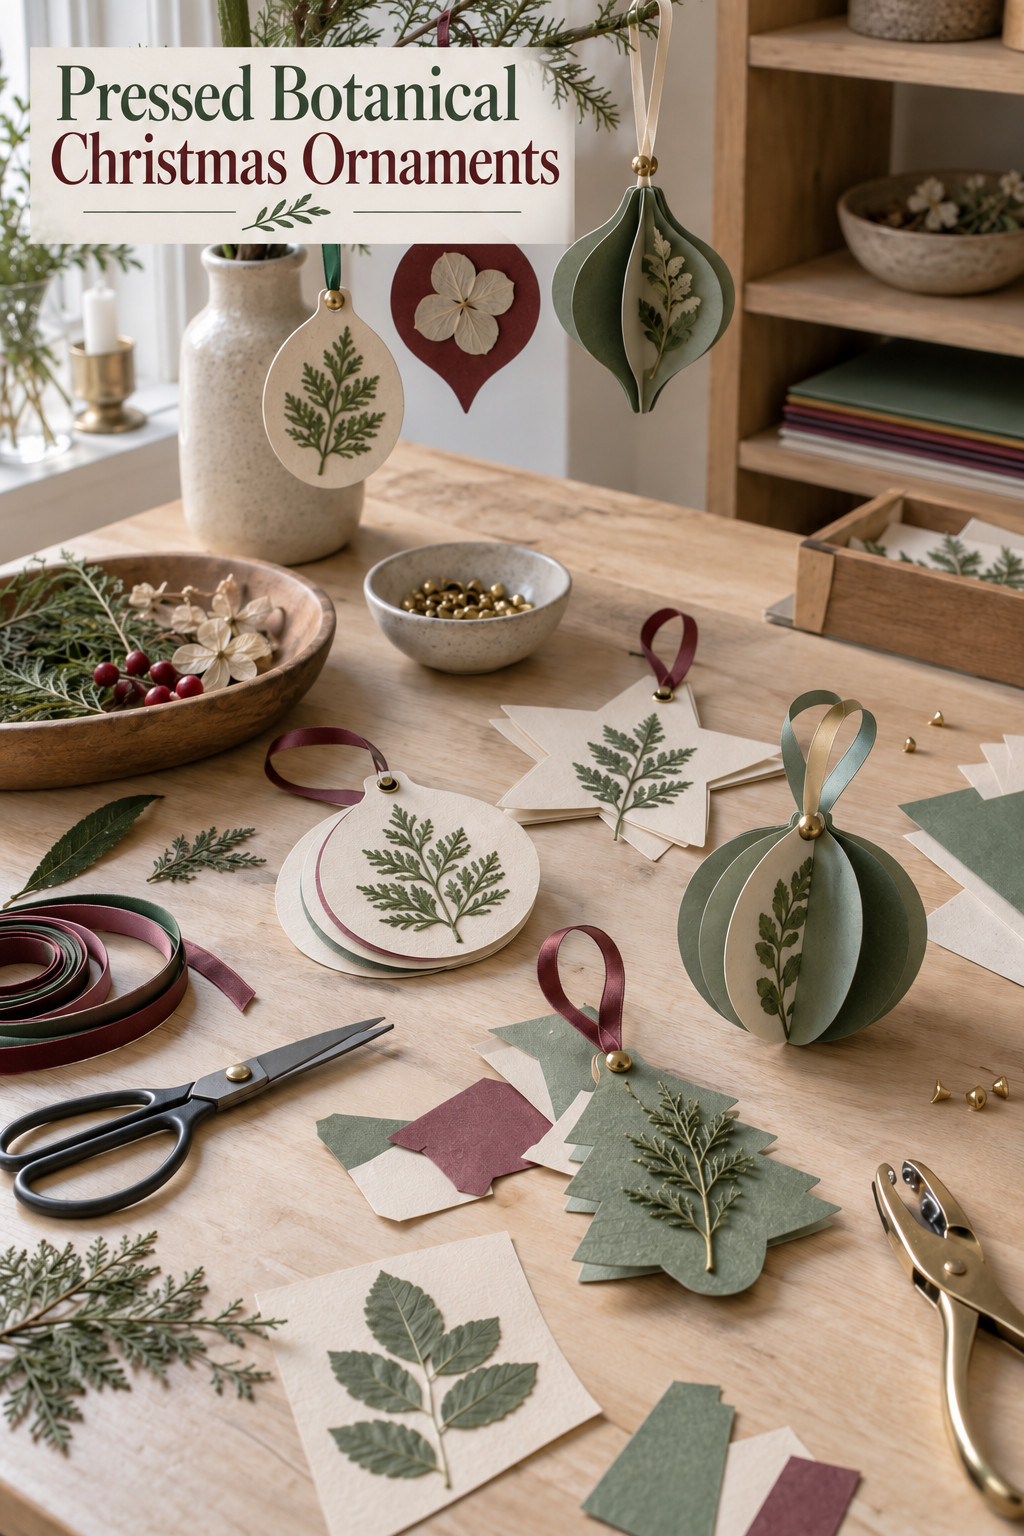
This image was created with AI and is presented as project inspiration.
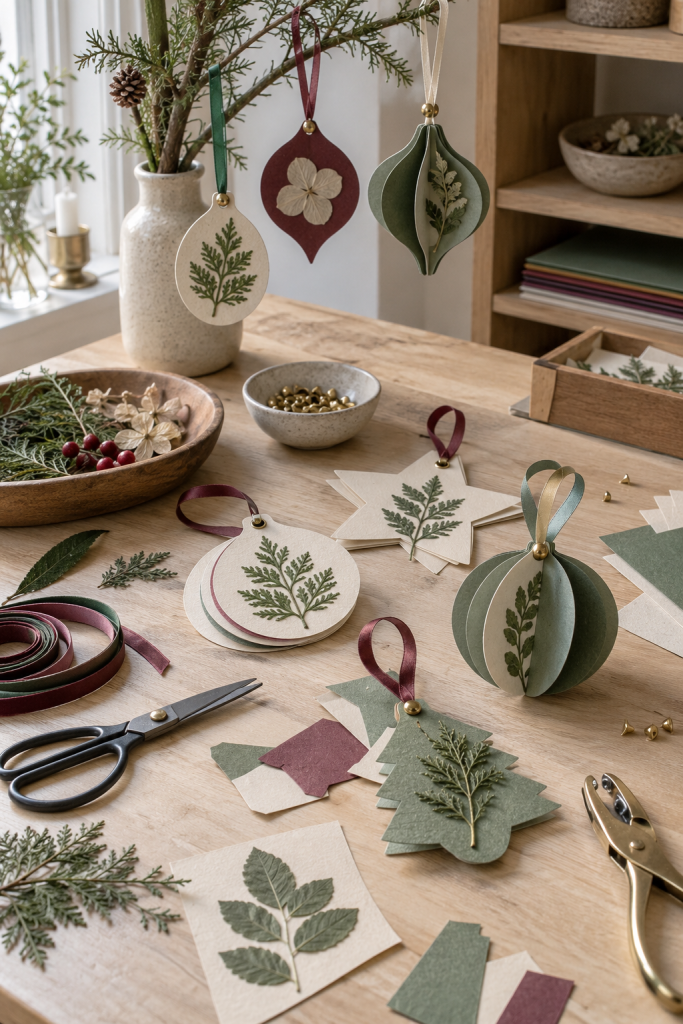
Small pressed leaves give simple paper ornaments a collected, botanical character. The inspiration image pairs cream, muted green and burgundy shapes with narrow ribbon loops; some finished pieces hang from a branch while others rest beside the tools. This tutorial offers a workable way to make a similar set with real paper and properly dried foliage.
Materials and Tools
Cardstock and templates
Choose sturdy paper that folds or cuts cleanly. Cream and subdued color sheets make a useful coordinated set. Draw a few uncomplicated silhouettes such as a round bauble, pointed drop, star and small tree, or use reusable paper templates.
Pressed botanicals
Use fully dry, flat leaves or small flower heads. Fresh greenery retains moisture and will not sit flat under adhesive. Press suitable collected pieces between absorbent sheets until dry, or use prepared pressed specimens.
Adhesive and backing
A paper-safe clear-drying craft adhesive attaches the plant material. Extra card cut to the same silhouette can conceal an untidy reverse or strengthen a hanging point. Test the adhesive on a spare leaf and scrap card before committing to the set.
Hanging supplies and tools
Narrow ribbon or cord, a small hole punch, scissors or a craft knife used with a cutting mat, pencil and ruler complete the basic kit. Tiny eyelets are optional if the paper at the hole needs reinforcement; use a setting tool appropriate to the eyelet.
Before You Start
Test the Shape and Botanical Fit
Sort the botanicals by size before cutting the card. A leaf that fits comfortably inside a round shape may overwhelm a narrow drop. Trace one test ornament, place the botanical on top without glue and check that there is room above it for a hole. Make a few matching blanks only after that first shape works.
Set Up a Safe, Practical Workspace
Protect the table where you will glue. Keep pressed specimens in a flat tray so small fragments do not catch on sleeves or ribbon. If using a craft knife, work on a mat and follow its handling instructions. Let the actual adhesive’s label guide drying and suitability for both paper and preserved foliage.
Step-by-Step Instructions
Cut a small family of related shapes
Trace each template onto the back of cardstock, then cut slowly around the outline. Repeat the same silhouette in a few colors rather than making every ornament different. A matching set feels deliberate when the sizes and hole positions relate, even if the botanicals vary. Pair two copies of a shape if you want a layered border or a neater reverse.
Arrange the foliage before applying glue
Place each dry sprig within its paper shape, keeping fragile tips away from the outer edge. Rotate the card and view it upright as it would hang. A single branching leaf often reads more clearly than several crowded specimens. For a star, choose a short central sprig that leaves the points visible. Set aside any piece that is too brittle to move without breaking.
Mount each specimen with light pressure
Apply adhesive according to the product directions, using only enough to secure the stem and vulnerable leaf sections. A scrap of clean paper can help press a delicate piece down without rubbing it directly. Let the ornament lie flat as the adhesive sets. If a leaf curls upward, check whether it is fully dry and properly supported rather than saturating it with more glue.
Add the backing or dimensional layer
For a flat ornament, glue a matching card to the reverse if the front attachment has left marks or the hanging area needs support. For a gently dimensional version, cut several identical shapes, score each vertically, and bond their backs together along the fold while leaving the leaves on the outward faces. Make sure each panel aligns at the top. The folded ornaments in the illustration suggest this variation, but the proposed paper method is an adaptation rather than a claim about their hidden construction.
Punch, thread and test the hang
Punch a hole with enough paper around it to resist tearing. Thread a ribbon loop through and knot it securely, or follow the directions for an optional eyelet. Hold the ornament by the loop to see whether it faces forward. If it tilts, move the hanging point on the next blank or adjust the ribbon, instead of adding a heavy decoration to counterbalance it. Allow all glued areas to finish curing according to the product instructions before hanging.
Display and Keep the Botanical Details Intact
Hang a few ornaments at staggered heights on a stable branch in a vase or on a Christmas tree. The paper is best kept away from water, open flame and damp outdoor conditions. Store the finished pieces flat between clean sheets after the season, especially if the foliage has raised edges. A shallow box keeps ribbons from pressing against the leaves.
Shop Materials and Tools
Cardstock that cuts without fraying
Look for a paper weight your scissors or cutting tool can handle cleanly. If you plan to build folded dimensional forms, test how the stock scores before buying a large pack; extremely rigid board is harder to fold neatly.
Prepared pressed botanicals
Choose flat, fully dried specimens with several sizes of leaves or flowers. Product photos should show recognizable individual pieces and packaging that protects the fragile material in transit.
A precise small hole punch
Check that the throat reach allows a hole at your chosen top position and that the punch works with your cardstock. A large office punch can remove too much material from a small ornament.
Narrow ribbon for secure loops
A ribbon that threads easily through the finished hole will hang more cleanly than a wide bow. A mixed pack in cream, muted green and burgundy can tie varied paper shapes into one collection.
Paper and botanical adhesive
Read the actual product directions for paper and delicate dried plant material. Test for staining or warping before using it on the most attractive pressed leaves.
Final Project Tip
Keep one unglued sample of each silhouette with the stored ornaments; next year it can serve as a cutting template without handling the fragile finished pieces.