
*This post may contain affiliate links for which I earn commissions.*
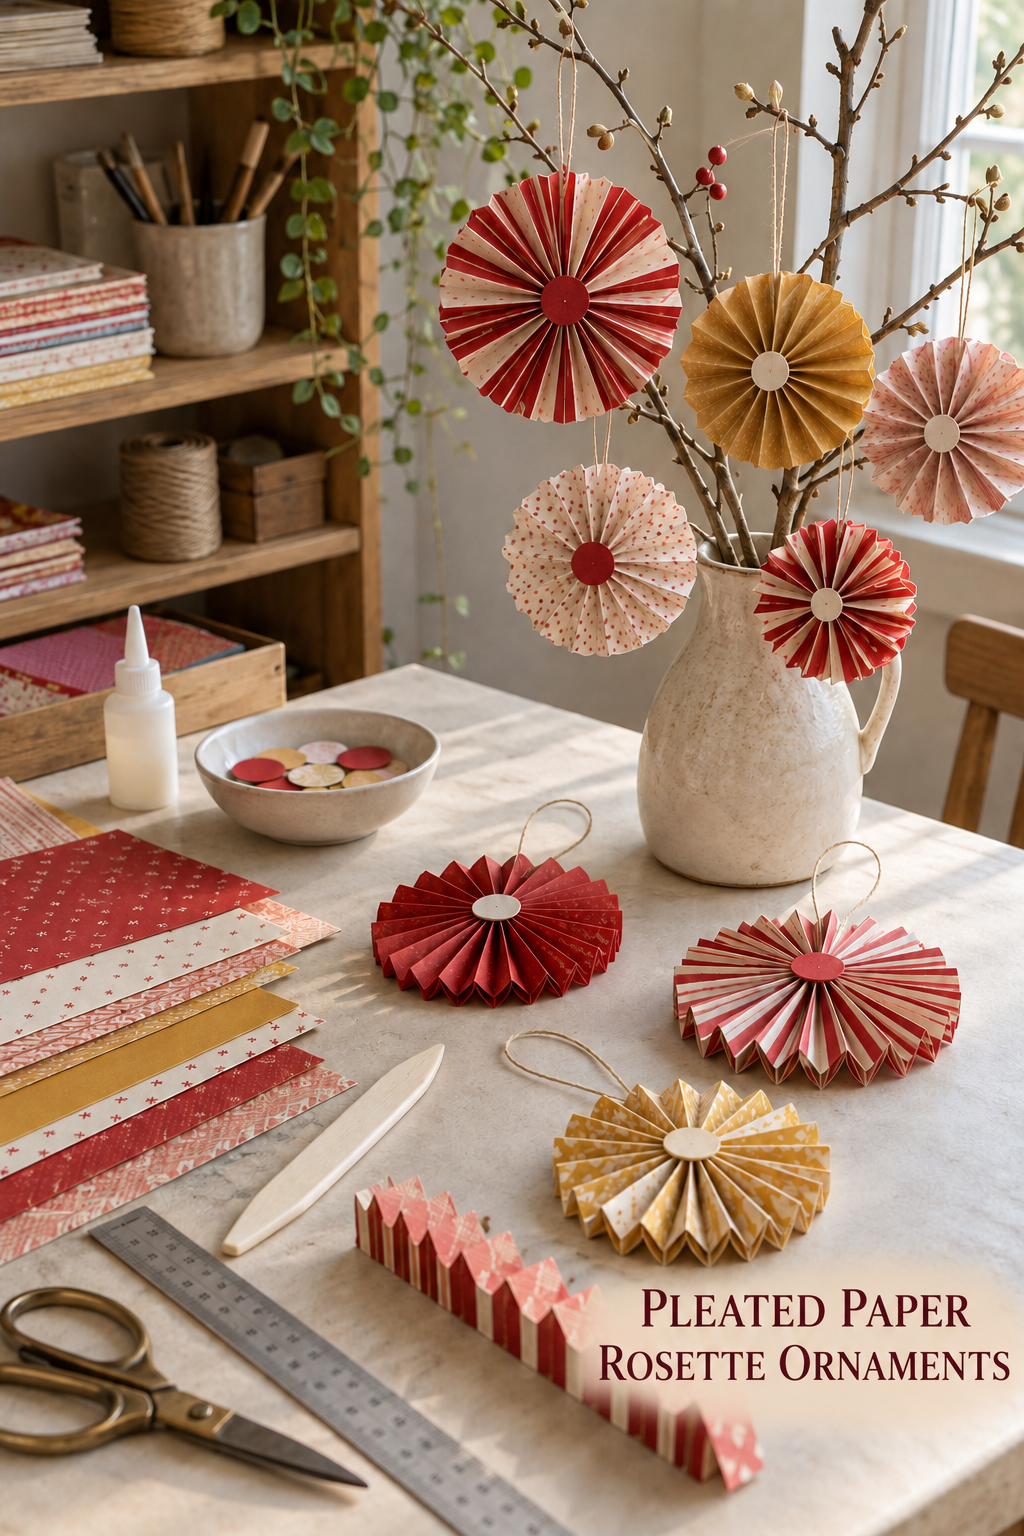
This image was created with AI and is presented as project inspiration. The steps below are a practical way to make comparable ornaments, rather than a claim about how the pictured objects were constructed.
Pleated paper rosettes make a lively set of Christmas ornaments from a few sheets of patterned paper. The inspiration image pairs red, cream, pink, and ochre fans on bare branches, with folded strips and spare circles left on the worktable. This tutorial builds a similar collection using simple accordion folds and small paper center disks.
Materials and Tools
Paper for the fan and its center
Choose patterned or solid paper that creases cleanly without cracking. Medium-weight craft paper is easier to fold into repeated pleats than very heavy board; a contrasting sheet of cardstock can supply the small disks that cover the joins. The striped, dotted, and warm solid colors in the image are useful references, but a limited selection of two patterns and one plain color is enough for a coherent set.
Cutting, folding, and joining supplies
You will need a ruler, pencil, scissors or a paper trimmer, a bone folder or scoring tool, and a craft adhesive suitable for your chosen paper. A small circle punch can speed up center disks, although tracing and cutting circles works too. Keep clips or small weights nearby to hold glued joins while the adhesive sets according to its instructions.
Hanging supplies
Use light cord or thread for each hanging loop. A hole punch or a large needle used carefully on the paper can create a route for the loop. If a branch display is planned, put the branches in a stable vase before deciding on loop length. The image includes a branch display and several rosettes lying flat, so it offers both hanging and tabletop styling ideas.
Before You Start
Test one fold before cutting the set
Fold a scrap strip in your chosen paper to check that the creases hold and the surface does not split. A test also reveals how wide the pleats will look from a distance. Finer pleats make a denser fan; wider pleats let a bold stripe remain legible. Select paper and pleat width together rather than buying a thick sheet solely for its print.
Plan a few related sizes
Cut equal-width strips for each individual ornament, and make a few ornaments in different diameters for a varied branch display. The strip width becomes roughly the fan’s radius, while the combined length and pleat width determine whether its ends can meet in a full circle. Make one complete sample before cutting every strip. Keep a clear area on the table for pressing the assembled fans flat.
Step-by-Step Instructions
1. Cut matching strips for the first rosette
Measure and cut two or more strips of the same width from one paper. Keep the long edges straight so the finished perimeter looks even. If the design has strong vertical stripes, decide whether you want the stripes to radiate from the center or cross the folds before cutting the full set. Make a small pencil mark on the back to keep the paper orientation consistent.
2. Score and accordion-fold each strip
Mark regular fold intervals along the back. Score lightly with a ruler and bone folder, then fold forward and backward in alternating directions. Press every crease firmly, especially near the long edges. The photo shows crisp repeated ribs, so uneven or shallow folds will be more noticeable than tiny differences in printed pattern. Stack the finished strips and check that their pleats match before joining them.
3. Join the folded lengths into a ring
Attach the short end of one folded strip to the next, matching mountain and valley folds so the join does not interrupt the rhythm. Use only enough adhesive to secure the overlap; excess glue can stiffen one section and make the circle buckle. Continue until the folded lengths form a closed ring. Let the joins hold before opening the ring into a fan.
4. Flatten the ring and secure the center
Stand the ring upright on the work surface, then bring its inner edge gently toward the center until it lies flat. If the circle springs open or has a large gap, add another folded segment instead of forcing the paper. Hold the shape and attach a small backing circle underneath with adhesive appropriate for the paper. A second circle on the front hides the seam and gives the ornament the tidy central dot seen in the inspiration image. Allow the bond to set before lifting the fan.
5. Add a loop without stressing the pleats
Attach a light hanging loop near the upper edge through a reinforced point or around a stable joined pleat. Test the ornament by holding the loop over the table. If the paper tips forward, shift the attachment point slightly; if a fold begins to tear, use a small backing patch rather than pulling harder. A visible loop gives the ornament a believable way to hang from a branch.
6. Make a coordinated group
Repeat the method with a second pattern and a plain color, changing diameter or center-disk color for variety. Spread the finished pieces on the table before hanging them. If all the strongest stripes gather on one side, swap positions so the collection has a gentler rhythm. Leave a little space between the hanging fans so their edges do not crush one another.
Display and Store the Paper Fans
Hang the light ornaments from sturdy branches in a stable vessel, from a tree, or on a paper garland. Keep them away from open flames, hot bulbs, moisture, and places where they will be brushed often. For storage, lay them flat between clean sheets in a shallow box; do not pile heavy decorations on top. A loose loop can stay attached if it is tucked inside the fan’s outline.
Shop Materials and Tools
Choose paper that folds cleanly
Compare craft papers by their flexibility and print on both sides. A single-sided white reverse can become prominent as the pleats turn; double-sided pattern or a compatible solid reverse gives more control. Check sheet dimensions against your intended fan size before committing to a pack.
A scoring tool for repeatable creases
A bone folder or scoring board helps make regular folds without fighting the paper. Look for a comfortable tool edge that creases cleanly, and check whether a board’s groove spacing suits the pleat widths you intend to use. A basic ruler and bone folder can be enough for a small batch.
Compare adhesives for paper joins
Choose an adhesive intended for paper that gives you enough working time to align the last pleat and holds once fully set. Test it on a scrap of the actual sheet, since glossy printed surfaces and absorbent cardstock can behave differently. Avoid relying on a large wet patch that might warp the visible center.
Center disks and hanging cord
A circle punch is most useful if you plan many ornaments; choose a disk size that covers the center opening without masking most of the fan. For cord, compare thickness against the paper’s scale and select one light enough that the loop does not dominate the ornament.
Final Project Tip
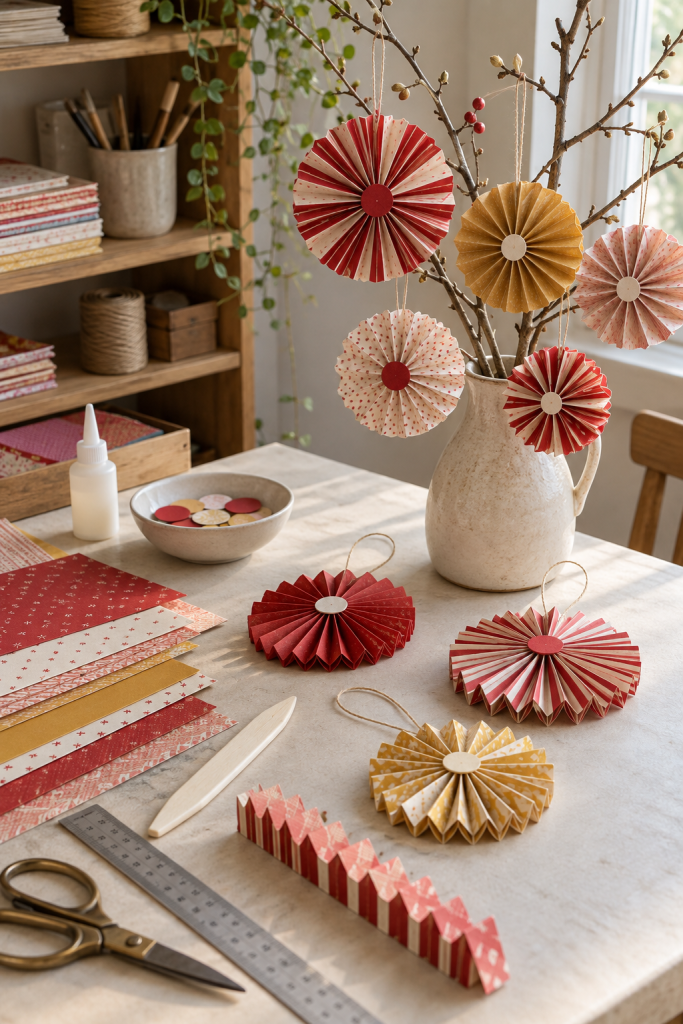
Keep one unglued sample strip with the finished set. Next year it can serve as a quick guide to the pleat width and paper orientation if you want to add matching ornaments.