*This post may contain affiliate links for which I earn commissions.*
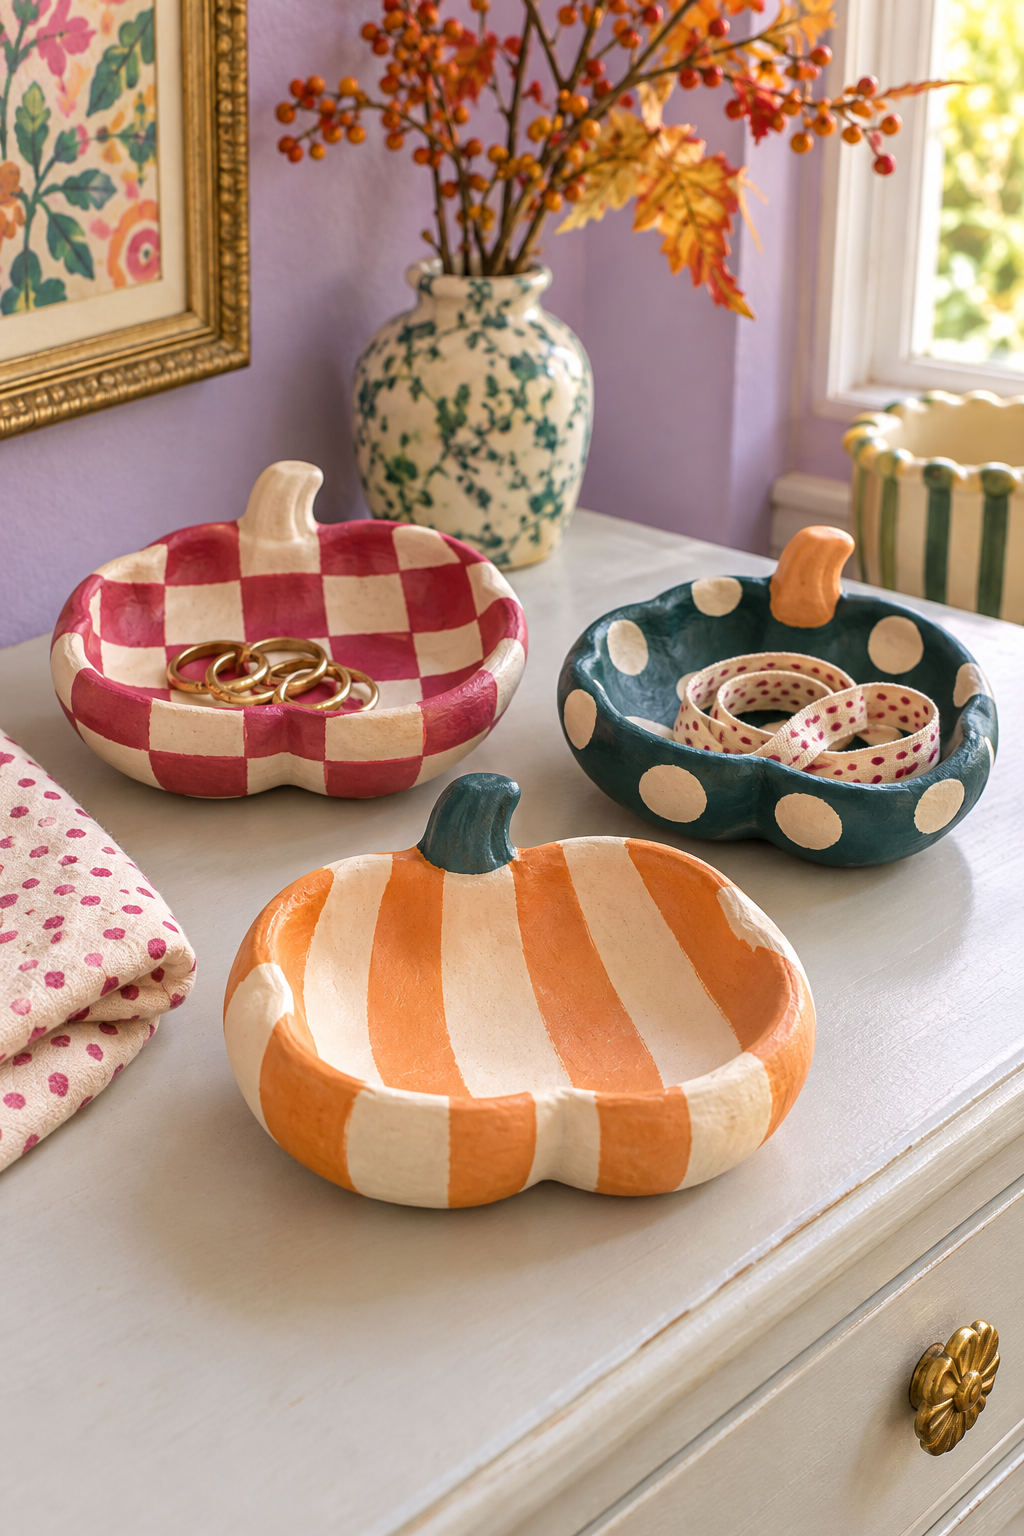
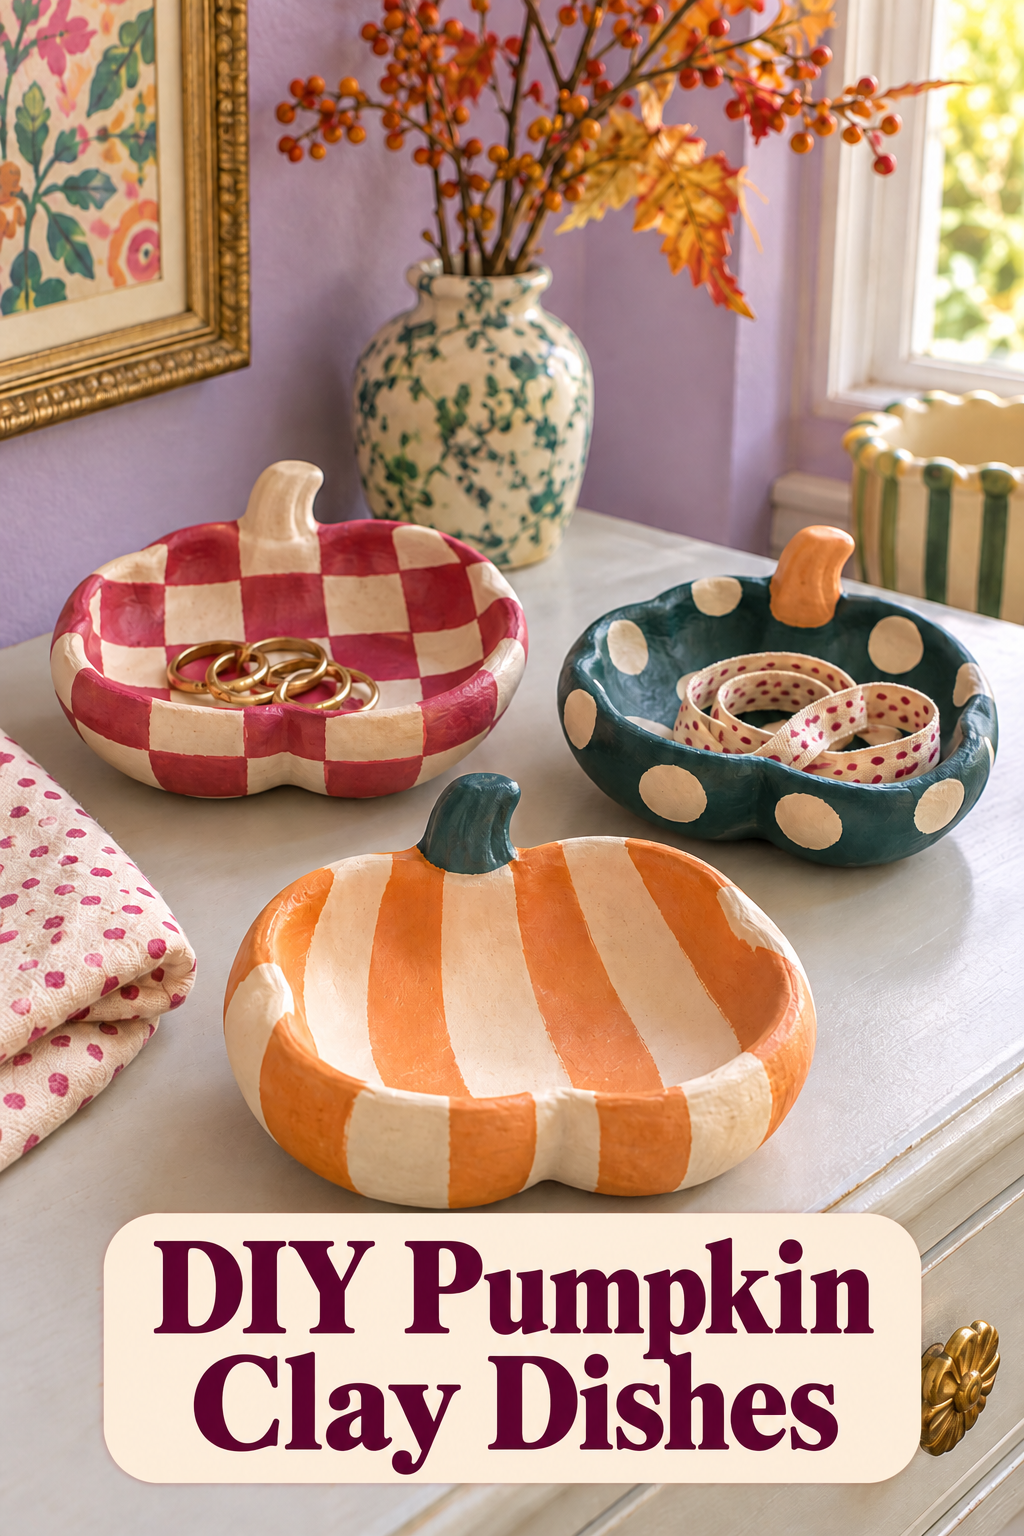
Image created with AI. This image serves as visual inspiration for the project below.
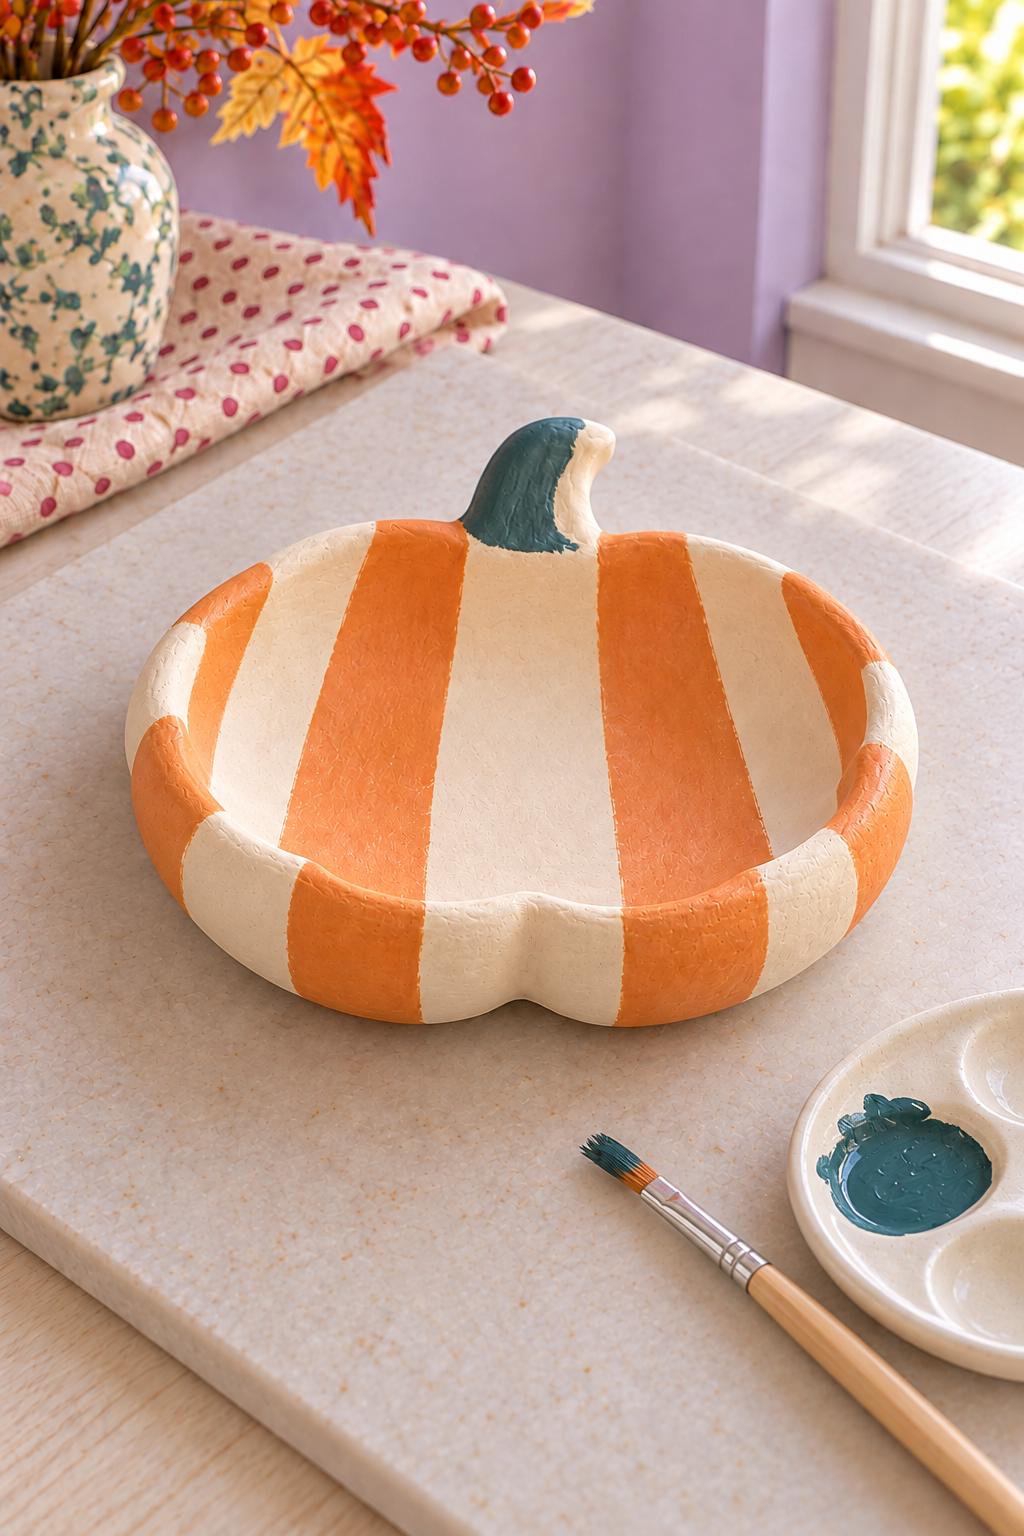
Make a small set of pumpkin-shaped catchalls with shallow centers, rounded lobes and bold painted patterns. The striped orange-and-cream dish is the starting point, with a dark teal stem. A raspberry checked dish and a teal dotted companion show how the same simple shape can carry different designs.
The method here uses a single slab of air-dry clay shaped over a shallow support, then painted after drying. It recreates the rounded dish form without a kiln or a separate glued-on stem.
What You’re Making
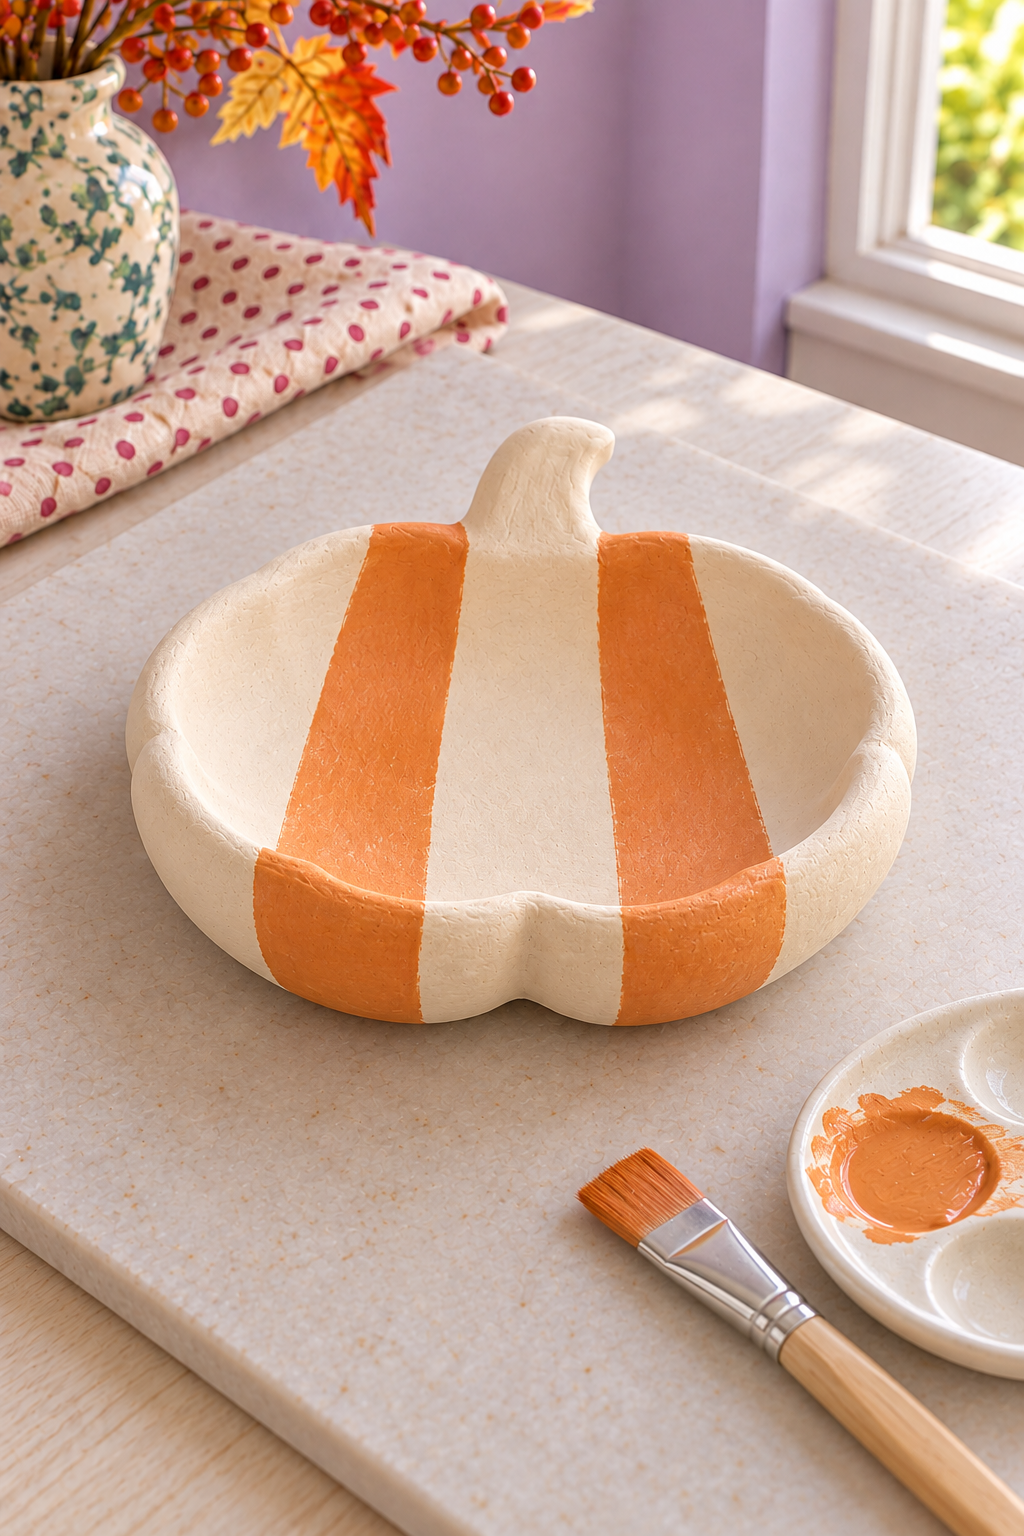
Each dish starts as one pumpkin-shaped cutout with a short stem included in its outline. Gentle shaping raises the perimeter around a broad, shallow center. Broad painted bands follow the front dish’s lobes, while the stem receives a contrasting solid color.
These are decorative indoor trinket dishes for small dry objects. Treat them as craft pieces rather than food dishes, candleholders or washable ceramic bowls. The rounded rim and slightly uneven painted edges can look handmade while the overall shape stays clear.
Materials and Supplies
Main Materials
- Air-dry clay suitable for slab shaping
- Clay-compatible craft paints in cream, apricot and dark teal
- Raspberry paint for the checked companion
- Smooth release film compatible with the clay and forming support
Tools
- Smooth rolling tool and work board
- Paper, pencil and scissors for a homemade outline
- Clay cutting tool
- Small shallow bowl or dish for forming
- Smooth shaping tool and small water container
- Flat brush and small detail brush
- Scrap board or palette for paint
- Fine abrasive pad suitable for the dried clay
Before You Start
Choose a gentle forming support
Use a shallow dish with a broad, relatively flat center and gently rising sides. A deep cereal bowl would pull the clay into a different shape. Select a support that accommodates your whole pumpkin body without sharply bending the stem. Check your clay’s directions for release materials, thickness and removal from a mold.
Make space for drying
Prepare a level location where the piece can remain undisturbed. Drying and handling times depend on the actual clay, thickness and room conditions. Plan the painting session separately so you are not tempted to decorate a piece that is still damp inside.
Step-by-Step Tutorial
1. Draw a broad pumpkin with an integral stem
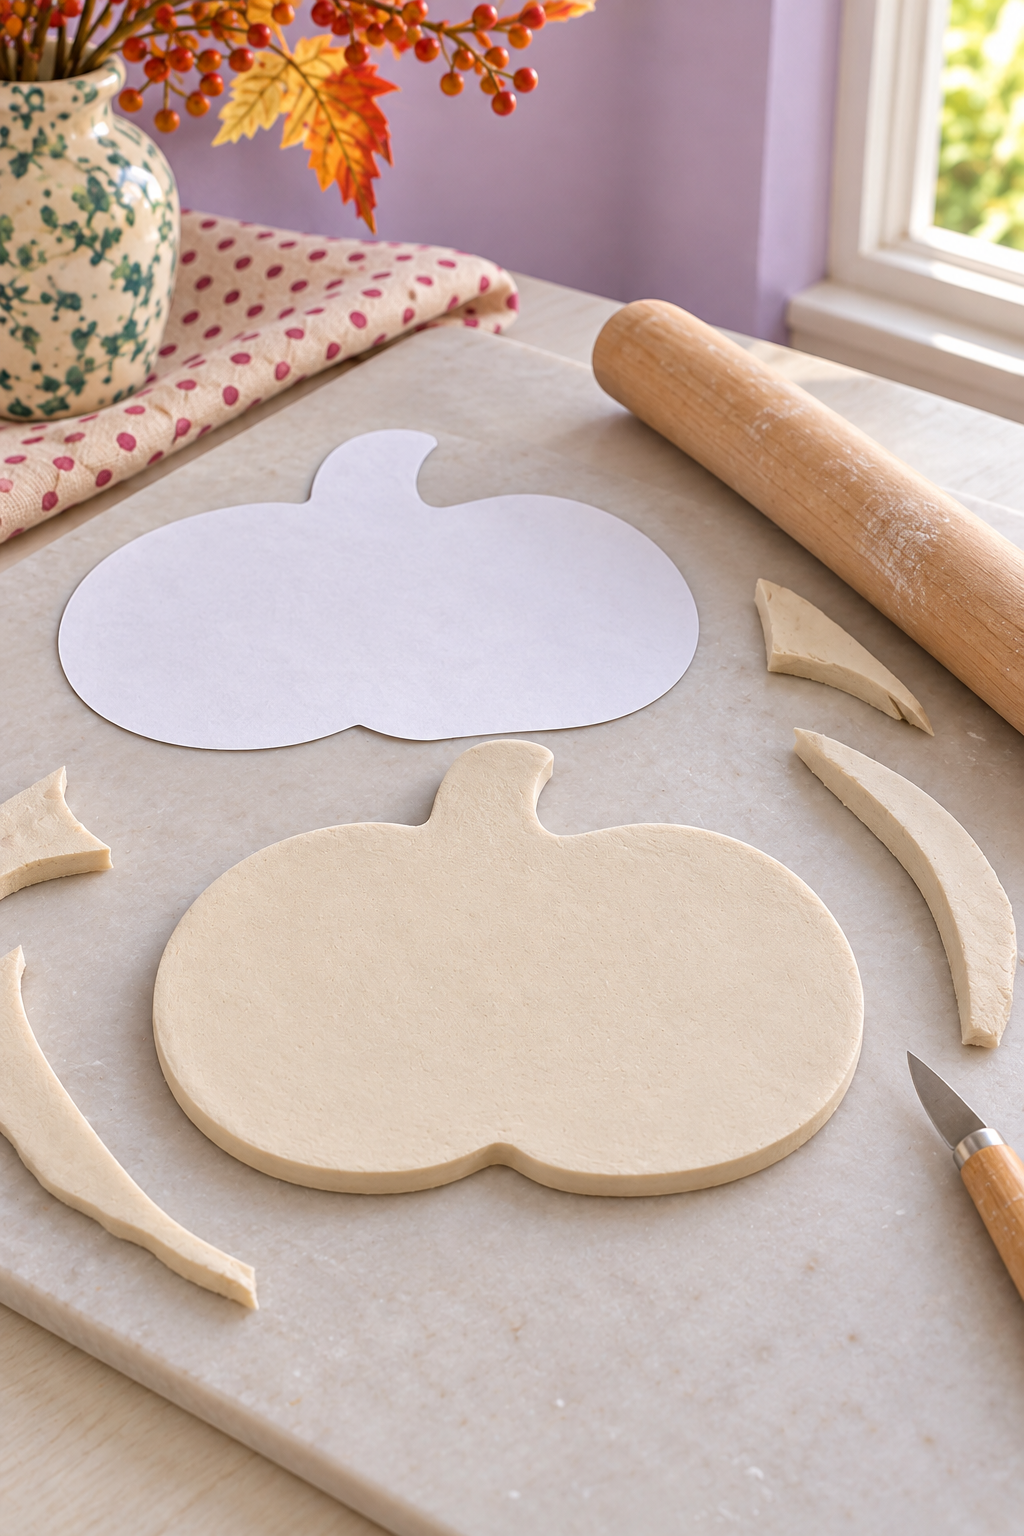
On paper, draw a squat oval wider than it is tall. Round its upper edge into three broad lobes, with shallow dips between them. Add a small inward notch at the bottom and a short, thick stem at the top center. Keep the stem base broad where it meets the body; a narrow neck would be harder to handle.
Cut out the paper shape and set it inside your forming dish. It should fit without folding onto itself. Adjust the outline before touching the clay, leaving enough room for the perimeter to curve upward gently.
2. Roll an even slab and cut the outline
Roll the clay on the work board to the thickness recommended for this kind of project by its maker. Keep the slab reasonably even and large enough for the whole template. Lay the paper lightly on top and cut around it with the clay tool, working slowly through the rounded lobes and stem junction.
Remove the paper and surrounding scraps. The stem should remain part of the same piece, with no seam or added component. Smooth rough cut edges using the shaping tool and only the moisture permitted by your clay’s instructions. Do not soak the slab to make it easier to handle.
3. Ease the cutout into a shallow dish
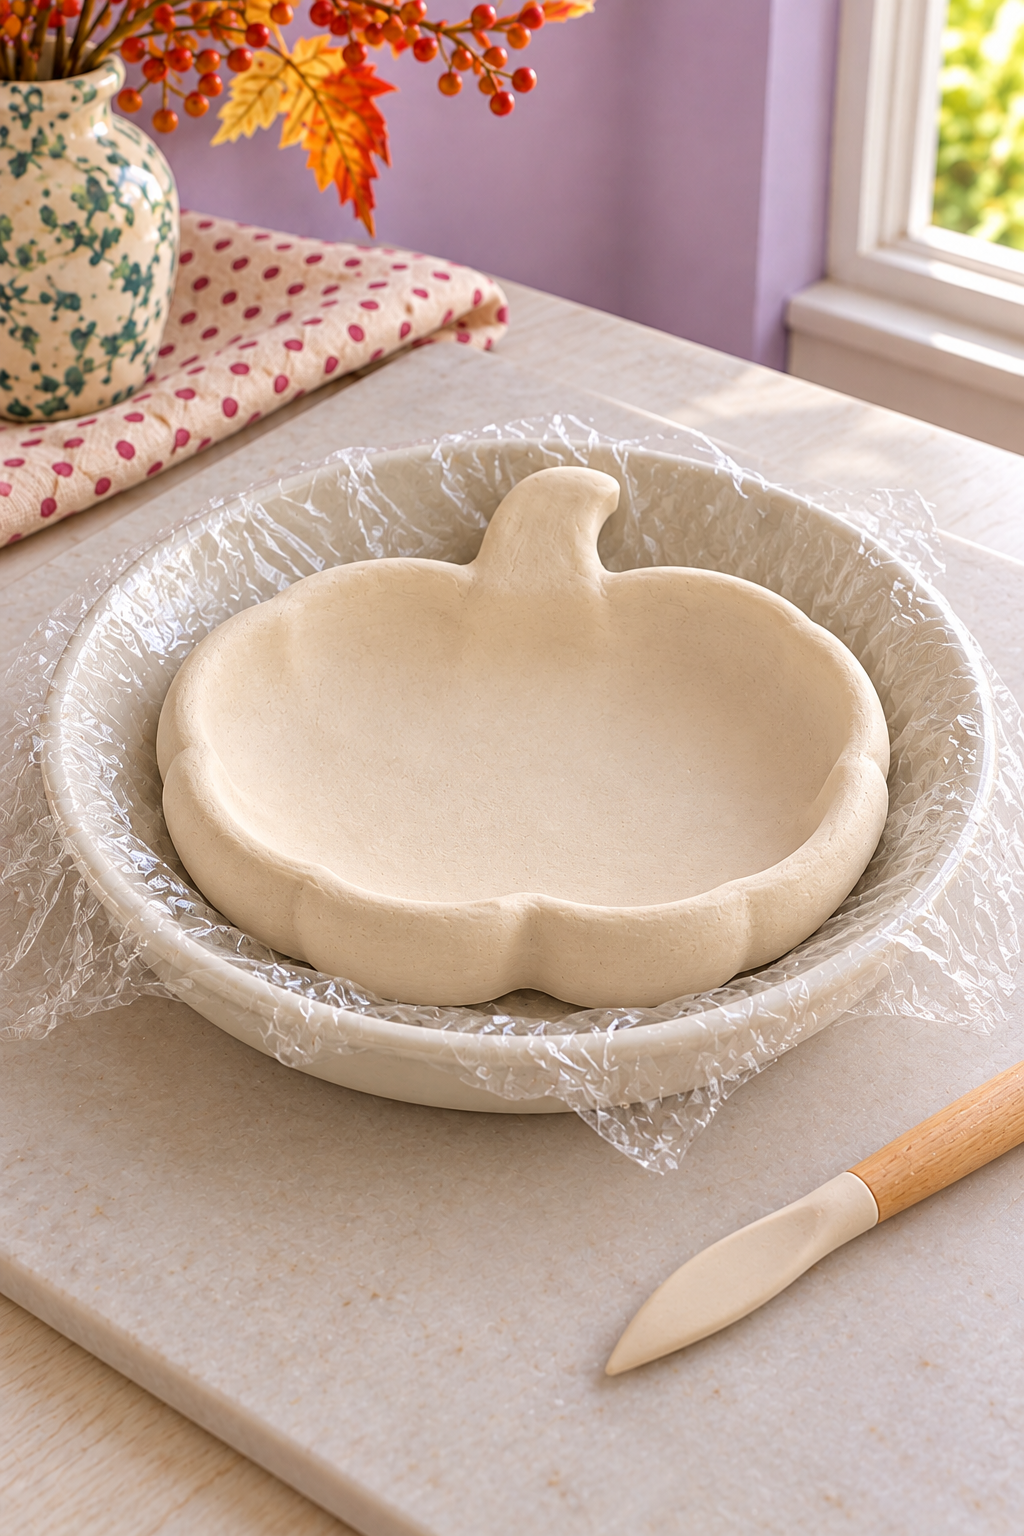
Line the support with the compatible release film, flattening wrinkles where they would mark the clay. Lift the cutout with support beneath its whole body, then lower it into the dish. Press gently from the center outward so the middle rests on the support and the perimeter rises gradually.
Preserve the lobed outline instead of squeezing it into a circle. Let the short stem rise with the back edge without folding it sharply. If the clay cracks, stop and follow the maker’s repair guidance while it is still workable. Avoid forcing a stiffening slab into a deeper curve.
4. Dry, release and refine the rim
Follow the clay’s instructions for drying in the support and releasing the piece. When handling is permitted, remove the support carefully and allow any remaining drying needed on the underside. Rest the dish on a level surface so it does not dry with a twisted base.
Once fully dry, inspect the rim and stem. Lightly refine any rough spot with the appropriate fine abrasive pad, following the material’s dust-handling directions. Do not grind away the stem junction or try to flatten a warped piece by force. Remove residue as instructed before applying paint.
5. Paint the cream foundation and broad apricot bands
Apply a thin cream base coat with a clay-compatible paint and let it dry as directed. Plan a few broad vertical apricot bands from the upper lobes toward the bottom edge. Use the front dish in the image as the color reference, allowing the bands to curve naturally across the shallow interior.
Paint one band at a time with the flat brush. Keep the cream spaces broad enough to remain visible, and carry the stripes over the rim onto the outside where you can reach without touching wet paint. Use successive thin coats if the paint instructions allow them rather than flooding the surface.
6. Finish the stem and add patterned companions
When the body paint is dry enough to handle, paint the integral stem dark teal with the detail brush. Work carefully along its base so the contrasting color has a clear boundary. Let the coatings dry and cure according to their instructions before putting objects in the dish.
For the checked companion, paint a cream foundation and a loose grid of broad raspberry squares, alternating colored and cream spaces. For the dotted companion, use a dark teal foundation and spaced cream circles. Keep these repeats larger than tiny decorative marks so they read across the room.
Keep the Painted Shape Clear
Test the pattern on a paper version of the pumpkin before painting another dish. A check that works on a square sample may split awkwardly at the stem, while dots can become crowded along the narrower bottom lobe. Moving a repeat slightly usually helps more than adding extra detail.
If one dry painted edge looks uneven, tidy that small area with the neighboring color. There is no need to repaint the whole dish or remove every sign of brushwork.
Change the Set’s Personality
Try a raspberry stem on the striped dish or change the dotted dish’s background while keeping the cream dots. Vary the body width a little across the set, but preserve broad stems and shallow centers. A larger shape needs its own support and clay-thickness assessment rather than simply stretching a small template.
Display the Dishes on a Fall Dresser
Arrange them separately so each outline shows. Put a few small dry trinkets in a rear dish and leave the striped one empty to display its bands. Lift the dishes when cleaning beneath them instead of dragging the painted bases across the furniture.
Keep them indoors and dry, and follow the clay and paint makers’ care guidance. Pack each dish with support around its rim and stem when the season ends; avoid stacking weight onto those projecting edges.
A pumpkin outline gives this little set its seasonal character before a single object goes inside. Let the final painting stay bold enough to enjoy at that small scale.