*This post may contain affiliate links for which I earn commissions.*
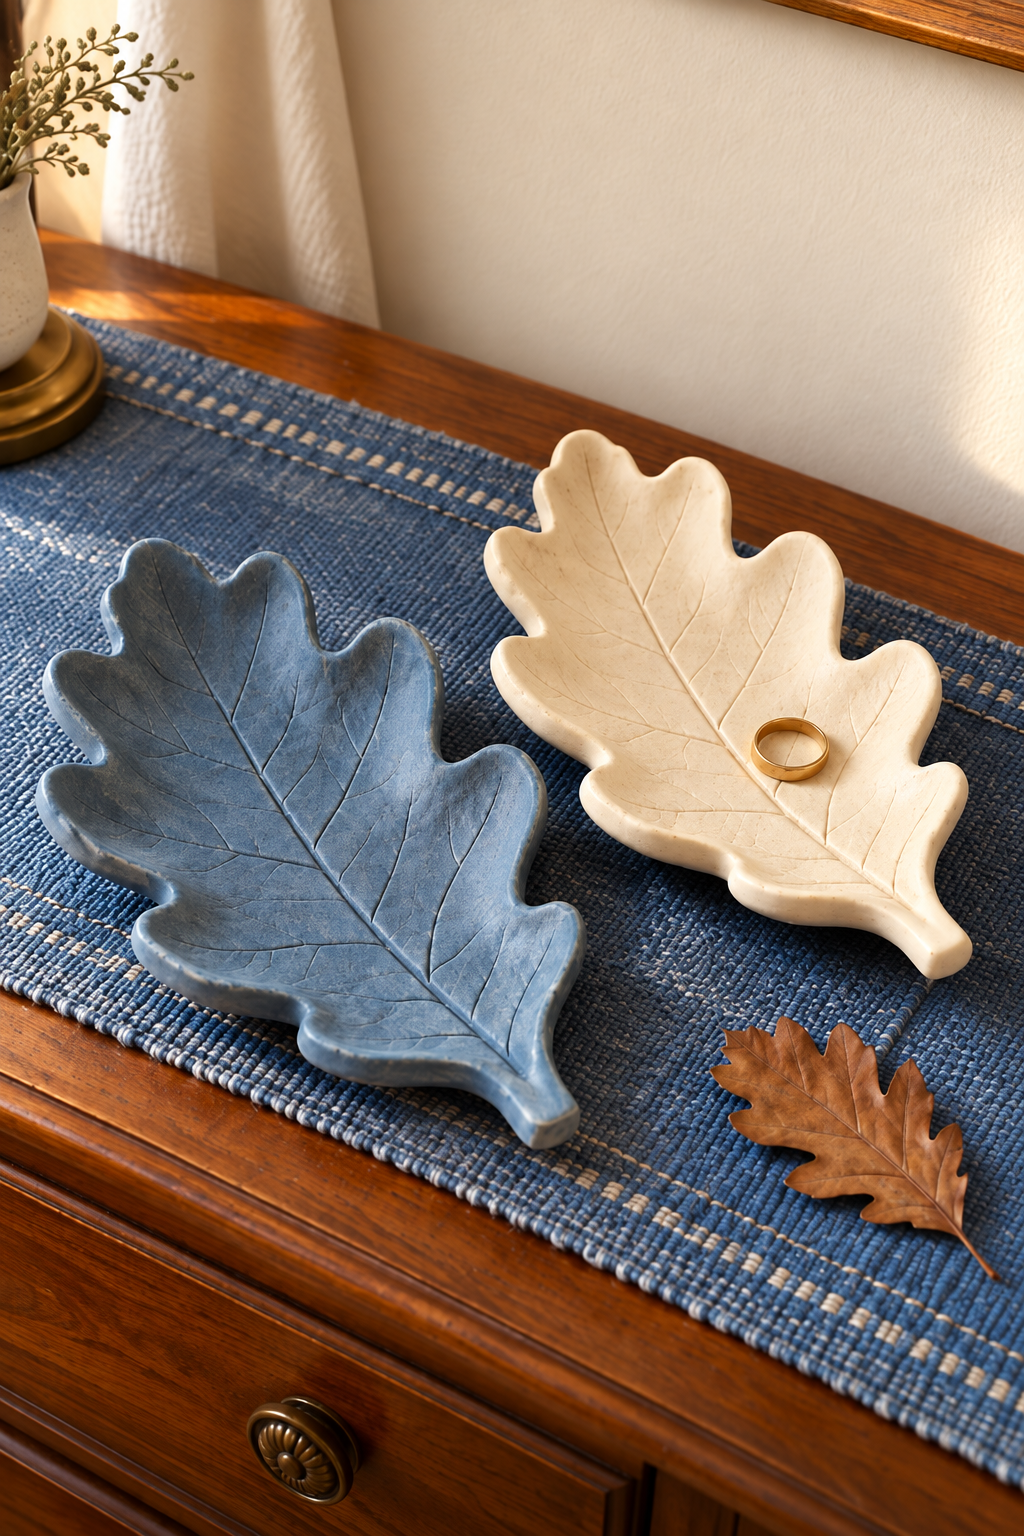
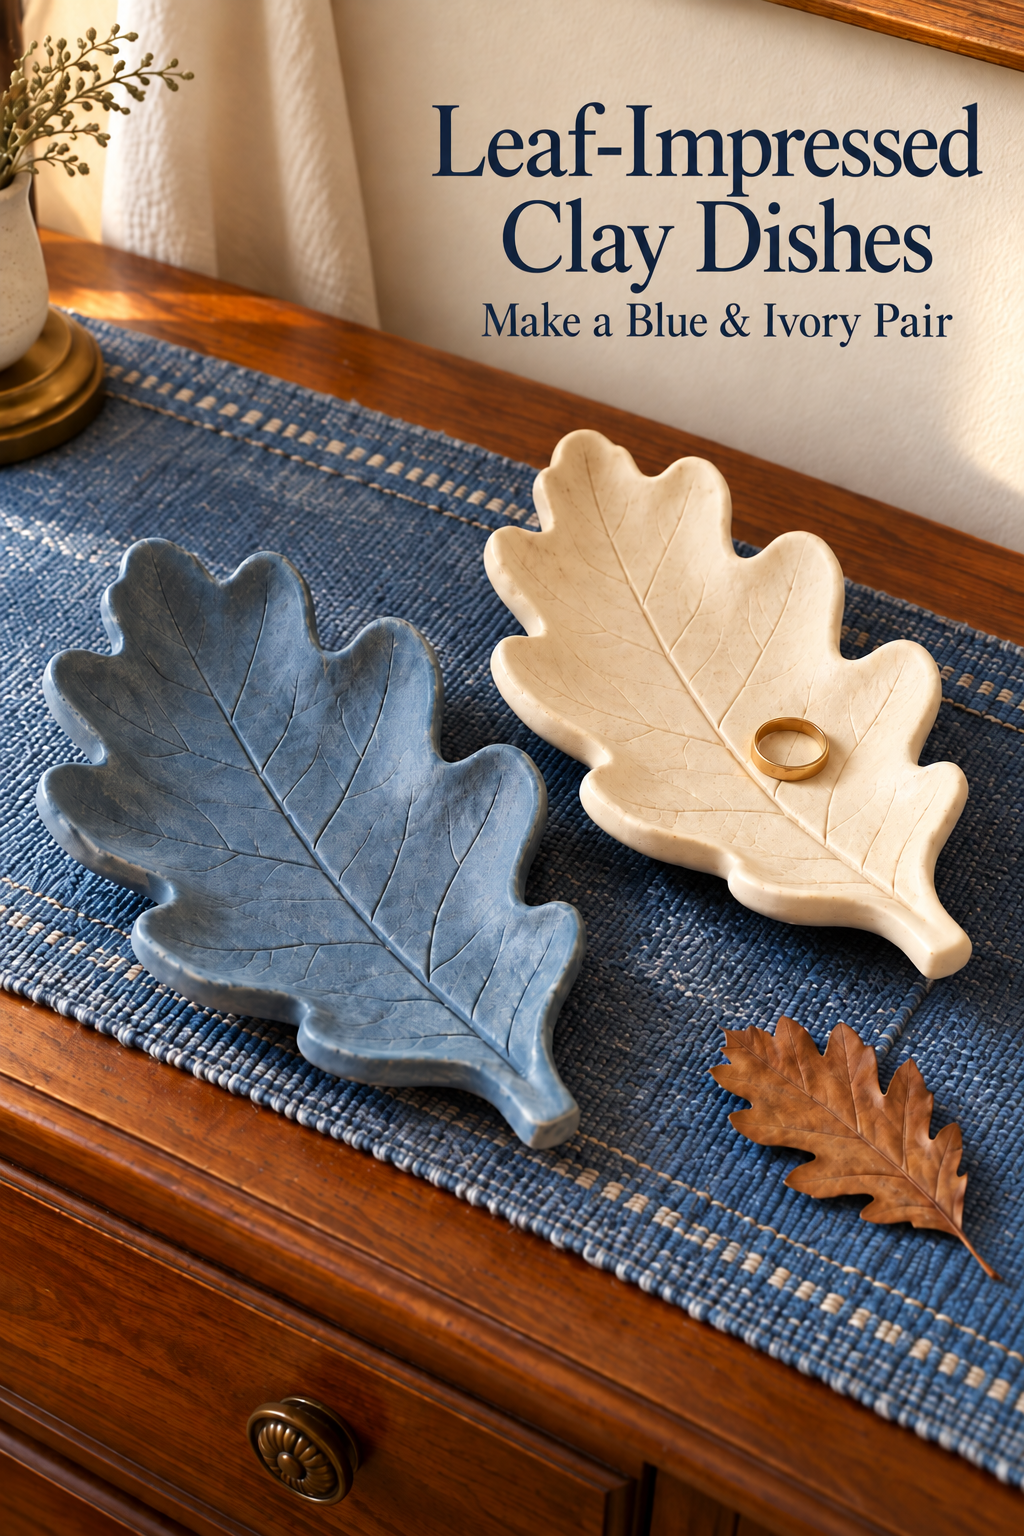
Image created with AI. This image serves as visual inspiration for the project below. The tutorial uses air-dry clay and paint as an accessible way to recreate the leaf shapes and soft finish.
Turn an oak leaf into a small dish with a scalloped outline and a delicate network of veins. A muted blue and warm ivory pair gives everyday rings a resting place while bringing a little fall texture to a dresser.
What You’re Making
You’ll make two shallow decorative dishes with rounded oak-leaf lobes, short stems, and gently lifted edges. Real leaves provide both the outline and the impressed detail. Choose similarly sized leaves for a coordinated pair; they need not be identical.
These are indoor trinket dishes for small, dry objects. This method does not produce food-safe, waterproof, or heat-resistant pottery.
Materials and Supplies
Main Materials
- Air-dry clay suitable for rolling and shaping
- Two flexible oak leaves with rounded lobes and prominent veins
- Muted blue acrylic craft paint
- Warm ivory acrylic craft paint
- Matte acrylic varnish compatible with the clay and paint
Tools
- Smooth craft rolling pin
- Nonstick craft mat
- Small clay knife or cutting tool
- Shallow bowls or saucers for shaping
- Plastic wrap
- Soft paintbrushes
- Small sponge
- Fine sanding sponge
- Paint palette
- Water cup
Before You Start
Choose leaves that will make usable dishes
Look for intact, flexible leaves with rounded lobes and a clear central vein. A brittle dried leaf may crumble under the roller. Wash off dirt and dry the leaves before bringing them to the work surface.
For dresser-sized dishes, a leaf roughly the length of your hand is a useful starting point. The finished clay can shrink, so choose the size for what you plan to place inside rather than treating the image as a measured pattern. Pick shallow supports wide enough to carry the whole leaf, including its stem.
Check the clay and finishing instructions
Read the clay’s thickness, drying, and shaping guidance before opening it. Follow the actual paint and varnish instructions for compatibility, ventilation, and drying between coats. Make a small offcut test with the same clay, paint, and varnish before finishing the dishes.
Keep the work area clear enough to move each soft piece without bending it. The shaping bowls are craft supports; cover their contact surfaces with plastic wrap and keep them separate from food preparation.
Step-by-Step Tutorial
1. Roll an even clay slab
Knead a manageable portion of clay according to its instructions, then roll it on the nonstick mat. Make a slab a little larger than the first leaf. Turn the slab as needed to keep the thickness even rather than repeatedly thinning the middle.
Use the clay manufacturer’s thickness guidance. Aim for enough substance to support the lobes and short stem without making a bulky platter. If a patch becomes much thinner than the rest, rework the slab before impressing the leaf.
2. Press in the oak-leaf veins
Place the leaf with its more prominently veined underside against the clay. Smooth it gently from the central vein toward the lobes, then pass the roller over it lightly. Use enough pressure to register the veins without driving the leaf deeply into the slab or flattening it excessively.
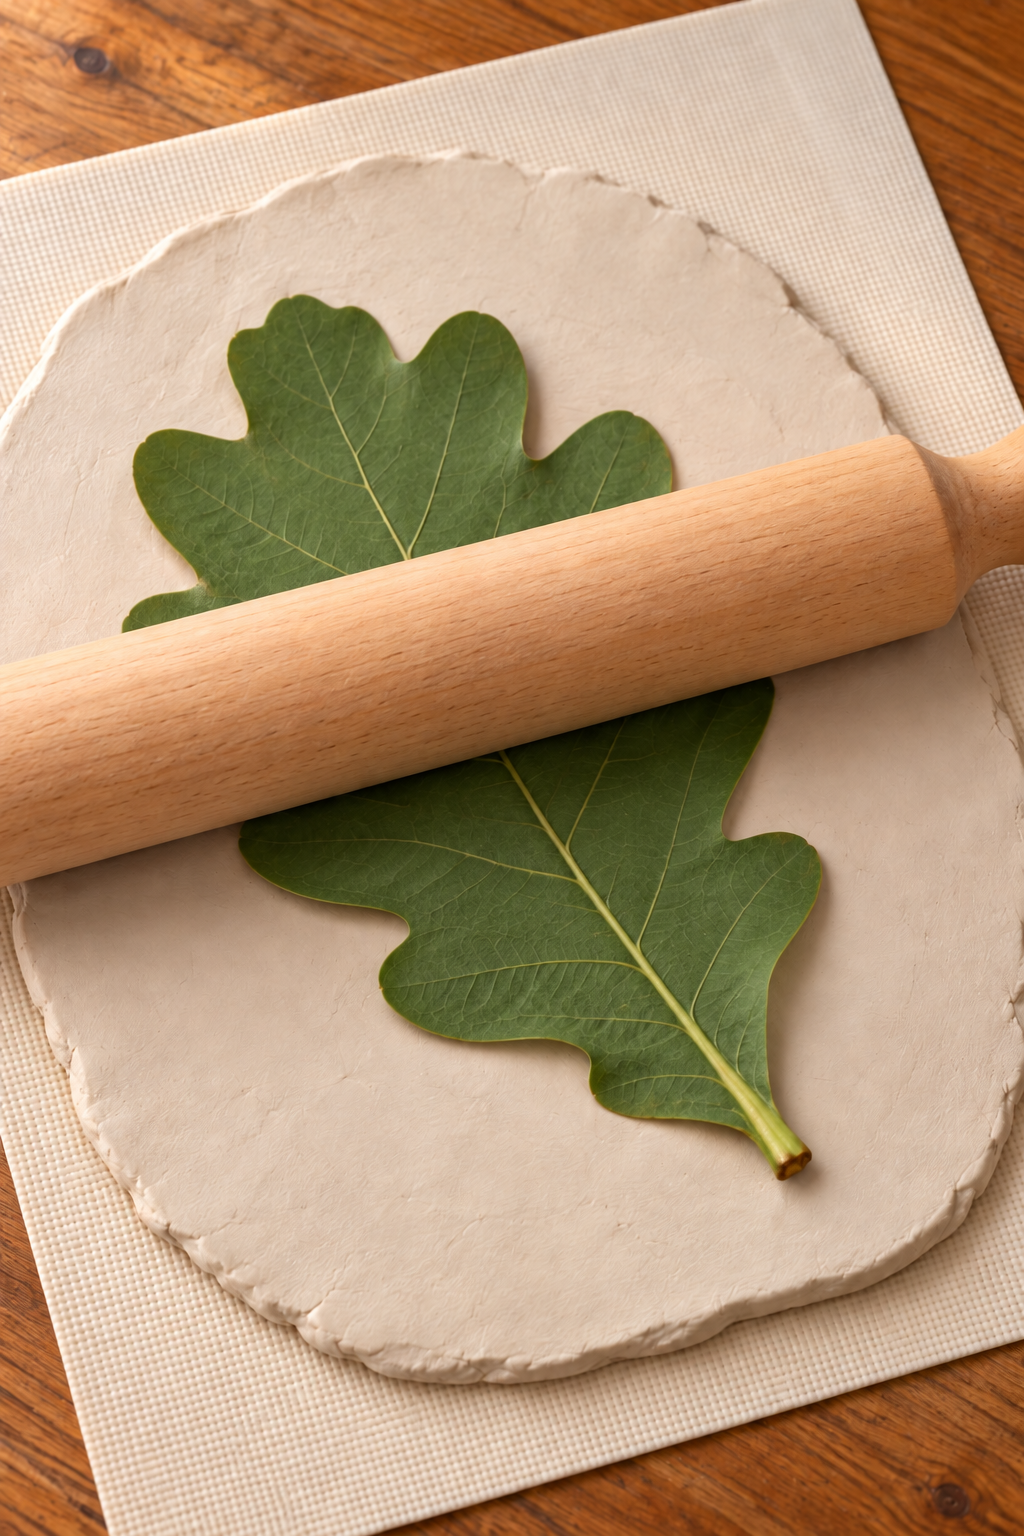
Lift the leaf slowly from its stem end. The clay should show a continuous central vein with smaller branches extending toward the lobes. If the impression is too faint, rework the slab and try again; pressing the leaf back into a partly visible print can leave doubled veins.
3. Cut the lobes and a sturdy short stem
With the leaf removed, cut around its impressed outline using the small clay knife. Follow the broad rounded lobes and the valleys between them. Remove the surrounding scraps gradually so the soft shape stays flat on the mat.
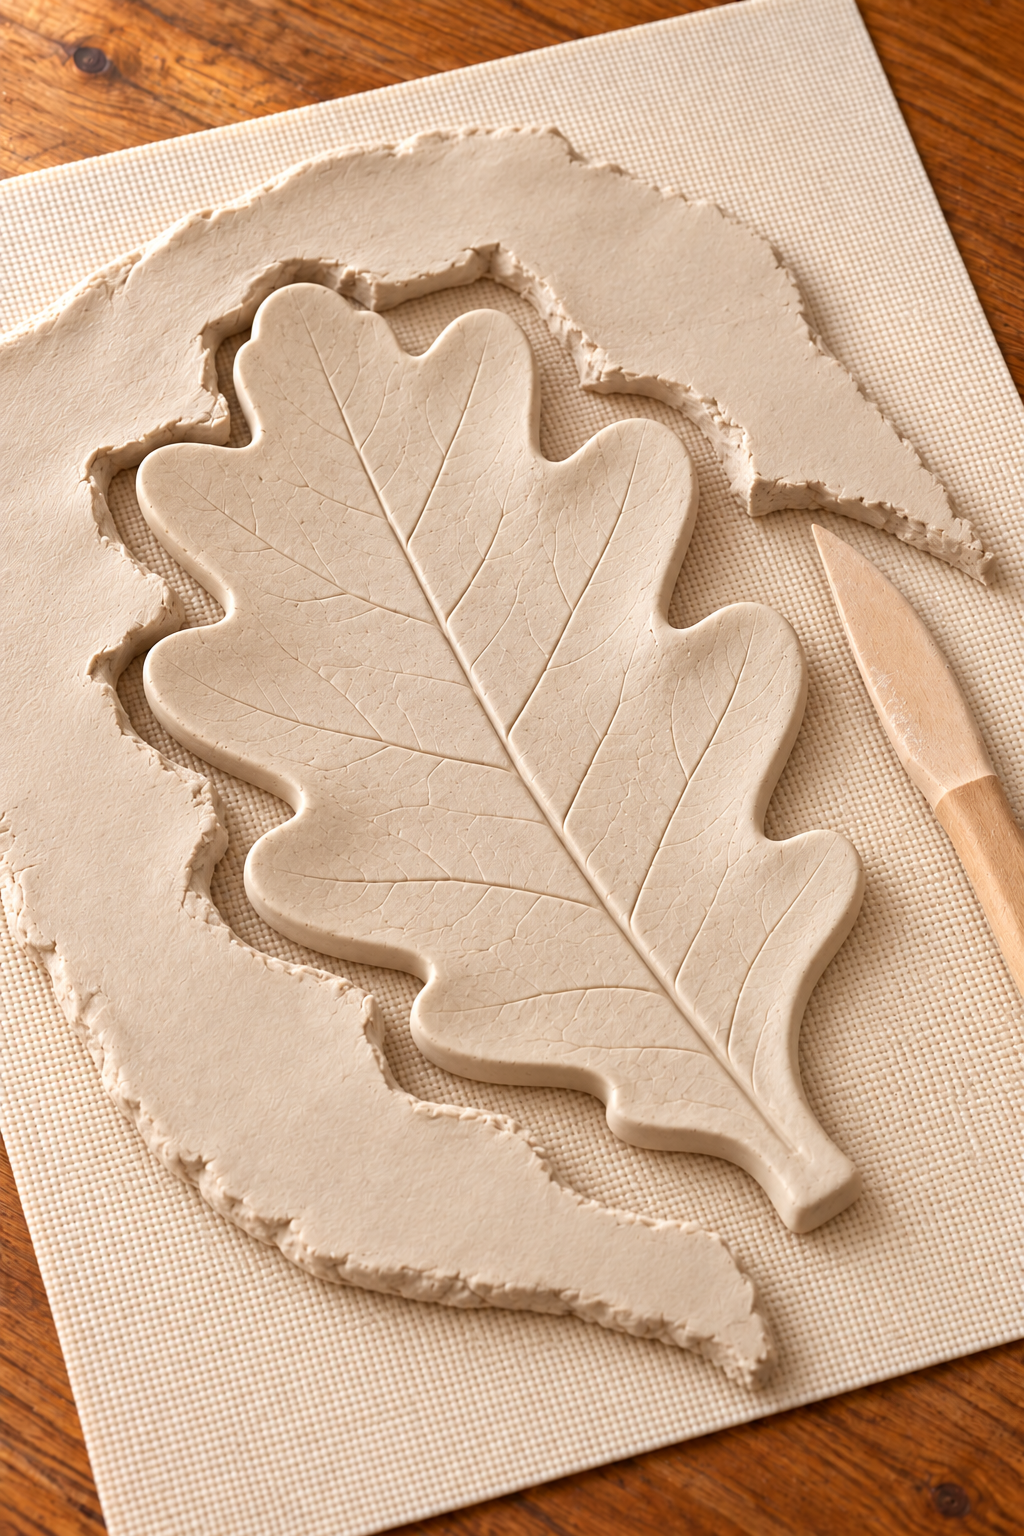
Keep the stem short and wider than a real leaf stalk, as in the inspiration image. A needle-thin clay stalk is easy to break. Round the lobe tips and stem end with a lightly damp sponge, using very little water and staying away from the impressed surface. Repeat the rolling, impressing, and cutting with the second leaf.
4. Lift the edges into a shallow dish
Line each shallow support with plastic wrap, keeping folds away from the clay’s underside where possible. Slide your fingers underneath the broad body of the cutout and transfer it into the support without pulling on the stem.
Let the middle settle into a gentle hollow. Ease the lobes upward only slightly, supporting their backs rather than pinching the top edge. Keep the vein impression facing up and preserve an open center where a ring can rest.
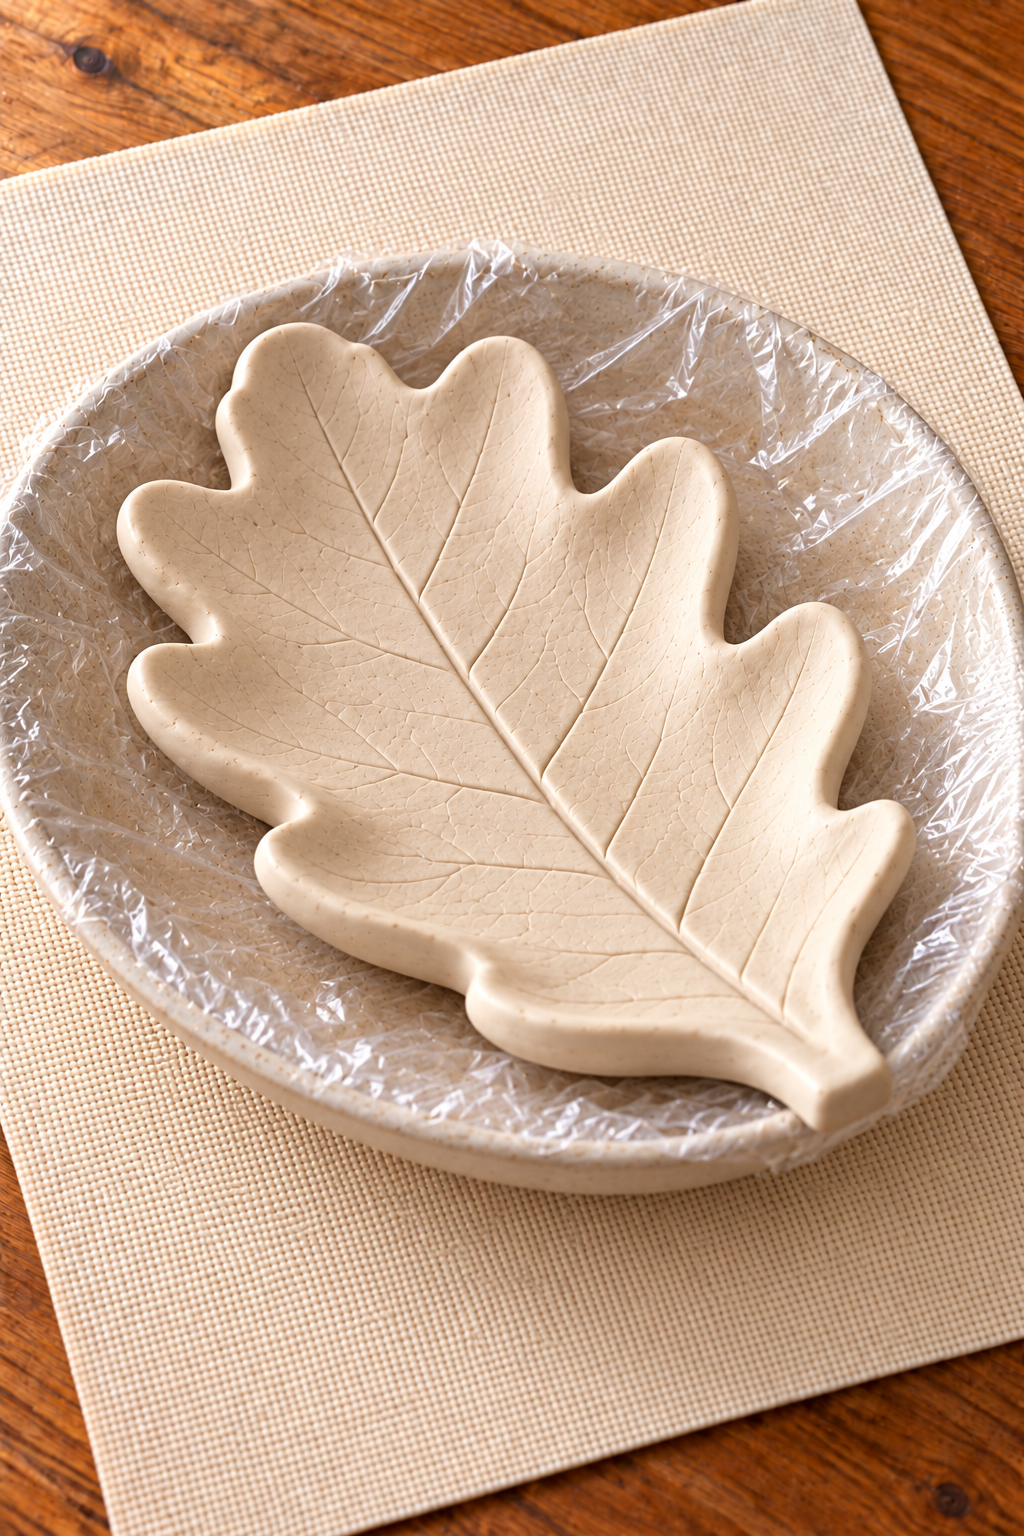
Check that every lobe and the stem has support. If the bowl makes the leaf curl into a deep cup, use a shallower support. Smooth small edge cracks while the clay remains workable, following its instructions rather than soaking the surface.
5. Dry fully and refine the edges
Leave the pieces to dry according to the clay instructions in a suitable indoor spot. Do not speed the process with an oven or direct heat. Thickness, humidity, and the covered support can affect drying, so a firm upper surface alone is not proof that the whole dish is dry.
When the clay can be handled safely under its product instructions, remove it from the support to let the underside finish drying if needed. Support the body with both hands. Once fully dry, use the fine sanding sponge sparingly on rough edges, keeping the veins intact. Follow the product’s dust guidance and wipe away residue before painting.
6. Paint the blue and ivory pair
Use the palette to prepare a small amount of each paint. Brush a thin muted blue coat over one dish and warm ivory over the other, including the rim and short stem. Work along the veins with a soft brush rather than letting paint pool inside them.
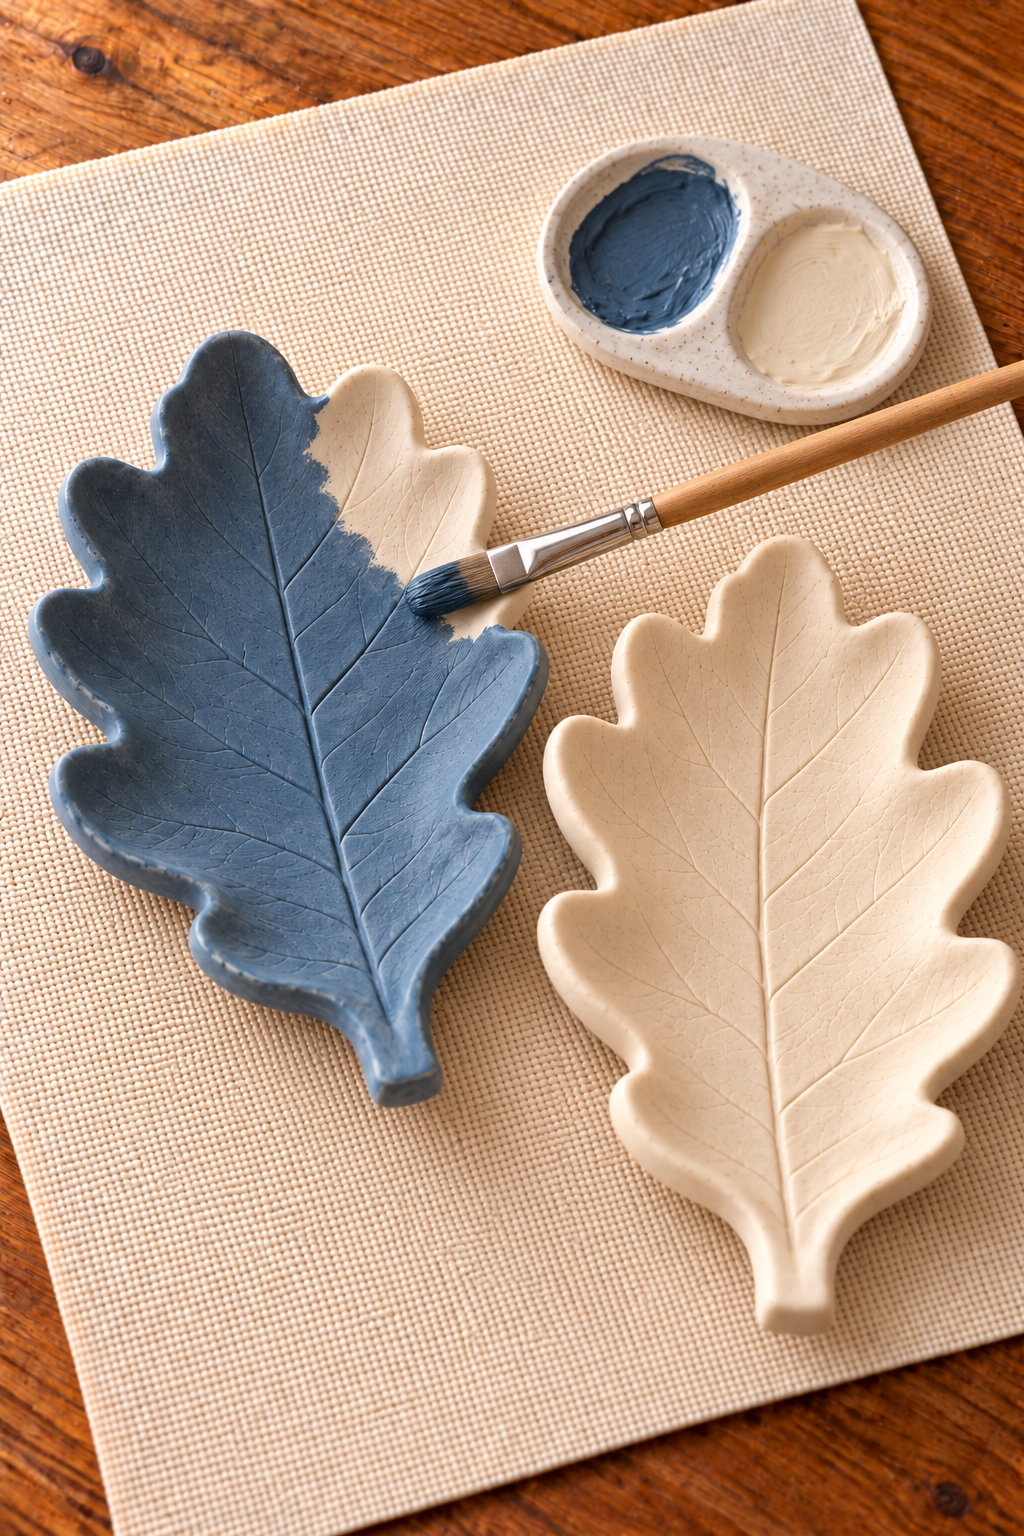
Allow coats to dry as directed. Add another thin coat only where coverage needs it, then finish the undersides. The ivory should look creamy beside the blue, rather than bright white. Keep the surface quietly irregular; thick paint can bury the botanical detail.
7. Apply a compatible matte finish
After the paint has dried as instructed, apply the tested matte varnish in thin coats according to its label. Avoid puddles in the veins and allow the finish to dry or cure fully before putting jewelry inside.
Varnish does not make ordinary air-dry clay waterproof. Keep these dishes for dry indoor display and do not use them for food, water, candles, or hot objects.
Keep the Leaf Detail Clear
If your leaf has a very thick central stalk, test its impression on a scrap first. A deep groove can weaken the center of a thin dish. Choose a finer-veined leaf if the test cuts into the slab rather than leaving a readable print.
Natural leaves also differ in how sharply their veins register. A crisp outline and a readable central vein matter more than capturing every tiny branch.
Small Ways to Adapt the Pair
Use a smaller leaf for a single-ring dish and a larger one for a few lightweight trinkets. Keep the same shallow profile so the impression remains visible. For a quieter pairing, choose a softer gray-blue paint while keeping the second dish warmly ivory.
Set Them on a Dresser
Arrange the blue dish in front and slightly left of the ivory one on a woven runner. Keep their stems pointing in a similar direction, leave some wood visible, and place just one small ring in the ivory dish to show its use without covering the veins.
Dust with a soft, dry cloth. Lift each dish by its body, and store the pair separately rather than stacking their delicate lobes.
The oak-leaf outline makes this pair feel seasonal without needing a larger display. Give the shapes a little breathing room and let the impressed veins remain the detail you notice first.