
*This post may contain affiliate links for which I earn commissions.*
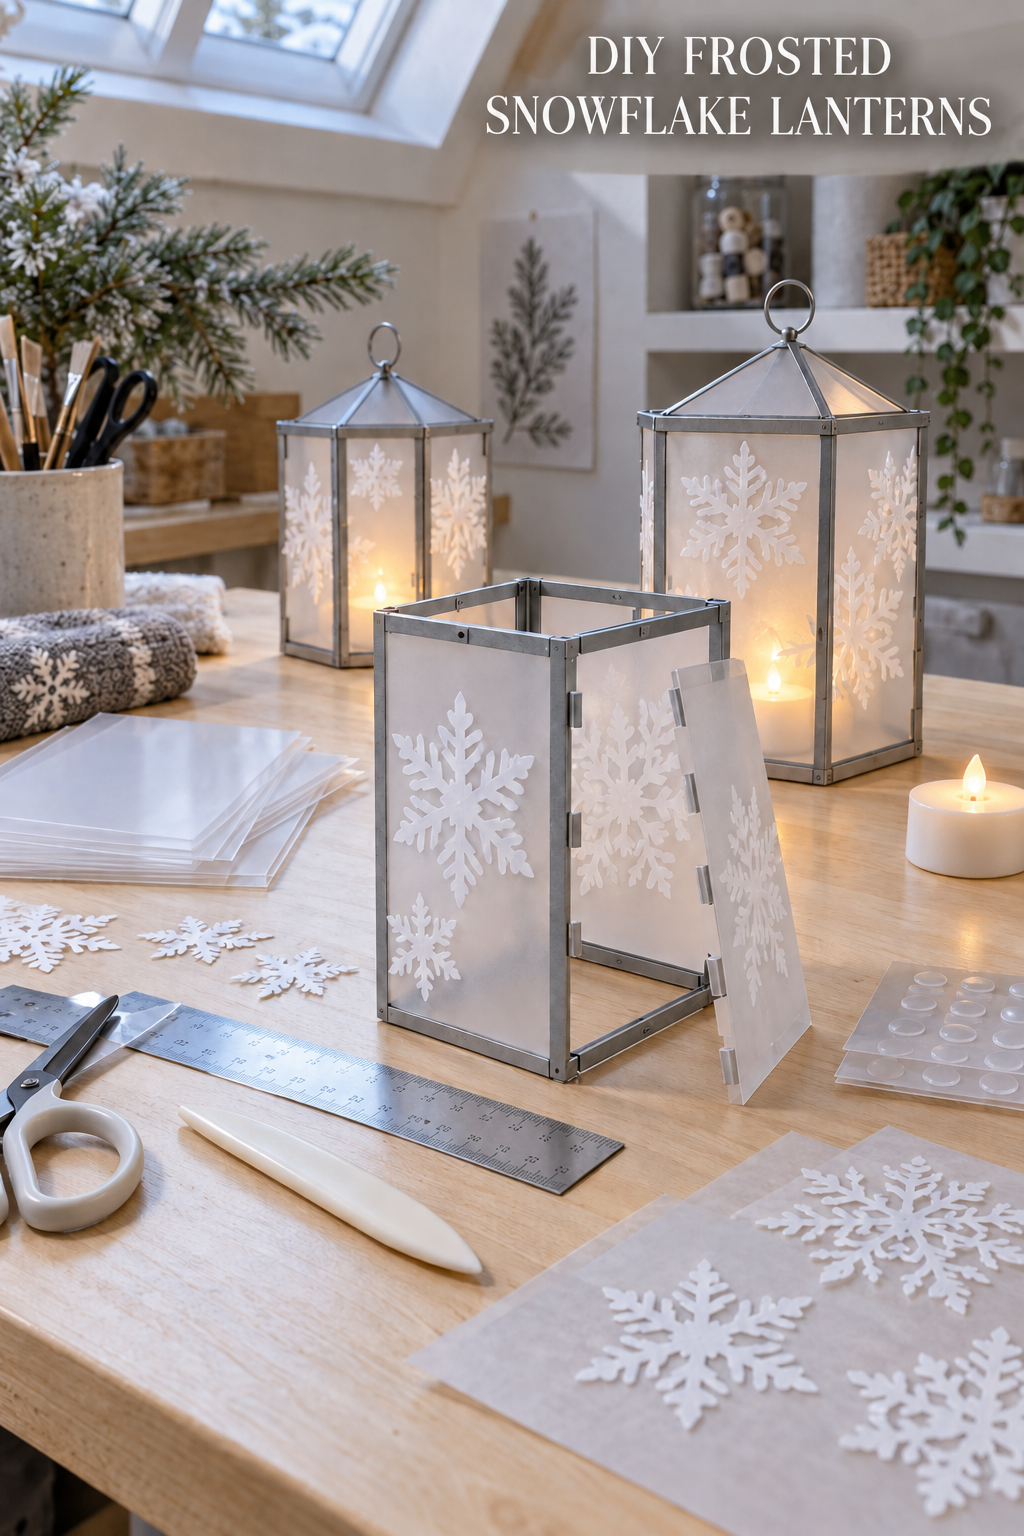
This inspiration image was created with AI. The tutorial below proposes a practical way to recreate a similar look.
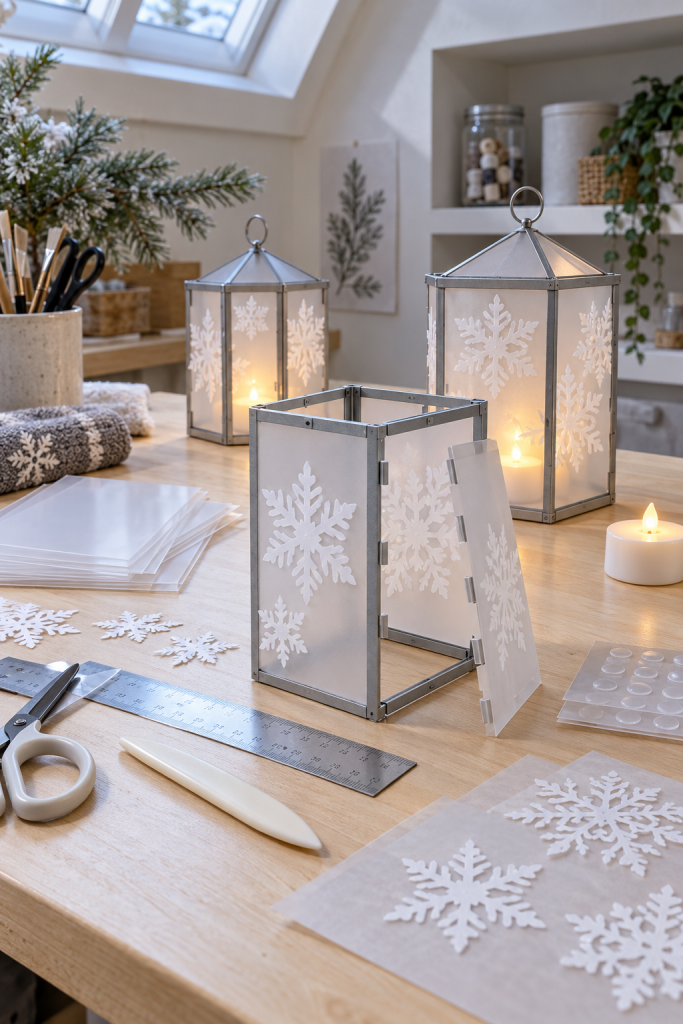
These frosted acetate snowflake lanterns turn a simple tabletop frame into a softly glowing winter decoration. Translucent panels diffuse battery light, while layered vellum snowflakes create the crisp pattern seen across the finished set. The method is adaptable: make one lantern as a small accent or repeat the same construction at different heights for a grouped display.
Materials and Tools
Lantern frames and translucent panels
Use open-sided tabletop lantern frames or simple metal display frames with removable panel channels. Frosted acetate or translucent craft plastic should be flexible enough to score and trim but firm enough to remain flat inside the frame. Check the actual sheet and frame specifications before cutting.
Snowflake layers
White vellum or lightweight translucent paper gives the snowflakes a matte contrast without blocking all the light. Use purchased die cuts, a paper punch, a cutting machine, or hand-cut templates that suit your available tools.
Assembly supplies
You will need a metal ruler, craft knife or sturdy scissors, cutting mat, bone folder, pencil, removable clear adhesive dots or a compatible clear craft adhesive, and battery-operated LED tea lights. A small square is helpful for keeping panel corners true.
Before You Start
Measure each frame opening at more than one point because decorative frames are not always perfectly uniform. Make one paper test panel first and confirm that it slides into place without bowing. Work on a protected flat surface, keep protective film on plastic sheets until marking is complete, and follow the manufacturer guidance for cutting and adhesive compatibility. Use only battery LEDs inside the finished lanterns.
Step-by-Step Instructions
Make a test panel for one opening
Trace the frame opening onto scrap paper, then trim the template gradually until it sits flat. Mark the top edge and the side that faces outward. If the frame uses channels, include only enough clearance for the panel to slide without buckling. I would perfect this single template before touching the acetate because it prevents small measuring errors from multiplying across the set.
Transfer the panel shape to frosted acetate
Lay the template over the sheet and mark the outline lightly on the protective film. Cut against a metal ruler on a mat, using several controlled passes rather than forcing one deep cut. For fold-back tabs, score the line gently with a bone folder and test the bend on an offcut first. Keep every finished edge smooth so it cannot catch when inserted.
Build varied vellum snowflakes
Prepare a mix of one larger motif and several small supporting shapes for each face. Avoid placing identical snowflakes in the same position on every panel. A larger centered flake reads clearly from a distance, while two smaller flakes near a corner make the set feel handmade rather than mechanically repeated.
Attach the paper without cloudy patches
Leave the protective film on the outward face while arranging the snowflakes. Apply tiny clear adhesive points behind the broadest paper areas, not at every branch tip. Press from the center outward and check the panel against a light source. If the adhesive shows as a dark spot, use fewer points or switch to a product documented as suitable for clear plastic and paper.
Fit the decorated panels into the frame
Remove the remaining protective film, handling the sheet by its edges. Slide or clip each panel into the frame according to its construction. Work around the lantern one face at a time and confirm that each panel sits inside the metal boundary without twisting. Do not force a panel that is too tight; shave a narrow amount from the edge and test again.
Add the light and compare diffusion
Place one battery LED tea light on the lantern base. Close the frame, dim the room, and compare all sides. Rotate any panel whose densest snowflake blocks the most useful glow. I would keep the brightest opening toward the usual viewing direction and let the more patterned face turn slightly to the side.
Finish a coordinated group
Repeat the process for the remaining frames, varying snowflake scale while keeping the same paper and acetate finish. Arrange the completed lanterns at staggered heights on a stable surface. Leave enough space around each one for its outline to remain visible, and keep loose paper decorations away from the LED housing.
Display and Store the Lanterns
Use the lanterns on a console, deep shelf, or dining-room sideboard where they will not be knocked during normal movement. After the season, remove the batteries and store the panels upright between clean sheets of paper. A rigid document box helps prevent creases and surface scratches.
Shop Materials and Tools
Choose workable frosted craft sheets
Look for translucent sheets that can be cut with your chosen tool and are large enough for each frame opening. Compare thickness, flexibility, surface finish, and whether the manufacturer identifies suitable adhesives.
Select white vellum for clean silhouettes
Choose paper that cuts without feathered edges and remains opaque enough to define the snowflake against a lit panel. Packs with consistent weight make repeated motifs easier to handle.
Find battery LEDs with accessible controls
A warm-white battery tea light creates a gentle contrast with the cool frosted panels. Check dimensions against the lantern base and favor a switch or timer that can be reached without dismantling the frame.
Pick cutting and scoring tools that suit plastic
A nonslip metal ruler, protected cutting mat, sharp replaceable blade, and bone folder provide more control than forcing ordinary scissors through a stiff sheet. Match the method to the sheet maker’s guidance.
Final Project Tip
Number the back of each panel and its matching frame opening in removable pencil so the best-fitting pieces return to the same position after storage.