*This post may contain affiliate links for which I earn commissions.*
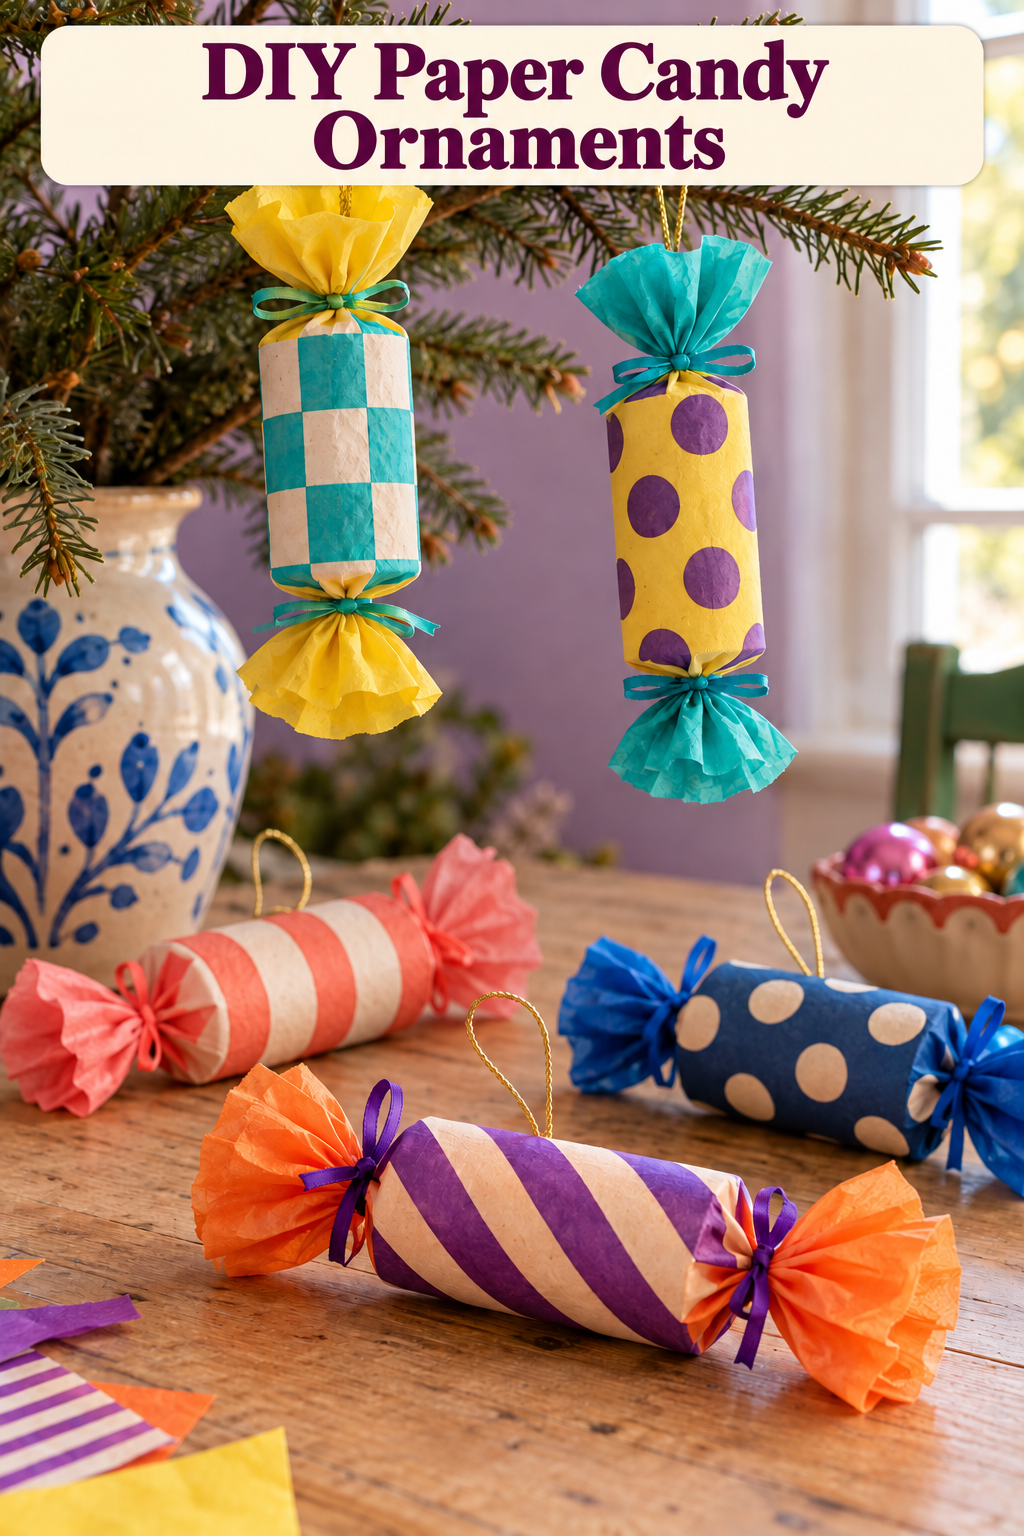
Image created with AI. This image serves as visual inspiration for the project below.
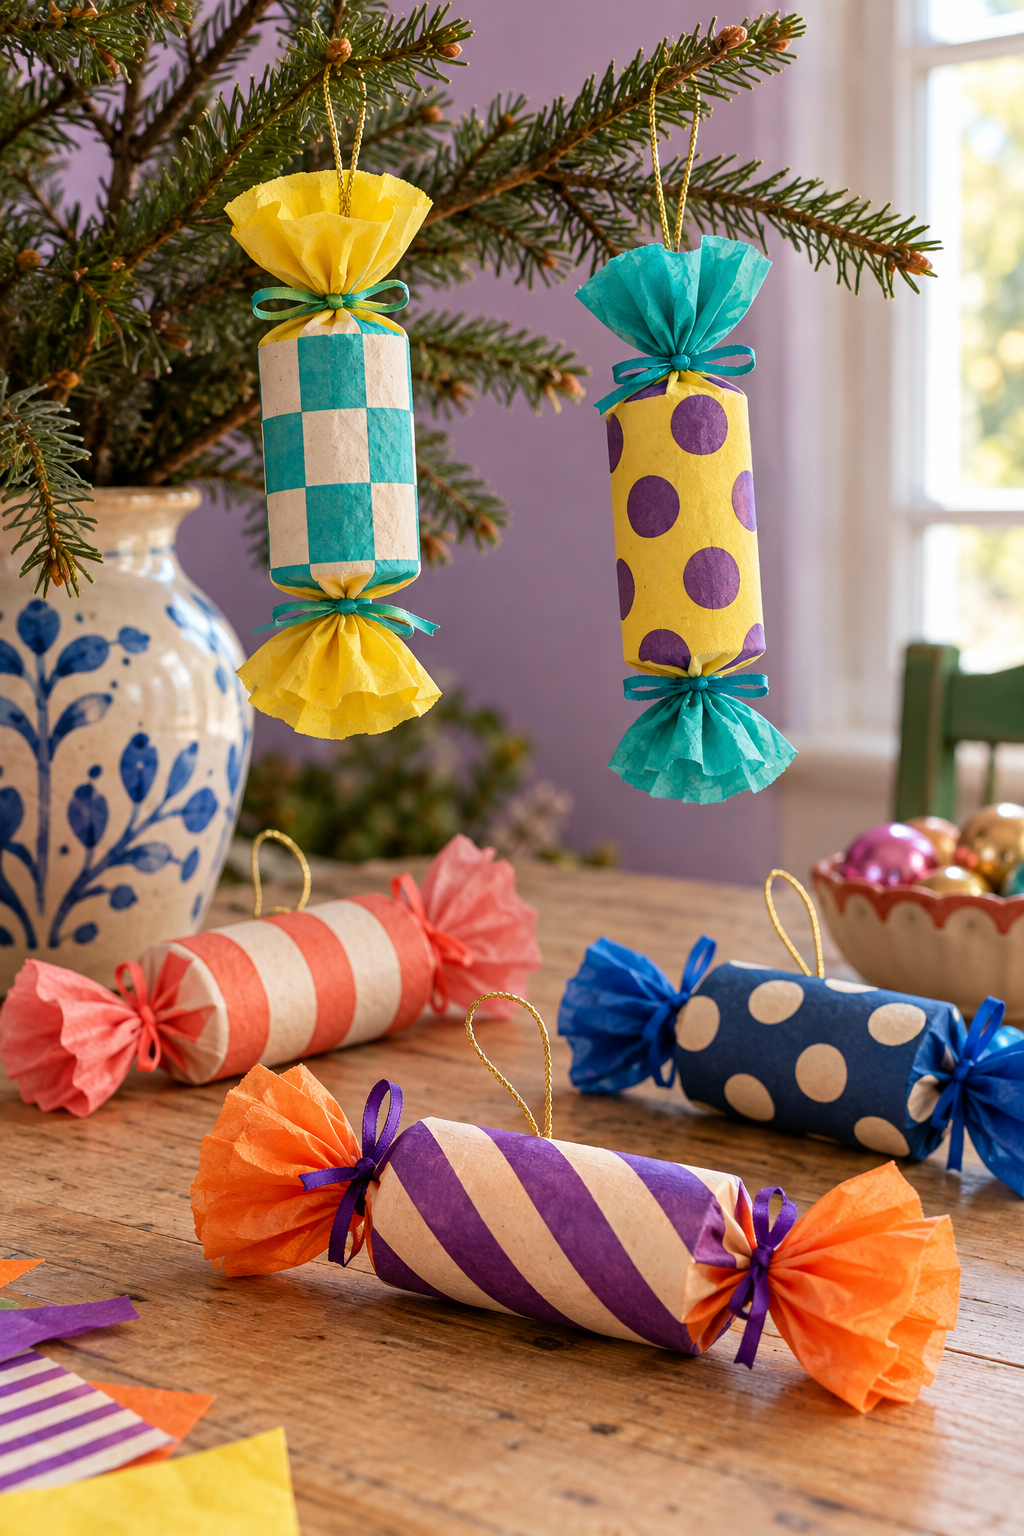
Turn lightweight cardboard tubes into Christmas ornaments that look like oversized wrapped candies. Patterned paper supplies the bold centers, while contrasting tissue paper makes the flared ends. Narrow ribbon ties and a hanging loop finish each piece.
The reference mixes violet stripes, turquoise checks and large dots. The tutorial uses a paper-covered tube to recreate that cylindrical shape, with a simple loop attachment hidden beneath the wrapping. These are decorative ornaments, not edible treats or functioning party crackers.
What You’re Making
Each ornament has an empty cardboard center, a tissue-paper covering that extends beyond both ends, and a patterned paper sleeve around the middle. The projecting tissue gathers into candy-wrapper tails. A gold-colored cord loop allows the finished piece to hang, or you can lay it on a shelf as part of a small Christmas display.
For a coordinated set, give each ornament one strong pattern and one contrasting tail color. The violet-striped example with orange ends is a useful starting point before adding checked or dotted companions.
Materials and Supplies
Main Materials
- Clean, dry lightweight cardboard tubes
- Thin patterned paper in broad stripes, large checks or dots
- Tissue paper in contrasting colors
- Narrow ribbon for the end ties
- Lightweight gold-colored hanging cord
- Paper-compatible craft adhesive
- Tape suitable for securing cord to cardboard
Tools
- Scissors suitable for paper and thin cardboard
- Ruler
- Pencil
Before You Start
Choose a manageable ornament size
Use a tube that suits the branches or display you have. Shortening a long tube can make a more compact candy shape, but keep enough central length for the paper pattern to be recognizable. These instructions describe proportions rather than a fixed finished size.
Check the paper and adhesive together
Try the adhesive on an offcut of patterned paper. Very thin paper can wrinkle, and coated gift wrap may need a different compatible adhesive. Follow the instructions for the supplies you choose, including drying time. Plan the wrapper colors before cutting so you do not end up with several competing patterns on one ornament.
Step-by-Step Tutorial
1. Prepare the tube and two paper rectangles
Trim the tube to your chosen length, cutting gradually around its circumference. Keep the ends reasonably even and remove loose cardboard fibers.
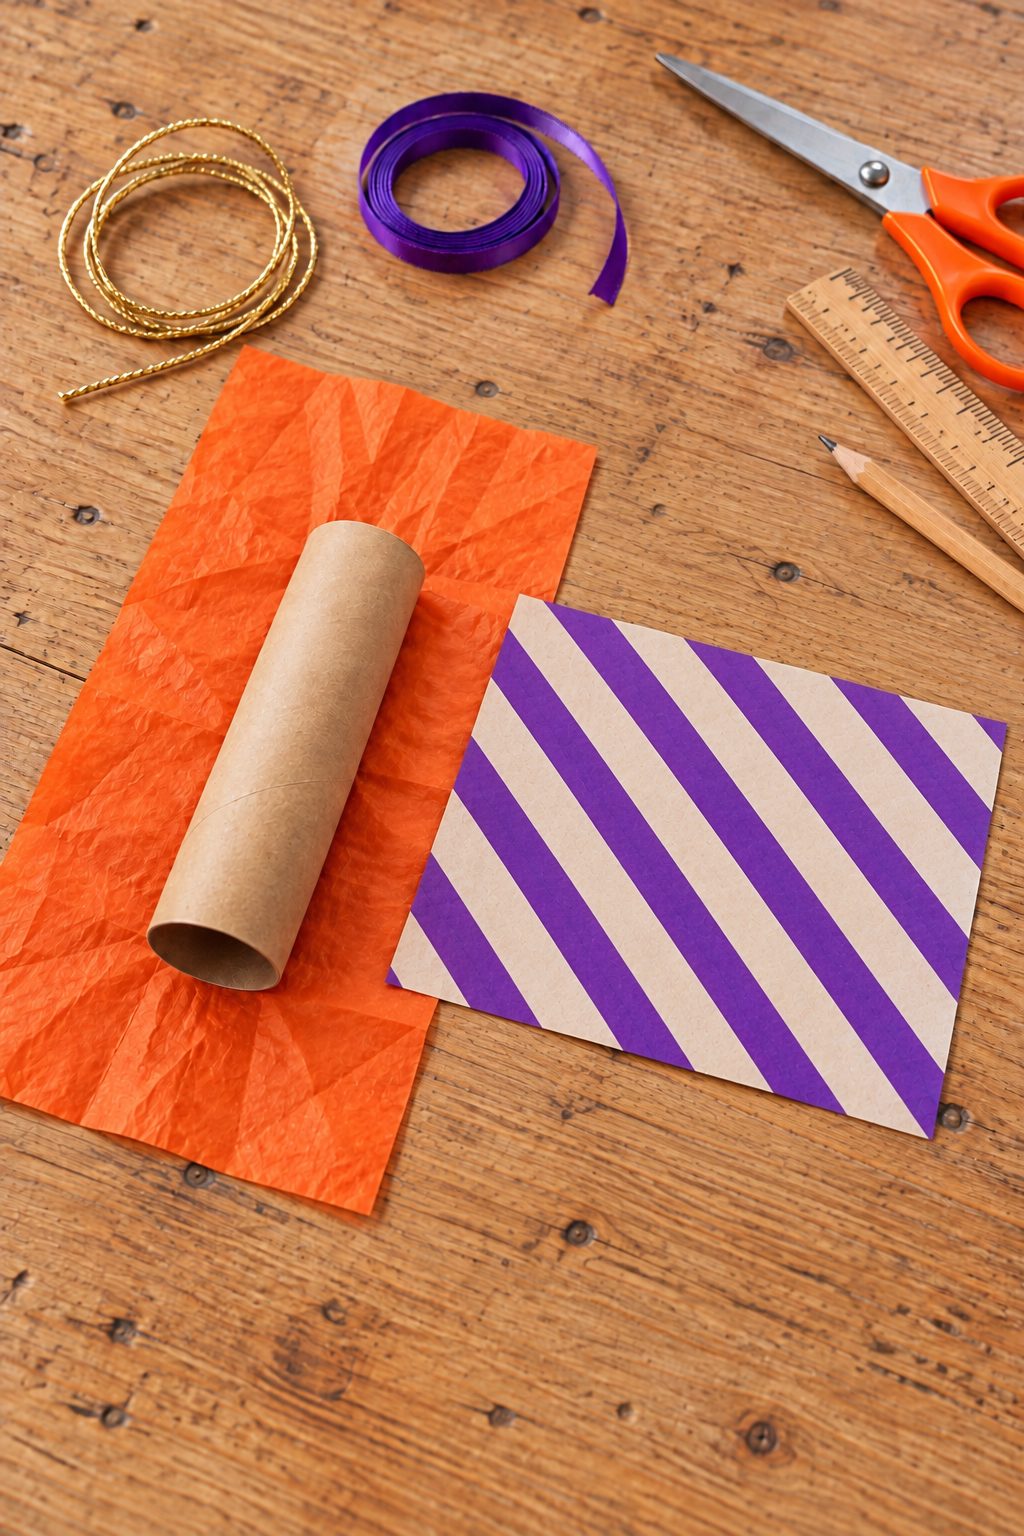
Cut a patterned-paper rectangle with its short dimension matching the tube’s length. Its other dimension should go all the way around the tube with a modest seam overlap. Wrap a scrap around the tube first if you need to find that width.
Cut a tissue rectangle wide enough to encircle the same tube with a little overlap. Along the tube’s length, leave generous tissue beyond each end, approximately half the tube length at either side as a starting point. Adjust the extensions if your tube is unusually wide: they need to gather without pulling the paper tight against the opening.
2. Secure the hanging loop before wrapping
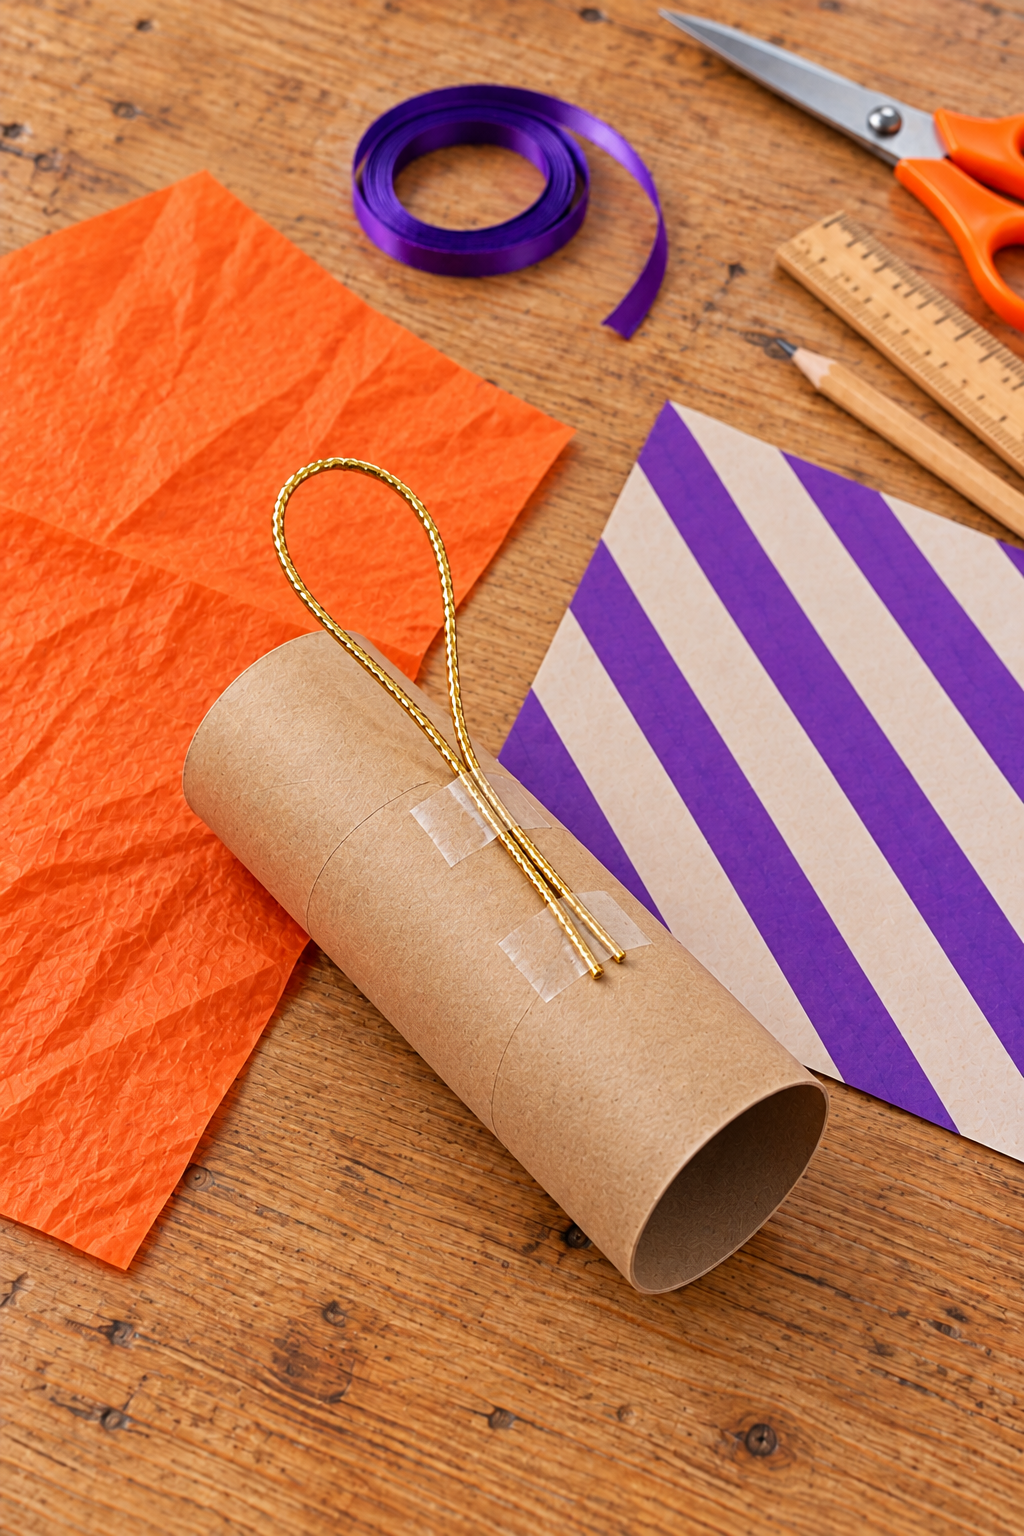
Cut a length of cord that forms a useful closed hanging loop, with two ends left for attachment. Lay the ends together along the outside of the tube near its middle. Keep the loop projecting away from the body.
Tape both cord ends down to the cardboard, covering a useful length rather than a tiny spot at the tips. The tape and cardboard should lie flat enough to fit beneath the paper. Give the loop a gentle pull to check the attachment before concealing it. Use your actual tape’s instructions to judge suitability; do not rely on a decorative paper sleeve to hold a loose cord.
3. Wrap the tissue around the tube
Center the tube on the tissue so the extensions are similar at both ends. Roll the tissue around the body and secure the overlap with a small amount of compatible adhesive. Keep the hanging loop outside the overlap rather than trapping it inside the tube.
Where the tissue edge meets the loop, make a small notch in the overlap edge if needed to let the cord emerge without bunching. Do not cut across the cord. Leave the end extensions open while the body seam sets.
4. Add the patterned center sleeve
Dry-fit the patterned rectangle over the tissue-covered body. Place its seam on the same side as the loop attachment, where it will be less noticeable. The sleeve should cover the cardboard length while leaving both tissue extensions free.
Apply a thin layer of adhesive to the seam overlap, roll the sleeve into place and press the join. Allow the gold loop to come out at the center of the seam, using a small edge notch if necessary. Avoid flooding the tissue with glue. The printed pattern should remain clear and the cylindrical body should retain its shape.
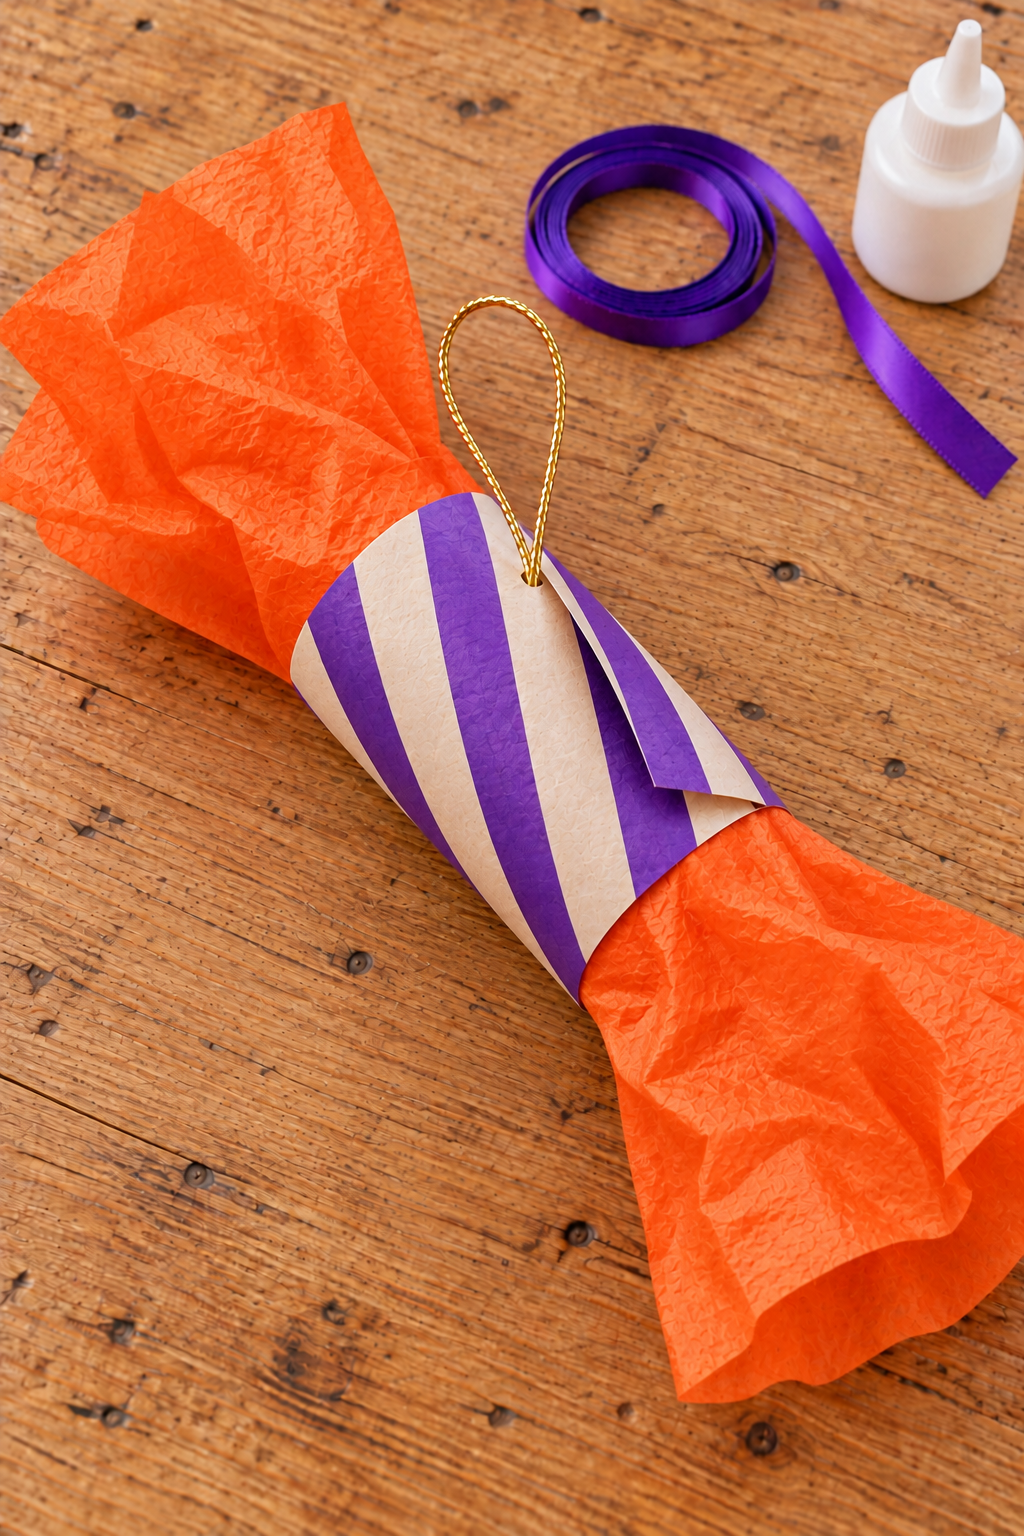
5. Gather and tie the candy-wrapper ends
Gently gather one tissue extension just beyond the cardboard rim. Pinch the neck without sharply twisting the delicate paper. Wrap a narrow ribbon around this gathered section, tie a small knot and finish with a bow.
Repeat at the other end. Fan the tissue outside each tie into a flared tail, spreading the folds with your fingertips. The ribbon belongs around the tissue neck, not around the patterned body. Trim only ragged tips, preserving enough paper for the candy shape to remain obvious.
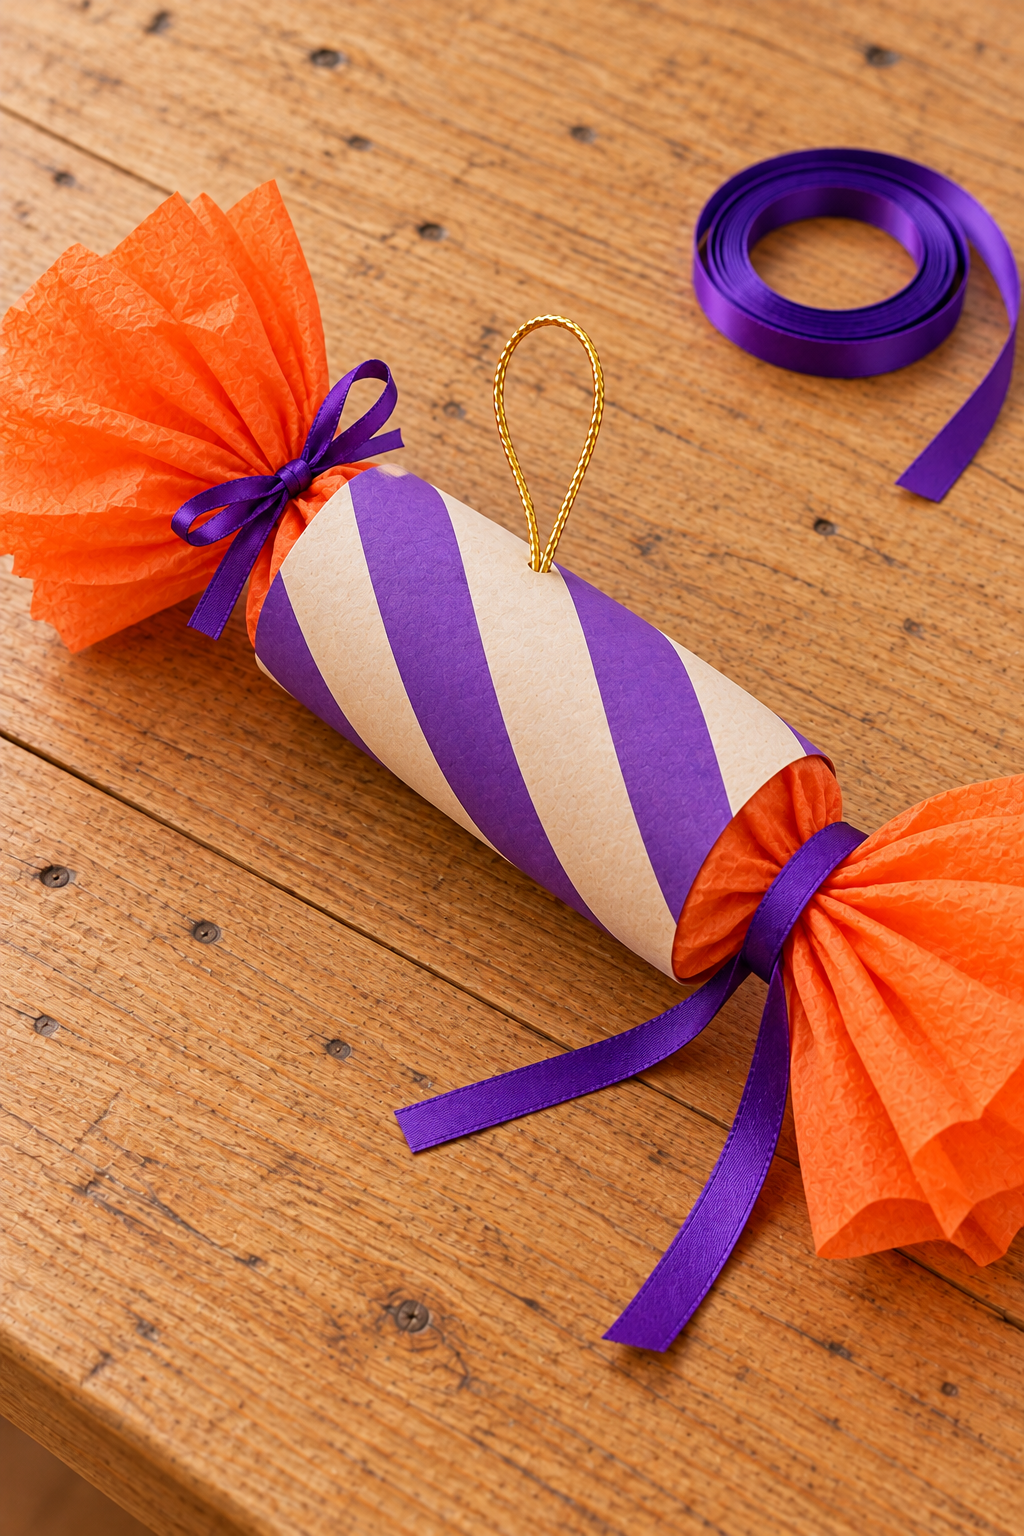
6. Check the joins and finish the set
After the adhesive has set according to its instructions, inspect the sleeve seam and gently lift the ornament by its loop. If the cord attachment moves, open the wrapping and repair it before hanging. Repeat the method with different paper patterns, keeping the construction the same.
Keep the Wrappers Crisp
Use only enough adhesive to secure the seams. Excess moisture can mark tissue and soften thin cardboard. If a wrapper develops a crease, position the seam toward the back rather than adding another heavy layer to hide it.
Cut dotted or checked paper so part of the repeat is visible across the front of the tube. A tiny fragment of a large motif can look accidental; moving the rectangle slightly before cutting often gives a clearer result.
Change the Set without Changing the Method
Try dark blue dots beside turquoise checks, or pair coral stripes with pale tissue. Vary the tube lengths modestly to create a mixed collection, while keeping the tails proportionate to their own bodies. Skip glitter or extra charms when the pattern already supplies the ornament’s main detail.
Display and Store Your Paper Candies
Hang the lightweight ornaments from suitable branches with space around each tail. Keep paper away from heat sources and follow any nearby lighting instructions. On a tabletop, alternate the direction of the candy shapes so both patterns and flared ends remain visible.
Store them in a dry box with room around the tissue tails. Lay them loosely rather than crushing them beneath heavier decorations.
A small set gives you several different patterns to enjoy together, with each candy shape still easy to recognize on its own.