
*This post may contain affiliate links for which I earn commissions.*
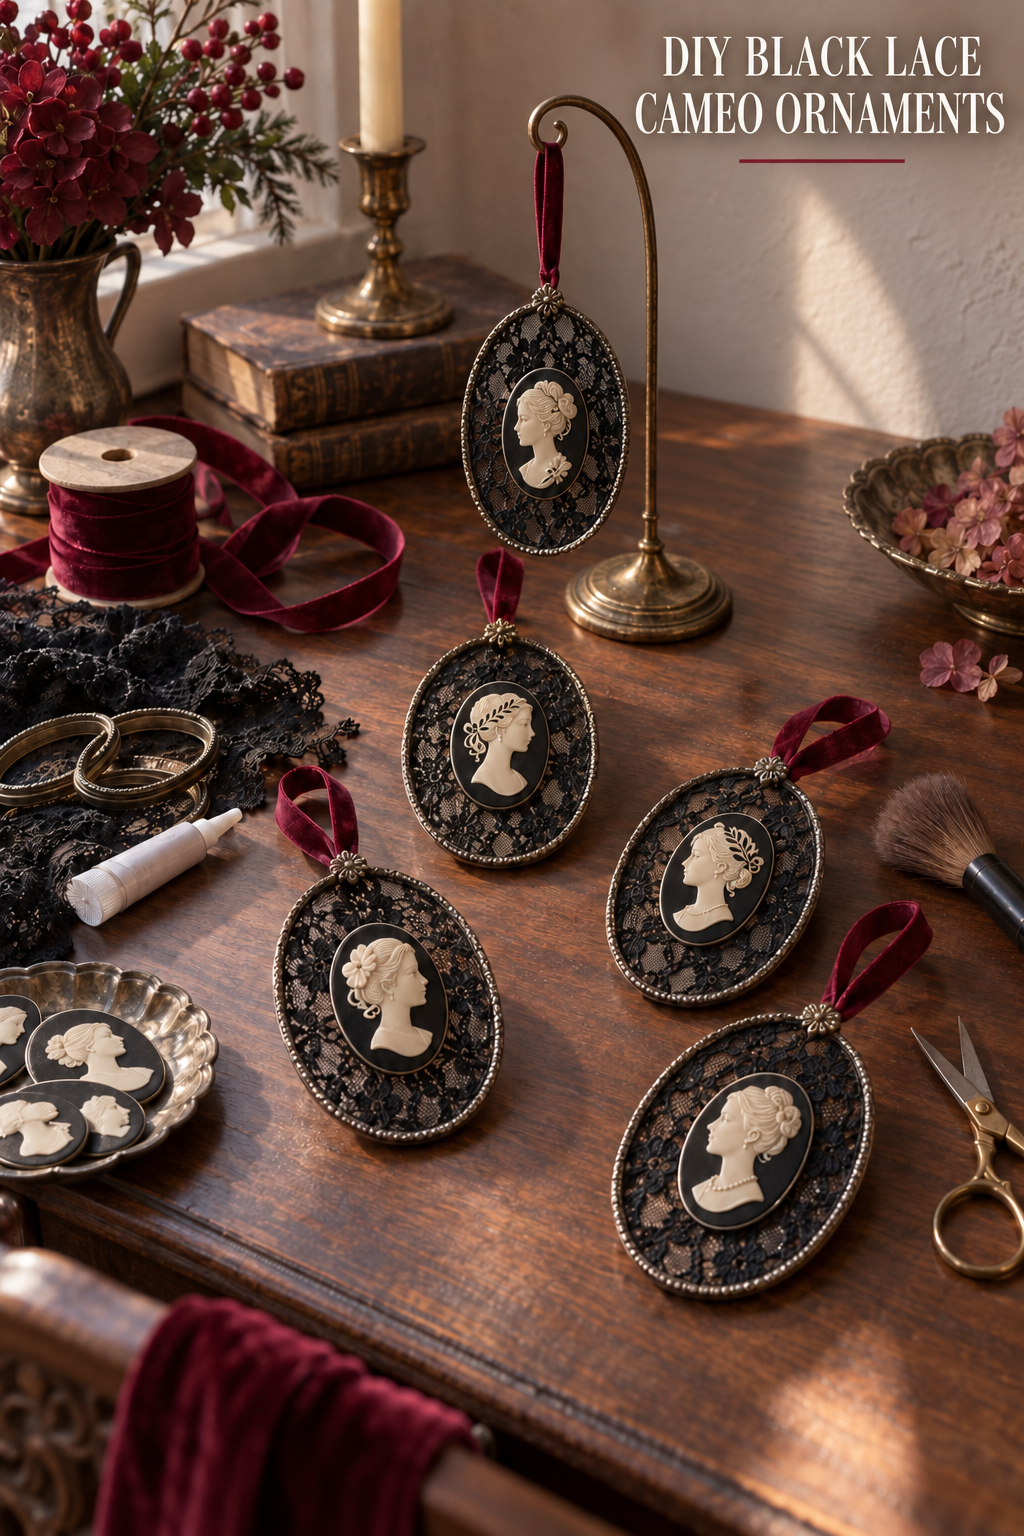
This inspiration image was created with AI. The method below is a realistic way to recreate a similar project rather than a claim about how the pictured ornaments were made.
These black lace cameo ornaments bring a dark, romantic note to holiday branches, a small tree, or a ribbon-hung wall display. The layered oval design looks intricate, yet the practical method is straightforward: cover a lightweight base with lace, add a centered cameo-style medallion, finish the edge, and attach a velvet loop.
Materials and Tools
Lightweight Oval Bases
Choose flat wood, chipboard, sturdy craft board, or lightweight frame blanks that can support lace and a small medallion without becoming too heavy for a branch.
Black Lace and Dark Backing
A lace with a clear floral motif reads well at ornament scale. Add black cardstock, felt, or fabric behind open lace if the base color would otherwise show through.
Cameo Style Medallions
Use small silhouette cabochons, resin cameos, printed profiles sealed to firm card, or another lightweight focal piece. Each one should leave enough lace visible to act as a border.
Garnet Velvet Ribbon
Narrow velvet ribbon creates the hanging loop. A wider coordinating ribbon is optional for display bows, but it is not required for the ornament itself.
Adhesive and Finishing Supplies
Use a craft adhesive suited to the actual materials, small sharp scissors, clips or low-tack tape, a soft brush, and optional metallic wax or paint for the outer edge. Follow the adhesive maker’s instructions for bonding and curing.
Before You Start
Make one paper template from the oval base and use it to test the lace placement. Shift the motif until a flower or curved section frames the cameo instead of disappearing behind it. Protect the desk, cut ribbon ends cleanly, and confirm that the chosen glue will not bleed visibly through the lace.
I would also make one sample before preparing the full set. The sample reveals whether the backing needs to be darker, the medallion is too large, or the ribbon loop twists under the ornament’s weight.
Step by Step Instructions
Trace the Oval and Choose the Lace Motif
Place the template over the lace and move it across the pattern until the strongest motif sits around the outer third of the oval. Mark a generous cutting line outside the template so there is material to wrap or trim after attachment.
Create a Dark Ground Behind the Lace
If the base is pale, cut a matching oval of black backing and adhere it smoothly. Keep the surface flat because ridges will remain visible through the lace. Let the backing settle according to the product directions before adding another layer.
Secure the Lace Without Filling Its Openwork
Center the lace over the oval and hold it temporarily with clips or low-tack tape. Apply adhesive sparingly around the rear edge or at concealed contact points. Smooth outward with a clean finger or soft tool, keeping the pattern straight and the mesh free of glue smears.
Trim and Finish the Perimeter
Once the lace is secure, turn the base face down and trim the excess with small cuts that follow the curve. Cover the raw perimeter with a slim frame, narrow trim, cord, or a restrained metallic finish. I would keep this border thin so the lace still reads as a textile rather than a printed background.
Center the Cameo Medallion
Set the cameo in place without glue and compare the exposed lace on all sides. When it looks balanced, mark the position lightly and attach it with an adhesive compatible with both surfaces. Weight or hold it only as directed for that adhesive.
Add the Velvet Hanging Loop
Cut enough ribbon to form a comfortable loop plus an attachment allowance. Join the ends neatly at the top rear of the ornament, reinforce the connection with a small backing patch if needed, and keep the velvet face outward. Test the loop on a hook before finishing the back.
Clean the Back and Check the Hang
Cover exposed joins with a fitted piece of dark card or felt. Hang the ornament at eye level and correct any tilt by shifting the loop slightly before the bond fully sets. Brush away loose fibers and check that no adhesive is visible from the front.
Displaying the Finished Cameos
These ornaments work best where the profiles and lace can be seen close up. Space them between simpler dark baubles, suspend several from a decorative branch, or hang one from a cabinet key. Keep them away from open flame and follow the actual materials’ care requirements.
Shop Materials and Tools
Choose Lightweight Oval Blanks
Compare overall weight, edge depth, and surface smoothness. A flat blank is easiest to cover, while a shallow frame can provide a ready-made finished border.
Find Lace with a Readable Repeat
Look for small to medium motifs rather than an oversized pattern. Stable lace that does not distort easily will be simpler to align and trim.
Select Cameos by Scale and Back Shape
Check the medallion dimensions against the exposed center of the base. A flat back provides a more predictable bonding surface than a deeply hollow or irregular one.
Match Velvet Ribbon to the Hanging Load
Choose ribbon narrow enough for the ornament but substantial enough not to curl into a cord. Test whether the cut edge frays and finish it using a method appropriate to the fiber.
Pick Adhesive for Both Surfaces
The useful choice is the one specified for porous fabric plus the medallion and base materials. Favor a controlled applicator and a clear dry finish where any edge may remain visible.
Final Project Tip
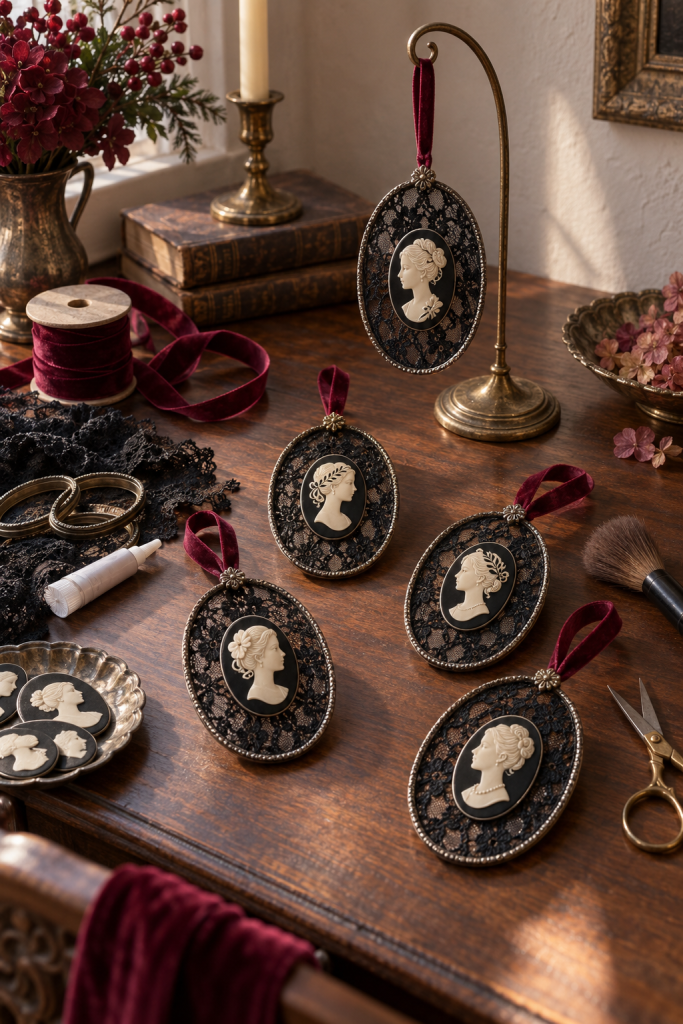
Before packing the ornaments away, place a smooth sheet between each lace face so raised cameo edges cannot snag the neighboring piece.