
*This post may contain affiliate links for which I earn commissions.*
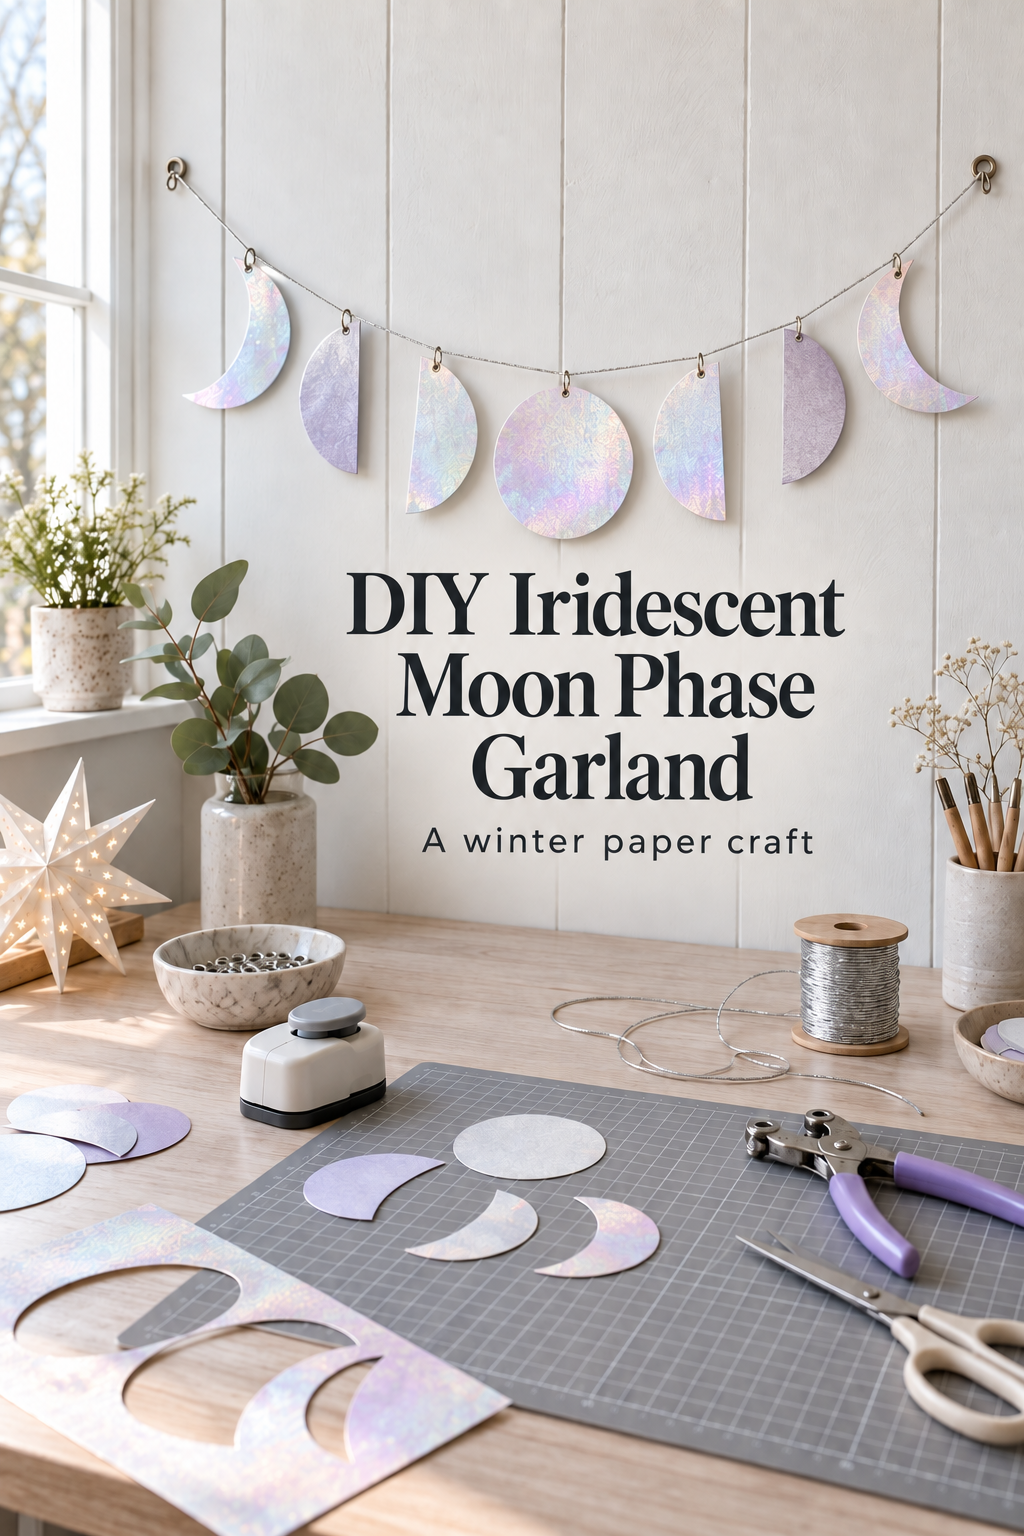
This inspiration image was created with AI. The following method is a practical way to make a similar paper garland, rather than a reconstruction of hidden details in the image.
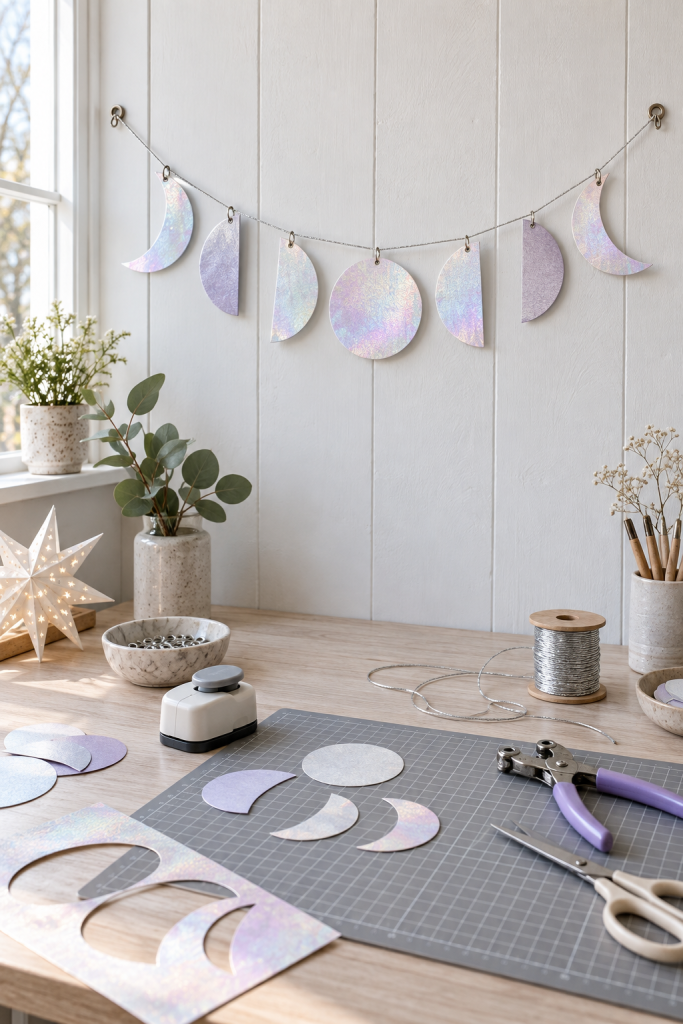
This paper moon phase garland brings a soft celestial detail to winter decorating without covering an entire wall. A full moon sits between mirrored partial moons and crescents, with pale lavender and pearl surfaces catching the window light. The inspiration pairs the finished strand with a tidy craft table, but the garland could also hang above a small shelf or seasonal display.
Materials and Tools
Iridescent Paper and Optional Backing
Use iridescent craft paper or cardstock for the visible moon faces. Plain cardstock is optional backing if the decorative sheet feels too floppy; paper-craft adhesive is needed only when adding that layer.
Circle Templates and Cutting Tools
Gather a pencil, scissors, scrap paper for templates, and a circular object to trace. A circle punch is an optional shortcut for smaller moons. A cutting mat protects the table if you choose a craft knife for the curved cuts.
Hole Punch and Hanging Cord
A small hole punch makes each attachment opening. Fine silver-colored cord carries the strand; choose a cord that can pass through your planned connectors and hold a knot without slipping.
Eyelets and Connecting Rings
Small craft eyelets can finish the holes, using their compatible setting tool. Connecting rings and suitable pliers are optional for the articulated attachment suggested by the image. A simple thread loop through a reinforced paper hole is another workable approach.
Wall Attachments
Use two hooks suitable for the actual wall surface and intended decoration. They are installation supplies, not part of the paper construction; follow their surface, preparation, and load instructions.
Before You Start
Hold the decorative paper near the intended wall in both daylight and lamplight. Some finishes look rainbow-bright at one angle and nearly white at another. Check the reverse side too if the garland will hang where both faces can be seen.
Decide on a display width before cutting. Lay a scrap-paper circle against the wall to judge scale, then use that circle as the basis for the remaining shapes. I would begin with a hand-cut template for a broad wall display, because a small circle punch can make the moons disappear once the strand is hung.
Step-by-Step Instructions
Build a Mirrored Paper Layout
Draw a full circle on scrap paper and make copies for the other moon silhouettes. Keep one circle whole for the center. Divide another template for a straight-edged half moon, and offset a second circle inside a third to draw a crescent. Keep crescent tips broad enough to cut cleanly.
Arrange the templates with the full circle in the middle and matching partial shapes facing opposite directions on either side. The inspiration uses several broad partial moons; this is a decorative phase-inspired sequence, not an exact astronomical chart. Adjust the number of pieces to your wall rather than squeezing in extra shapes.
Transfer the Curves to the Decorative Paper
Trace on the reverse where possible, avoiding pencil marks on the reflective face. Turn matching templates over to make the opposite-facing pieces. Keep all the circles based on the same template so their outer edges look related.
Reserve a little extra paper around the narrow shapes until you finish cutting them. That surrounding sheet gives your fingers something to hold while steering the scissors around a tight curve.
Cut and Support the Moon Faces
Cut the large outer curves first, then trim the inward crescent curves with short, controlled cuts. If using a punch, test it on an offcut and follow its paper compatibility guidance. Punch the decorative paper before adding backing instead of forcing a thick laminated stack through the tool.
Add backing only where needed. Cut a matching cardstock silhouette, apply an adhesive specified for the actual papers, and align the edges. Follow its drying instructions before handling. Test a scrap first if the decorative finish is coated, since ordinary paper adhesive may not grip every surface.
Prepare Each Top Attachment
Lay every moon upright and mark a hole near its top, leaving enough surrounding paper that the edge does not tear during handling. On a crescent, choose the broad shoulder rather than a fragile pointed tip. Test the location with a temporary thread loop before punching the finished piece.
If adding eyelets, select holes, eyelets, and a setting tool that work together. Practice on the same paper layers, then set each eyelet according to the tool instructions. It should sit neatly without crushing the decorative face or splitting the edge.
Connect the Moons to the Strand
Open each optional connecting ring with the appropriate pliers, pass it through the eyelet, and close it so the ends meet. Thread the main cord through the rings in your planned order. For a simpler version, tie a small thread loop through each paper hole and around the main cord instead.
Lay the assembled strand flat and spread the pieces with clear gaps between them. Use small cord knots on either side of a connector if it keeps sliding. I would test that knot arrangement on one spare moon before assembling the whole strand, particularly with a smooth metallic cord.
Hang and Adjust the Arc
Install the wall attachments as directed for your surface. Tie the cord ends securely and allow a shallow curve, checking the arrangement from the room entrance. Move the connectors until the center moon hangs freely and neighboring shapes do not overlap.
Watch how the pieces settle after you release them. If one turns sideways, adjust its loop or connector rather than pulling the whole cord tighter. Keep this paper decoration indoors and away from heat sources, open flames, and damp areas.
Give the Garland a Seasonal Setting
A small evergreen stem or paper star nearby can connect the moons to winter without adding more objects to the strand. Leave clearance above a working desk so the hanging pieces do not brush supplies or hands. For a window display, check that the garland does not interfere with blinds or opening the window.
Shop Materials and Tools
Choose Sheen Before Sheet Size
Look for a finish with the pearl and lavender shift you want, then confirm that the sheets accommodate your templates. Product photos under several lighting angles are more useful here than a single saturated rainbow close-up.
Match a Punch to Your Intended Moons
Check the actual circle diameter and accepted paper types. A compact punch suits a short shelf garland, while larger wall-scale circles may be easier to trace and cut by hand. Do not buy a punch solely because it resembles the tool in the inspiration.
Pair Eyelets With the Correct Setter
Buy compatible eyelets and a setting tool intended for paper crafting. Check hole requirements and material suitability together; a heavy fabric grommet kit may be unnecessarily bulky for these small paper attachments.
Select Cord That Knots Cleanly
Favor a fine silver-colored cord with a clear material description. Avoid assuming that decorative wrapping cord will behave like jewelry wire. Choose enough length for the display arc, end ties, and any small positioning knots.
Final Project Tip
Store the finished moons between clean sheets of plain paper before placing the strand in a box. Separating the reflective faces helps prevent the metal connectors from rubbing against them.