
*This post may contain affiliate links for which I earn commissions.*
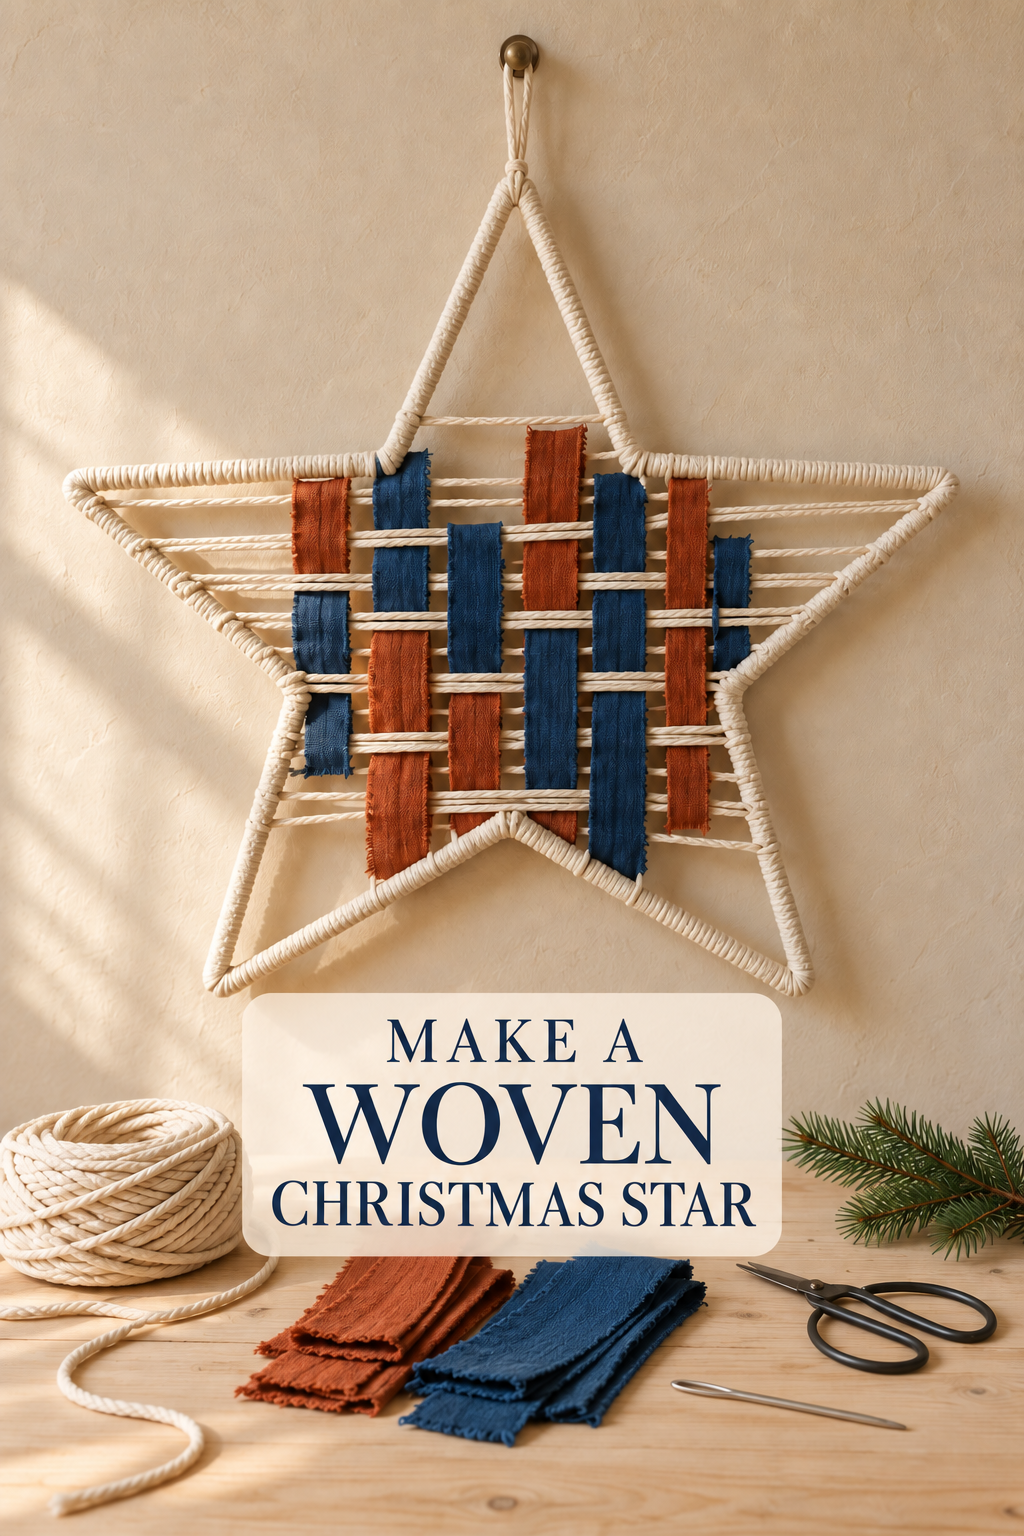
Image created with AI. This image serves as visual inspiration for the project below. We’ll recreate the look using a ready-made rigid star frame and simple woven fabric strips.
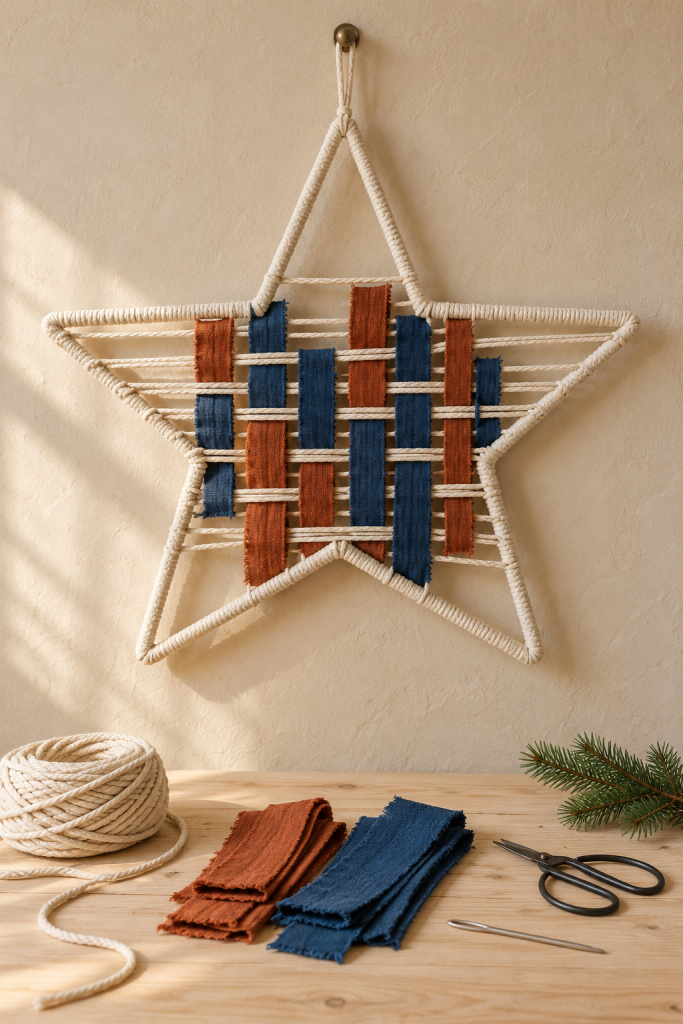
A cord-wrapped star with rust and indigo fabric woven across its center gives Christmas decorating a handmade, earthy direction. The open points keep the familiar star shape clear, while the colored strips make the middle feel like a small textile sampler.
Materials and Tools
A star outline and cotton cord
Use a rigid, closed, five-point star frame intended for craft work, with a smooth surface and secure joints. Choose one that leaves an open center. Flexible decorative wire is unsuitable for this method because the weaving tension could distort it.
Natural cotton cord covers the outline and supplies the horizontal foundation strands. Have enough for both jobs, plus a hanging loop. A thinner cord can serve as the weaving foundation if your wrapping cord makes the openings too crowded.
Fabric and hand tools
Gather plain rust and indigo cotton fabric, scissors, a ruler, removable clips, and a large-eye blunt needle. The needle is helpful for tucking ends; broad strips can be woven with your fingers. Include ordinary sewing thread and a sewing needle for securing fabric tails. A wall hook appropriate to the finished weight and your wall is needed for display.
Before You Start
Test the fabric against the gaps
Try folding a sample strip through a short pair of cord strands before cutting the whole supply. A strip should pass through without bunching, yet remain wide enough to show its color. Start around a finger’s width and adapt to the frame, fabric stiffness, and strand spacing. These are working choices, not dimensions inferred from the AI image.
Plan the woven middle
Lay the frame flat with one point facing upward. Reserve the top point and some of the lower points as open areas. Place sample fabric strips over the center to judge how much colored coverage you want. Photograph this loose arrangement for reference, then remove it before wrapping.
Step-by-Step Instructions
Wrap the star outline before adding the weaving strands
Tie the end of the cotton cord around a lower inside corner, leaving a short tail at the back. Wind the working cord around the frame in closely adjacent turns, covering that tail as you go. Work with a manageable length rather than dragging an entire large coil through the opening.
At a point, fan the turns slightly so they cover the change in direction without stacking into a bulky lump. Keep the frame flat on the table and turn it as needed. If you run out of cord, knot a new length at the back and cover the join with the next wraps.
Finish near an inside corner. Tie the end securely to an existing back wrap, tuck the tail under several turns, and check that gentle handling does not unwind it. Complete all outline wrapping now; access becomes more awkward after the center is woven.
Tie separate horizontal foundation rows
Lay a ruler across the star’s middle to help align the rows. Begin below the top point and finish before the lowest tips. At each selected height, identify the left and right frame edges that bound the same continuous opening. Do not bridge across an outside notch.
Cut a cord length long enough to span that opening with extra at each end for knots. Tie one end around the left wrapped edge, draw it across horizontally, then tie the other end around the right edge. These cords are the warp, or foundation, even though they run sideways in this project.
Add separate rows beneath the first, leaving enough space for the fabric to alternate over and under them. Make the cords gently taut, not tight enough to pull the frame out of shape. Slide the knots into alignment before trimming any surplus. Secure each knot to a nearby back wrap with an additional tie if it slips along the outline.
Cut strips to match their positions
Measure the distance between the highest and lowest rows each strip will cross, then add tails for securing the ends. The middle strips can reach farther than those near the sides. Cut several rust and indigo strips with this changing outline in mind.
Remove loose threads that would obscure the weave. Fold an overly wide strip lengthwise rather than forcing it through a narrow opening. Keep spare length until the placement is settled; short ends are harder to secure discreetly.
Weave one vertical strip at a time
Start near the center. Feed a strip over the upper foundation row, under the next, and continue alternating to the bottom of its planned path. Flatten each section with your fingers as you go. Leave a small tail beyond both terminal rows.
Place the neighboring strip beside it and reverse the pattern: where the first passes over a row, the second passes under. This makes the alternating weave legible. Mix the two colors without forcing equal bands, and leave some cream cord visible between strips.
Do not pull the strips downward to tighten the whole panel. Adjust each crossing locally so the horizontal rows stay level and the star remains flat.
Secure the tails and inspect the back
Fold each upper and lower tail around its terminal foundation cord toward the back. Stitch the folded tail to its own fabric body with a few small stitches, enclosing the cord without gathering the visible strip. Keep the stitching behind the weave.
Turn the star over and tuck cord ends beneath back wraps with the blunt needle. Trim only after the joins hold under gentle handling. Check the front again, easing any crossing that has pulled a row into an angle.
Hang the Star Without Twisting the Weave
Tie a separate cotton loop around the wrapped upper point and secure its knot at the back. Use a suitable wall hook according to the hook manufacturer’s instructions. Adjust the loop so the star faces forward; keep the textile decoration away from candles and heat sources. The evergreen on the craft table is a styling cue, not a required project component.
Shop Materials and Tools
Choose a closed star frame
Check listing photographs for a genuinely open outline, secure joins, and edges you can wrap continuously. A filled wooden star or a multi-rail wreath cage would require a different method. Compare the finished frame width with the intended wall space before buying.
Cotton cord that holds its shape
Look for flexible twisted cord rather than a very loose fringe yarn. Read the supplied length and fiber information, and allow for wrapping as well as cross strands. Thick rope changes the proportions considerably on a small frame.
Plain fabric in two contrasting shades
Small cuts may be sufficient; a large mixed bundle can leave unnecessary leftovers. Choose flexible woven fabric with enough body to lie flat, and compare rust against orange and indigo against bright blue in the listing’s color options.
A needle suited to tucking ends
A large eye must accommodate your actual cord. A blunt tip is useful for passing beneath wraps, but use a separate ordinary sewing needle for the stitched fabric ends. A set is worthwhile only if its sizes cover both tasks you intend to do.
Final Project Tip
When storing the star, lay a clean sheet of paper beneath and above the woven center before placing it flat in a box. This helps loose fabric edges avoid catching on neighboring ornaments.