
*This post may contain affiliate links for which I earn commissions.*
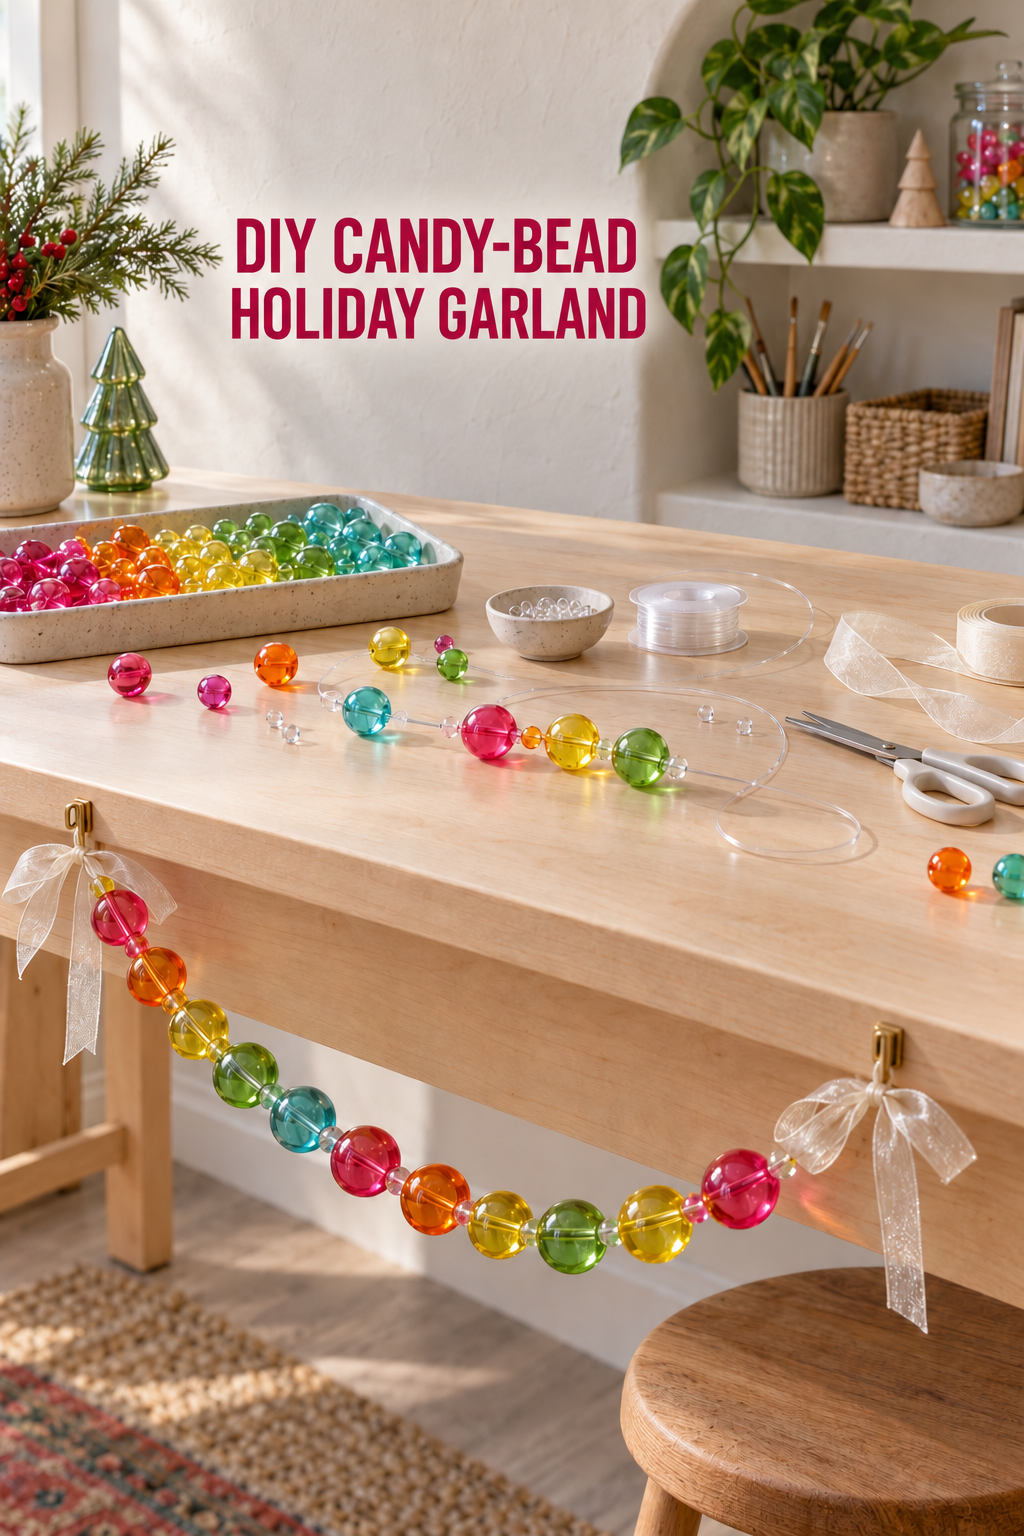
This inspiration image was created with AI.
This translucent candy bead holiday garland brings clear raspberry, orange, yellow, green, and aqua color to a mantel, shelf, tree, or craft-room display. The oversized beads make the color sequence easy to see, while clear cord and sheer ribbon keep the finished strand light rather than bulky. It is a cheerful project that can be adjusted to suit the width of the place where it will hang.
Materials and Tools
Large translucent acrylic beads
Choose beads with holes wide enough for the cord you plan to use. A mix of two or three diameters creates a more relaxed rhythm, but one consistent size is easier for a first project.
Clear beading cord and end stoppers
Flexible clear cord lets the color remain dominant. Use cord, crimps, stoppers, or knots that are compatible with one another, following the product instructions for the actual materials.
Sheer ribbon
Narrow organza ribbon creates soft end ties without blocking the transparent beads. Select a ribbon that can be knotted firmly and trimmed neatly.
Sorting tray, scissors, and removable hooks
A shallow tray keeps round beads from rolling away. Use sharp craft scissors intended for the cord, plus hooks or existing anchor points appropriate for the surface and finished weight.
Before You Start
Measure the intended display area and add enough length for a gentle dip plus end ties. Lay the cord along the surface first rather than relying only on a tape measure. Test one bead, the chosen stopper, and a ribbon tie together before stringing the full piece. If young children or pets can reach the display, place the small components and finished garland out of reach.
I would also photograph the trial color sequence with a phone. That quick reference makes it easier to resume the pattern after beads have shifted in the tray.
Step by Step Instructions
Sort the beads into a usable color sequence
Separate the beads by color and size, then arrange a short sample row. Alternate warm and cool colors so raspberry does not bunch beside orange or aqua beside green. Leave a little irregularity if you want the strand to feel collected rather than factory-matched.
Prepare the first secure end
Cut the cord longer than the measured display length. Add the first stopper or make the recommended end treatment for your specific cord, leaving a tail for the ribbon. Tug the end gently before adding more beads. If it slips during this test, change the stopper or knot now.
Thread the main color rhythm
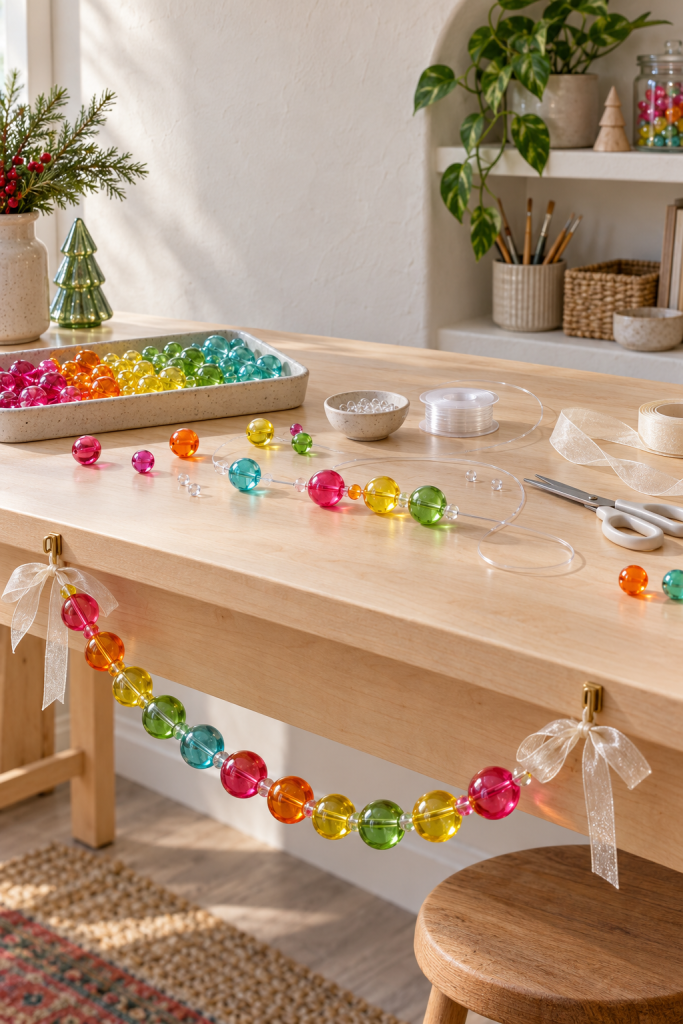
Slide beads onto the cord in the planned order. Pause every several beads and lay the strand flat so twists can relax. The image combines large colored spheres with tiny clear spacers; you can use clear spacers between selected focal beads to keep adjacent colors visually distinct.
Check the drape before closing the strand
When the garland is close to the intended length, temporarily hold both ends at the display points. Look at the lowest curve and confirm that it clears furniture, flames, doors, and walking paths. Remove or add beads while the end is still open.
Finish the second end and cover the hardware
Secure the final bead with the compatible stopper or knot method. Trim only after the closure passes a gentle pull test. Tie organza ribbon around each end, positioning the bows so they disguise the functional connection without bearing the weight of the garland.
Hang and refine the scallop
Attach the strand to suitable hooks or existing supports, following the hardware directions and surface limits. Step back and shift a few beads until the center hangs evenly. For a longer installation, add a discreet center support rather than forcing the cord to carry a deep, heavy curve.
Displaying the Finished Garland
Keep the transparent beads near daylight, tree lights, or another cool-running light source so the color can glow. Do not place acrylic beads, ribbon, or clear cord against open flames or hot bulbs. I would leave the ribbon tails slightly uneven, because a perfectly mirrored bow at each end can make the playful color sequence feel overly formal.
When storing the piece, coil it loosely around a piece of clean card or place it in a divided box. Avoid folding the cord sharply, which can create kinks that affect the next display.
Shop Materials and Tools
Choose beads with a workable hole
Compare hole diameter with the cord specification before buying. Look for smooth openings and consistent transparency rather than relying on color alone.
Match the cord to the finished weight
Select a clear cord intended for bead stringing and review its knotting, crimping, and load guidance. Thicker cord is not automatically better if it will not pass through the bead twice where needed.
Find compatible finishing components
Stoppers, crimps, covers, or clasp components should be made for the chosen cord type. A small mixed finishing kit can be useful only if its pieces actually fit.
Select ribbon that holds a clean knot
Look for narrow sheer ribbon with enough body to form a bow without dominating the beads. Wired ribbon is usually unnecessary for this light project.
Use surface-appropriate removable hooks
Check the hook’s stated surface compatibility and weight guidance. Choose the smallest reliable profile so the support stays secondary to the garland.
Final Project Tip
Keep three or four spare beads with the stored garland so a damaged focal bead can be replaced without disrupting the color rhythm.