
*This post may contain affiliate links for which I earn commissions.*
This inspiration image was created with AI.
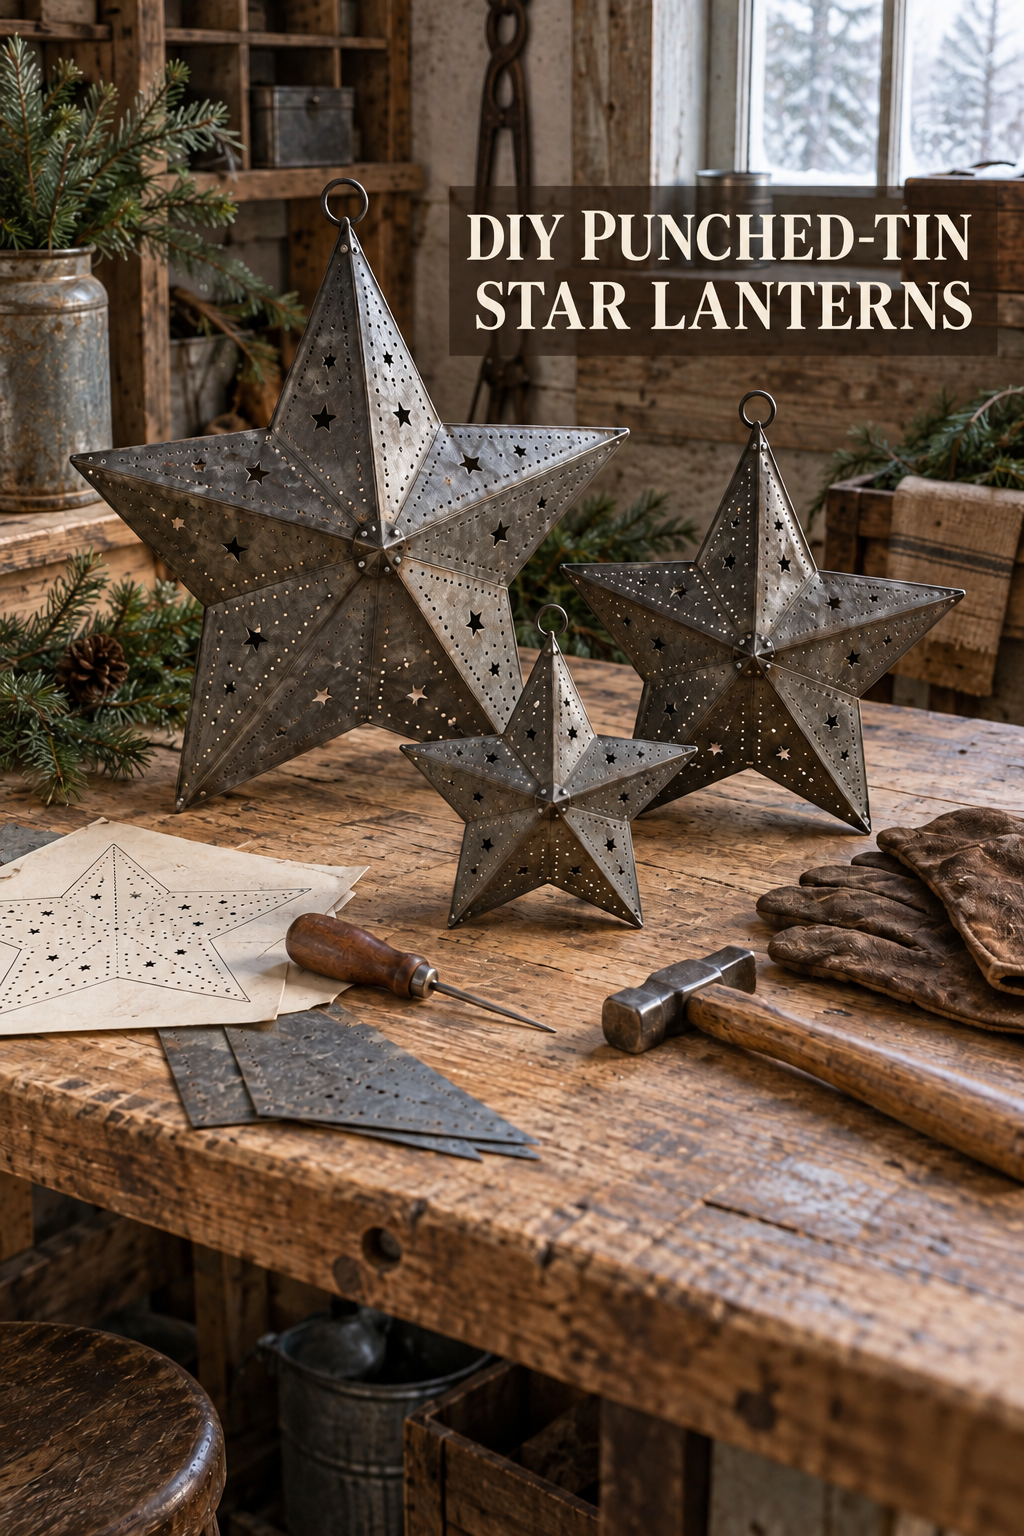
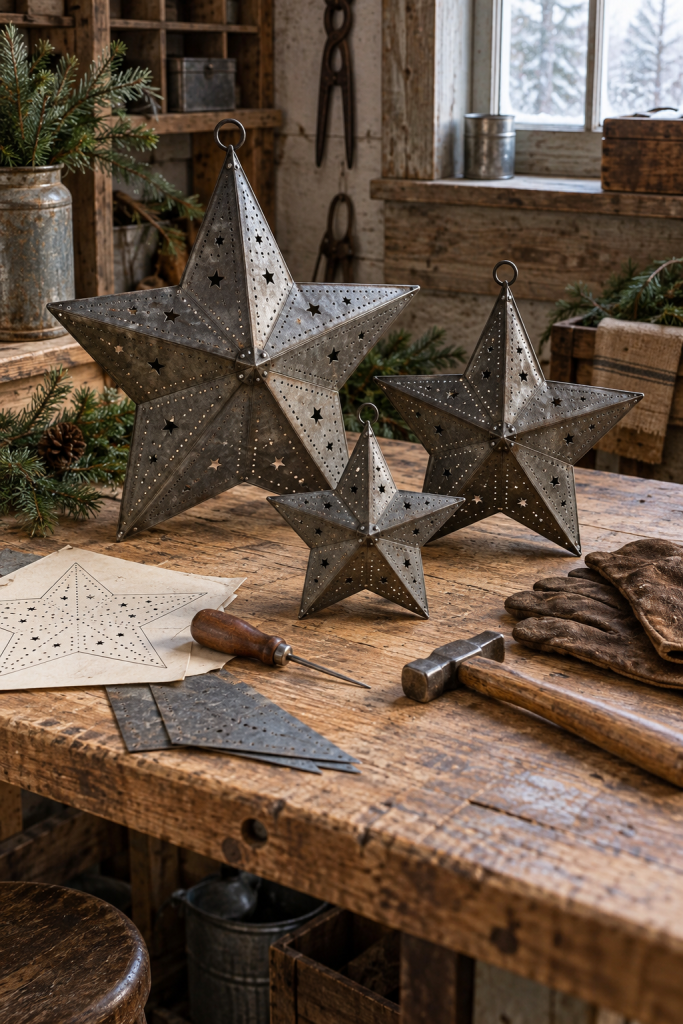
Punched-tin stars can make a holiday corner feel handmade before a single light is switched on. In this workshop-inspired scene, three dimensional metal stars sit on a deeply worn pine bench with a paper pattern, an awl, a small hammer, sheet-metal offcuts, and sturdy gloves. Fir clippings and a pinecone soften the hard edges, while snowy window light keeps the palette quiet. It is part craft setup and part seasonal display, which makes it especially useful for a workroom, mudroom, potting bench, or informal kitchen corner.
Why the Stars Feel Handmade and Display Ready
The composition begins with scale. The largest star rises at the back left, a medium star answers it on the right, and the smallest sits low in front. That uneven triangle lets every silhouette read clearly. It also avoids the stiff look of three identical objects placed in a straight row. Circular hanging rings repeat across the tops, while folded seams divide each star into facets and give the thin metal believable structure.
Small punched dots outline the seams, and larger star-shaped openings break up the broad gray surfaces. That mixture matters. If every opening were the same size, the pattern would flatten into texture; if the cutouts were too large or crowded, the stars would lose their sturdy, utilitarian character. The dull galvanized finish catches the cool window light without becoming shiny, and rust-darkened marks make the forms sit naturally against the scarred wood.
The tools explain the idea without turning the image into a step-by-step demonstration. The paper template connects directly to the perforated motif, while the awl, hammer, metal scraps, and gloves establish a plausible making zone. When adapting this as decor, I would keep only the tools that clarify the craft and store anything unrelated. That edit preserves the workbench story while leaving enough clear surface around the stars.
Key Pieces to Recreate the Look
Dimensional Punched Metal Stars
Choose three hollow star forms in graduated sizes, with folded facets, visible seams, and stable bottom points or bases. A matte galvanized, pewter, or naturally aged finish will relate to rough wood better than bright chrome.
Reusable Star Pattern
Use a paper, chipboard, or plastic template that includes several star sizes and clear center lines. The pattern should be rigid enough to trace accurately, yet simple enough that the finished perforations remain readable from several feet away.
Fine Awl or Sheet Metal Punch
Select a tool with a secure handle and a fine point suited to thin metal. A narrow point gives better control around tight curves and reduces the chance of turning neighboring holes into a torn slot.
Small Balanced Hammer
A compact craft or metalworking hammer delivers controlled taps without overpowering the sheet. Look for a comfortable handle and a clean striking face, especially if the dots will be closely spaced.
Close Fitting Protective Gloves
Cut-resistant or leather work gloves protect hands from unfinished edges. Fit matters here: bulky fingertips can make it harder to hold a small star or retrieve a slippery offcut safely.
Thick Scrap Wood Backer
A sacrificial board supports the metal during punching and protects the actual bench. Choose a flat, thick piece without embedded screws or knots directly beneath the planned pattern.
Short Evergreen Cuttings
A few fir or cedar tips frame the metal and introduce a clear winter cue. Keep the branches low and loose so they do not cover the pierced details or crowd the hand-tool area.
How to Make and Display the Punched Tin Stars
Start by transferring the star shape and perforation pattern to the metal. Place the sheet on a thick scrap-wood backer, secure it so it cannot shift, and trace the outer shape and the main facet lines from the template. Mark the punched pattern before reaching for the awl. Keeping the dots evenly spaced along each line will make the finished star look intentional, while a few larger star-shaped openings can break up the smaller perforations.
Put on protective gloves before handling cut or folded metal. With the sheet firmly supported on the wood backer, begin punching at the center of a marked line and work outward in short sections rather than trying to complete the entire pattern at once. Use light, controlled hammer taps and check the reverse side periodically. If neighboring holes begin to stretch into one another, increase the spacing instead of forcing another punch into the gap. Any cutting, folding, or joining needed to form the dimensional star should follow the requirements of the specific metal blank or star-making method being used.
Once the perforations are complete, inspect every cut and punched area for sharp edges or raised burrs. Smooth problem spots with an appropriate metal file or abrasive tool before the star is handled for decorating. Wipe away metal fragments from both the star and the work surface, then remove the scrap backer and unrelated tools. The paper pattern, awl, small hammer, and one neat stack of offcuts are enough to preserve the workshop story in the finished vignette.
For the display, stand the largest star toward the back without centering it. Angle the medium star so one point overlaps the larger silhouette only slightly, then bring the smallest forward to complete the uneven triangle. I would test the group from the doorway rather than only from directly above the bench. That front view quickly shows whether one star disappears behind another or whether the spacing has become too regular.
Tuck the paper pattern partly beneath one side of the arrangement and keep the evergreen at the outer edges, away from sharp tools and unfinished metal. The pictured stars are unlit, and that is the safest styling reference. Do not add a candle simply because an object is described as a lantern. Use illumination only when a purchased or constructed star is specifically designed for it, following the applicable light-source and ventilation instructions.
Shop Similar Pieces
Choosing a Set of Punched Tin Stars
Compare the depth of the folded facets, the neatness of the seams, and whether each star can stand securely. A graduated trio with mixed dot and star perforations will come closest to the layered arrangement without requiring three separate searches.
Find a Precision Punching Tool
Look for a fine-point awl or punch specifically described for controlled work on thin sheet metal. Check the grip shape, point size, and intended material rather than selecting the largest set with many attachments.
A Hammer Sized for Detail Work
Favor a light, balanced hammer with a compact face that can land accurately beside traced marks. Product dimensions and head weight are more useful here than decorative handle finishes.
Protective Gloves with Useful Dexterity
Review both cut protection and sizing. The closest practical match is a snug pair with flexible fingers and enough cuff coverage to handle folded metal without loose material catching on a corner.
Evergreen Stems for a Workbench Accent
Choose short, matte branches with irregular tips instead of a thick finished garland. Two or three bendable stems are easier to position around tools and can be removed quickly when the bench returns to regular use.
Final Styling Tip
Before putting punched metal away after the season, run a cloth carefully along the finished edges while wearing gloves. Any snag identifies a burr that should be smoothed before the stars are wrapped or handled again.