*This post may contain affiliate links for which I earn commissions.*
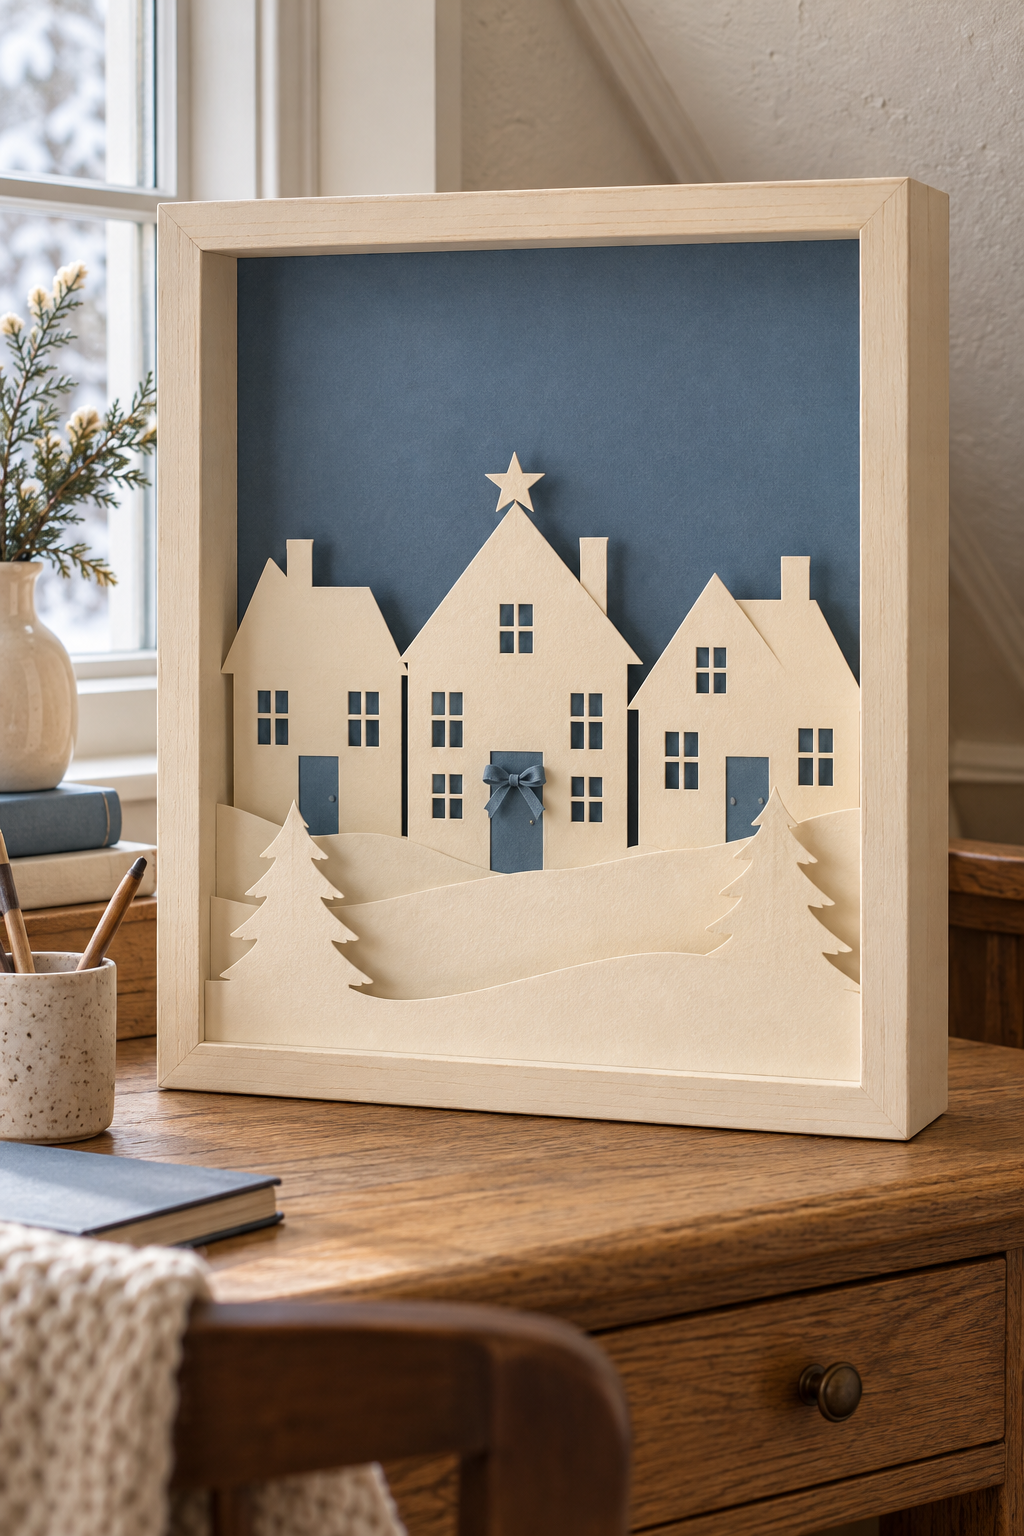
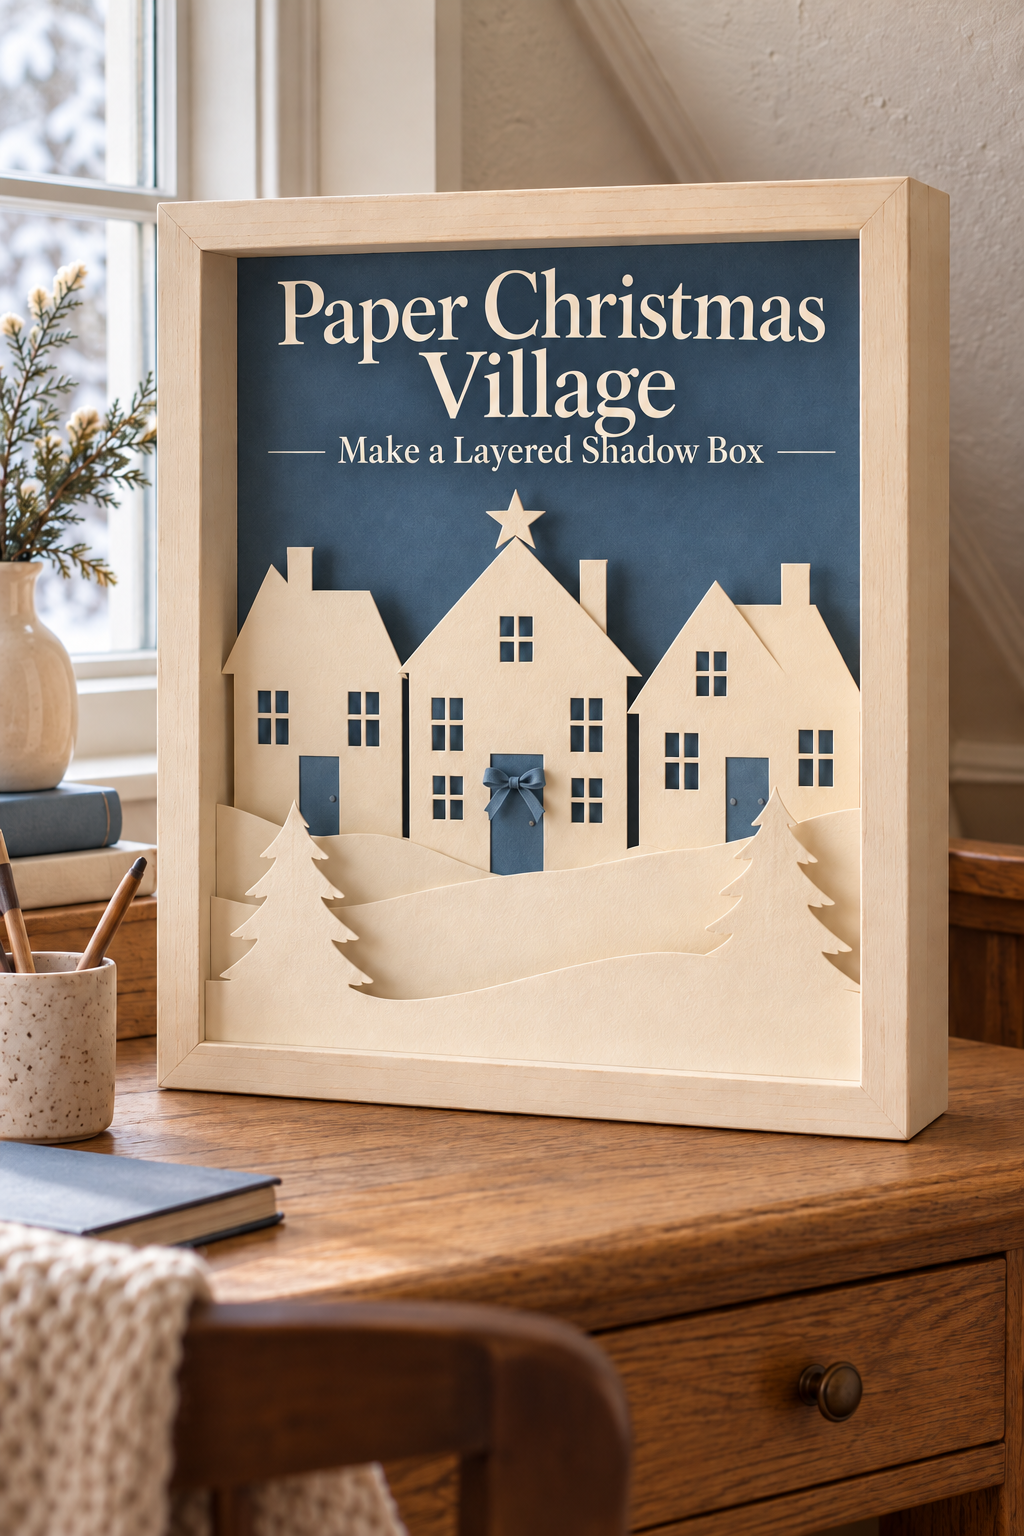
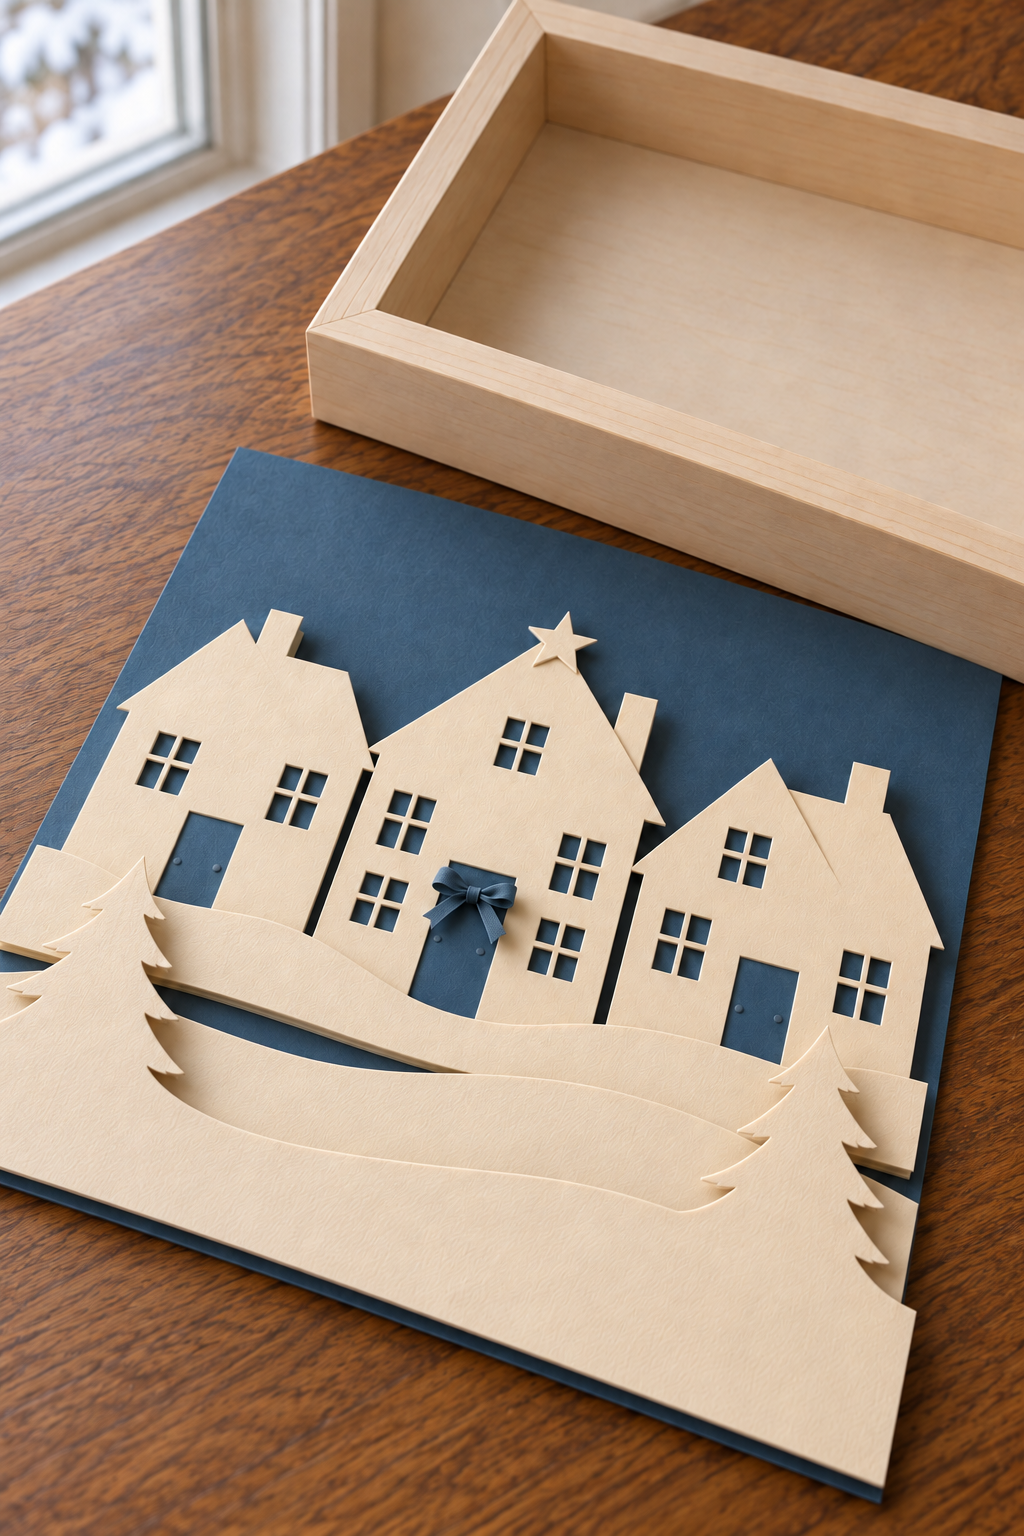
Image created with AI. This image serves as visual inspiration for the project below. The tutorial uses hand-cut cardstock and adhesive spacers to recreate its layered appearance.
A small Christmas village does not need a shelf full of ceramic buildings. This paper version puts peaked roofs, tiny windows, snowy hills, and fir trees inside one deep frame. Muted blue gives the houses a clear outline, while warm ivory keeps the snow and village soft rather than stark.
What You’re Making
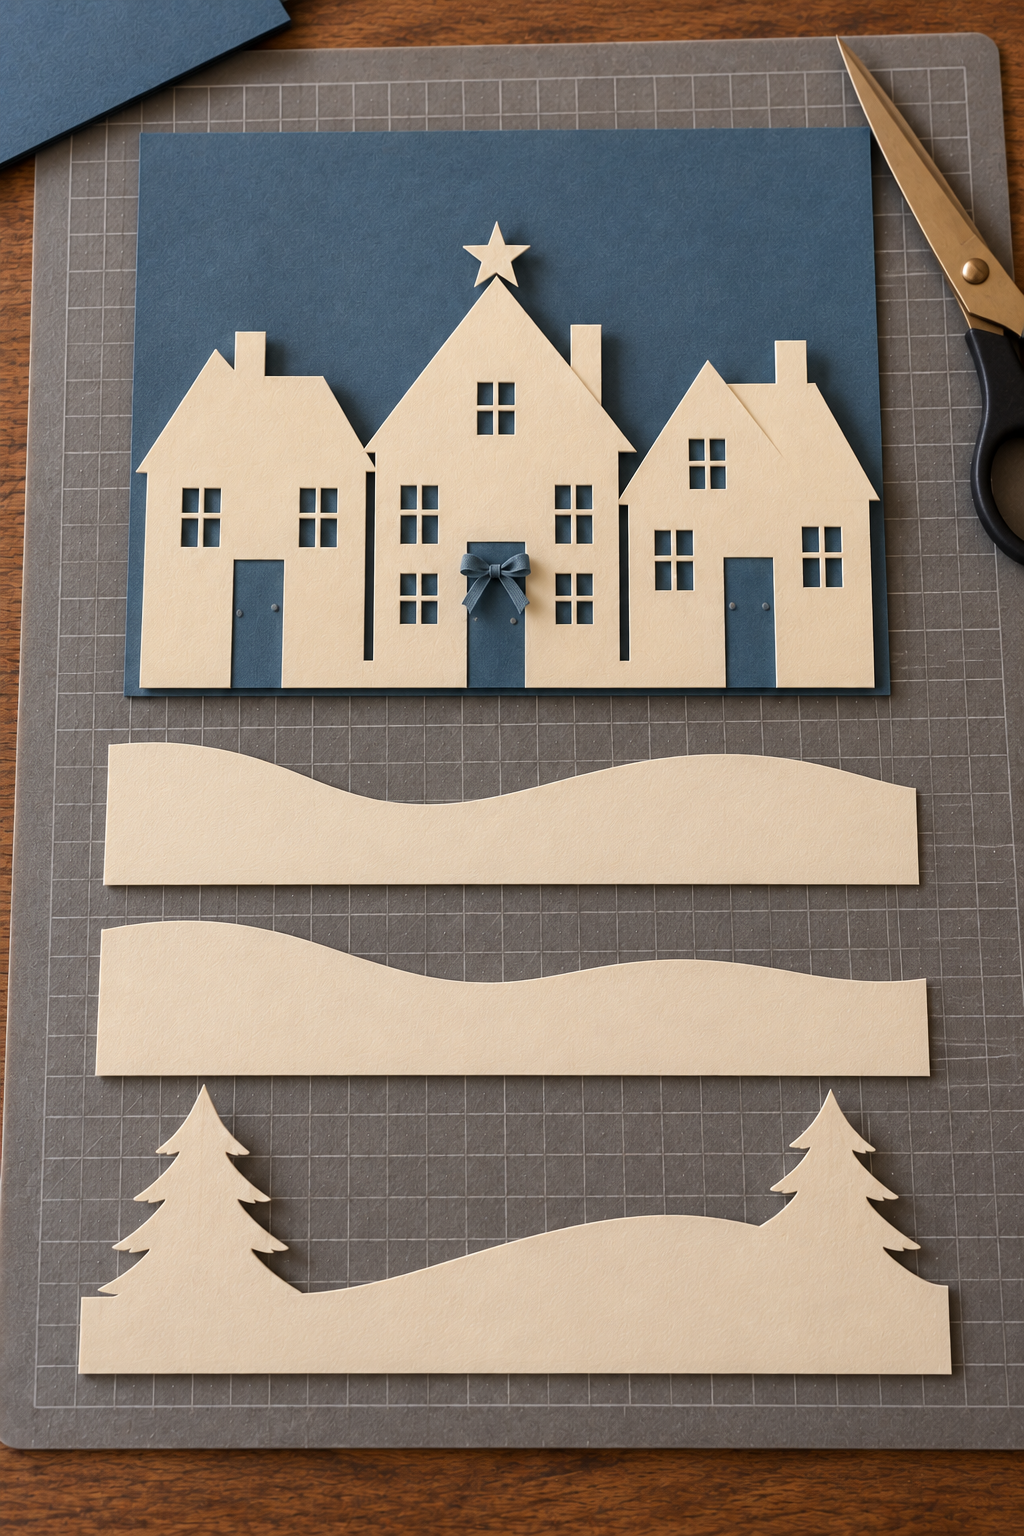
The finished piece is an indoor shadow box with a blue background, a connected ivory house strip, and three overlapping snow strips. Two flat trees rise from the foremost strip. Blue doors, a small ribbon bow, and a roof-top star give the village its Christmas character. You will work on the frame’s removable backing and return it to the frame after assembly.
Materials and Supplies
Main Materials
- Deep shadow-box frame with removable backing and a stable standing base
- Muted blue and warm ivory cardstock
- Plain scrap paper for a full-size layout
- Paper-compatible craft adhesive
- Adhesive foam spacer pads suitable for paper
- Narrow muted blue ribbon
Tools
- Pencil
- Ruler
- Paper scissors
- Craft knife
- Cutting mat
Before You Start
Let the frame determine the size
Measure the actual visible opening and usable interior depth. Make a scrap-paper rectangle that fits behind the inner lip without bending. A modest desktop frame is easier to fill with sturdy, simple shapes than a large wall frame. Check that the backing can be removed and reinstalled before starting.
Plan for breathing room
Keep the tallest roof below the upper half of the opening, leaving room for its star and a generous blue sky. Reserve the bottom quarter or so for overlapping snow bands. These are adaptable proportions, not a cutting pattern that must fit every frame. Check your adhesive and spacer instructions for paper suitability and any curing requirements.
Step-by-Step Tutorial
1. Draw a connected village on scrap paper
Draw three houses side by side, with the center house taller. Use rectangles for the walls, triangles for the roofs, and short rectangular chimneys. Connect all three walls to one continuous bottom band. That band will later hide behind the snow and prevents the skyline from becoming a collection of fragile loose buildings.
Mark a blue door on each house. Sketch a few windows as groups of four small rectangular openings, leaving broad paper bridges between them. Avoid putting windows right against the roof or house edges. Lay this draft inside the frame opening and adjust the width until the roofs and outer walls remain visible.
2. Cut the ivory skyline and its windows
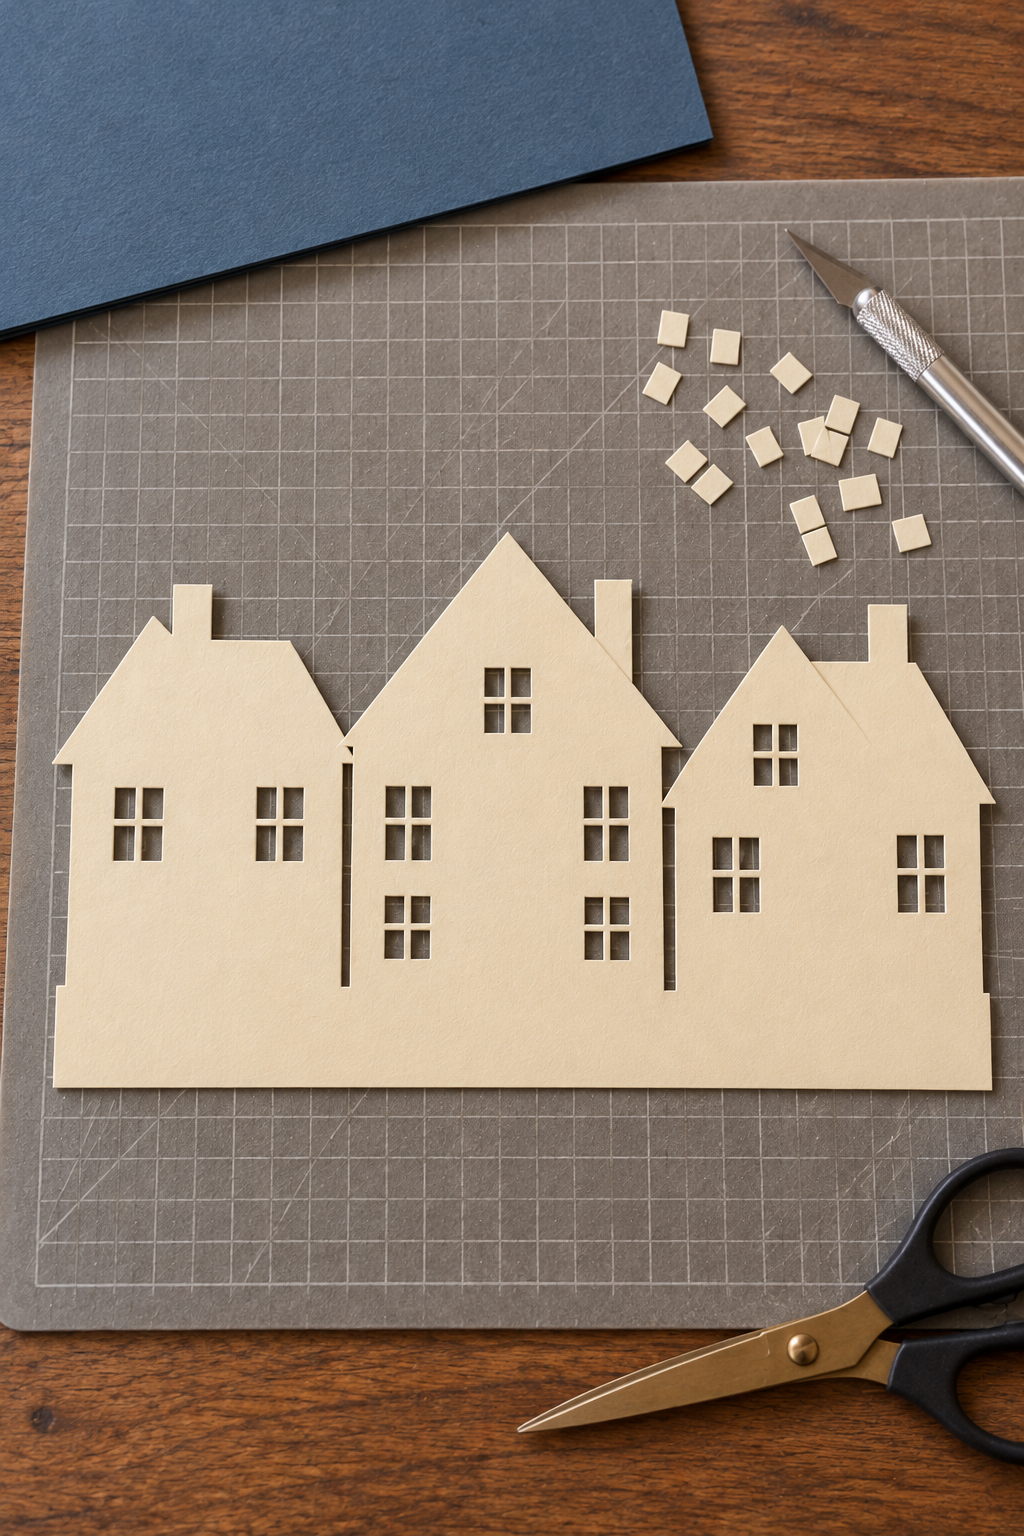
Transfer the outline to ivory cardstock. Cut the outside silhouette with scissors, preserving the connecting bottom band. Place it on a cutting mat to cut the small window openings with a craft knife. Work with short controlled cuts rather than pulling through several layers at once. Keep the other hand away from the blade path.
Leave the windows simple enough to cut cleanly. If a narrow divider tears, enlarge that window into one rectangle rather than trying to disguise a weak join. Brush away loose paper fragments before laying the skyline against the blue sheet.
3. Add blue doors and the small Christmas details
Cut three blue rectangles sized to the drawn door positions and glue them onto the ivory walls. Tie the narrow blue ribbon into a very small bow, trim its tails, and attach it to the center door with paper-compatible adhesive. Use only enough adhesive to hold the lightweight ribbon without saturating the cardstock.
Draw and cut a simple five-point ivory star. Glue its lower point over the center roof peak so that it has an actual contact area rather than appearing to float. Allow these details to set according to the adhesive instructions before handling the skyline.
4. Mount the blue backing and raise the village
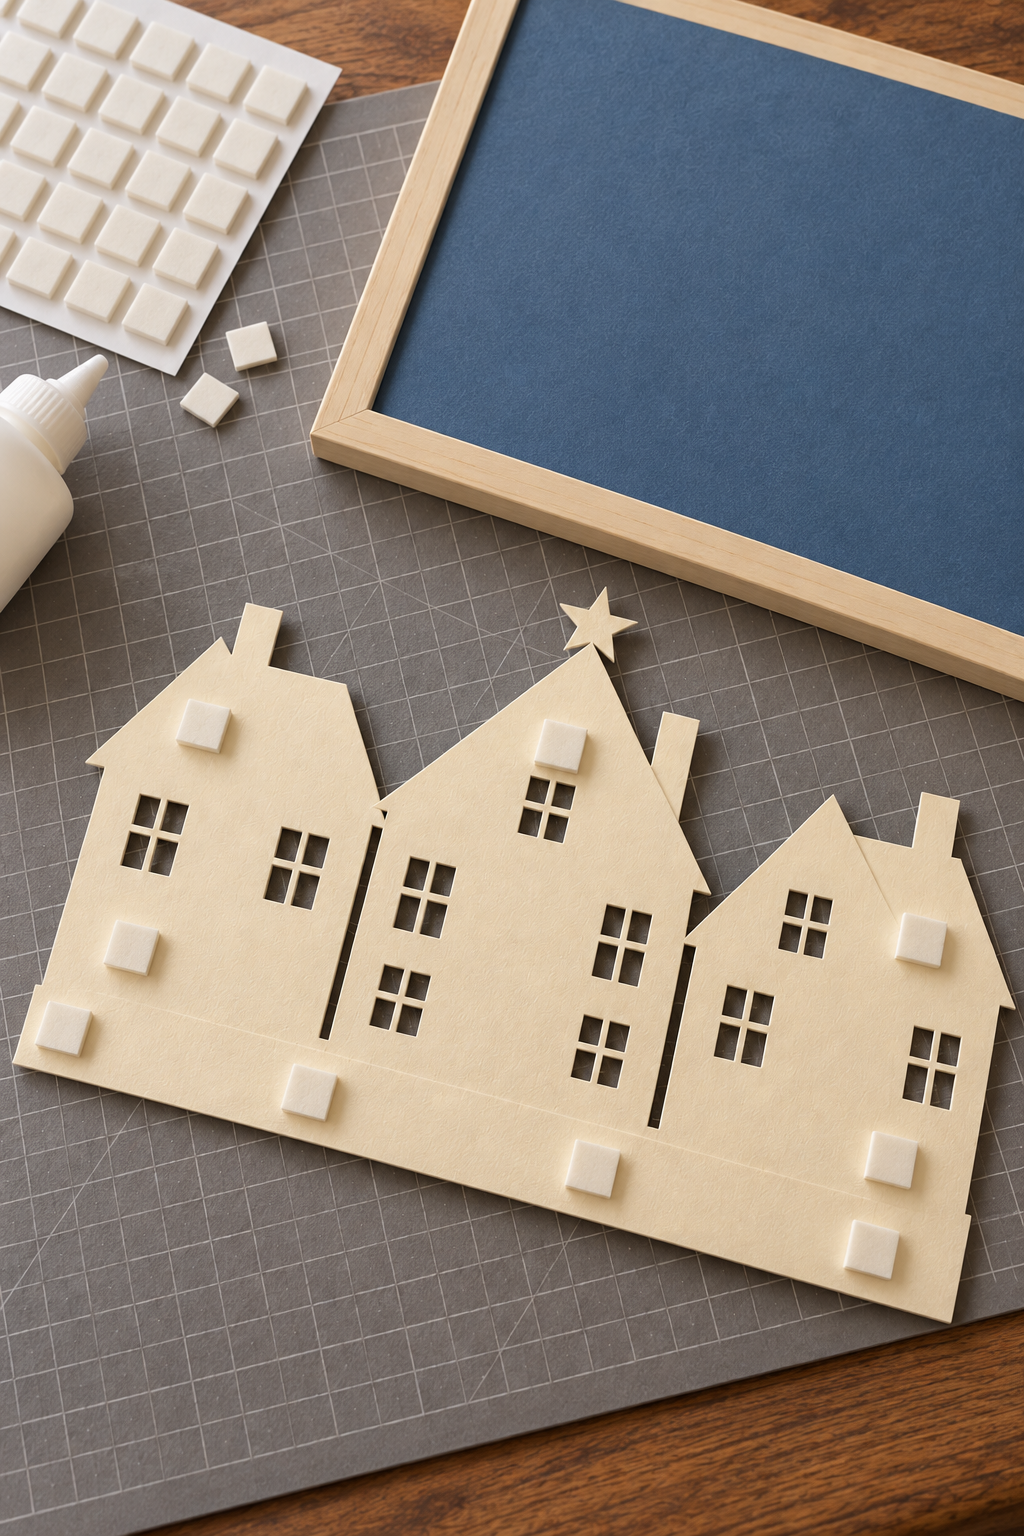
Cut blue cardstock to fit the frame backing, then bond it flat with a thin, even application of craft adhesive. Let it dry flat before adding the skyline. Dry-fit the house strip on top and check that its bottom band sits inside the opening.
Place foam spacer pads behind broad wall areas and the connecting band. Keep them away from window openings and exposed roof edges. Remove their release liners and press the skyline into place. Use the minimum spacer height that gives a visible shadow; the scene must still fit within the frame’s interior depth.
5. Build overlapping snow bands and trees
Cut three ivory strips the width of the opening. Give each a gently uneven hill-shaped upper edge and a straight bottom edge. Arrange them from back to front, varying the hill heights so all three edges remain visible without hiding the doors.
For the front strip, draw two fir trees rising directly from its top edge near the sides. Make each tree from a pointed top and a few broad, stepped branch tiers. Cut the trees and band as one piece. Their trunks remain attached to the snow, avoiding separate unsupported tree cutouts.
Dry-fit all three strips before attaching anything. Shorten a hill or move a tree outline if it covers a door or window you want to retain. The blue sky should remain a substantial part of the scene.
6. Attach the foreground and close the frame
Add spacer pads to the lower solid portions of the snow strips and attach them in order. Keep each new strip slightly forward of the previous one. Support the broad tree bodies with concealed pads where necessary, choosing pad positions that will not show through the gaps.
View the open assembly from the side. Check that no layer will be compressed by the frame front, and that each tree and roof has support. Remove or reduce excess spacer depth before reinstalling the backing. If your frame includes glazing, use it only when the complete scene fits behind it without pressure. Follow the frame’s instructions for reassembly.
Keep the Paper Layers Neat
A slightly blunt outline is more convincing than a delicate edge that curls forward. Choose broad branches and generous window dividers. If the background develops a ripple, let it dry fully before judging it; adding more adhesive to a damp sheet often makes the surface harder to control.
Adapt the Village to Your Frame
For a narrow frame, use two houses and one tree rather than shrinking every detail. A wider frame can accommodate another house, but retain one tallest roof to organize the scene. Changing the roof shapes gives each version character without adding glitter or unrelated holiday motifs.
Give the Village a Quiet Place
Stand the completed frame on a stable desk, shelf, or cabinet with enough depth for its base. Keep it away from moisture and direct sunlight that can fade paper. Store it upright in a protective box between seasons, with nothing pressing against the front layers.
The small blue bow gives this quiet village its gathering-place detail. Let that doorway remain easy to see when you choose where to display it.