*This post may contain affiliate links for which I earn commissions.*
This image was created with AI to offer inspiration for your own decorating.
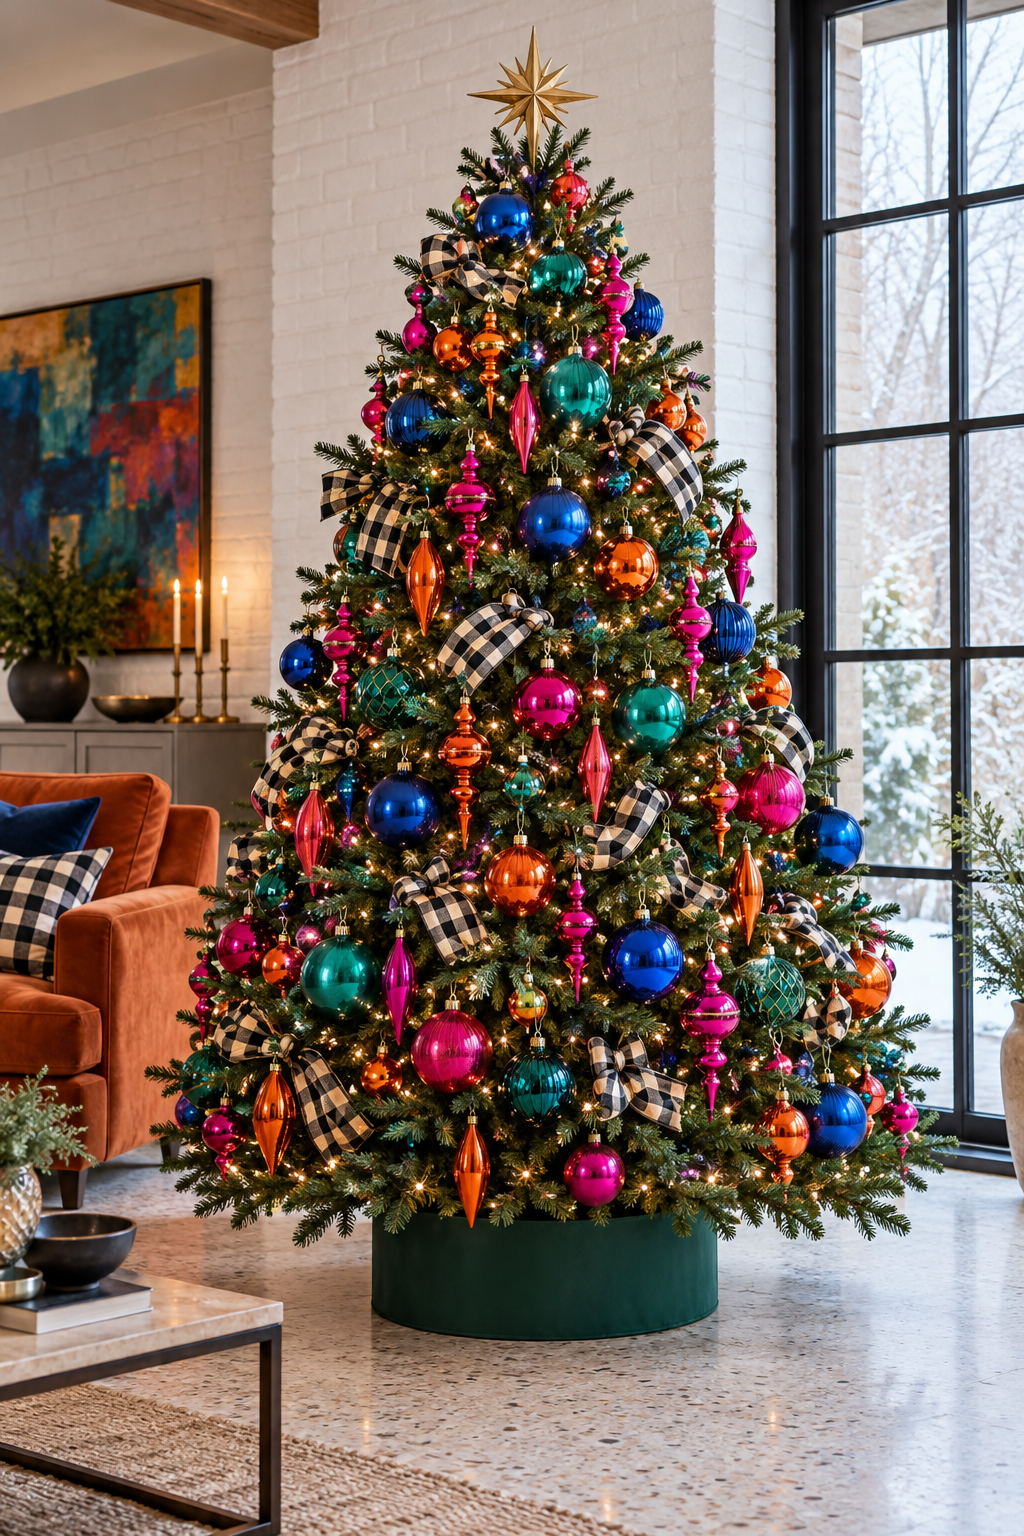
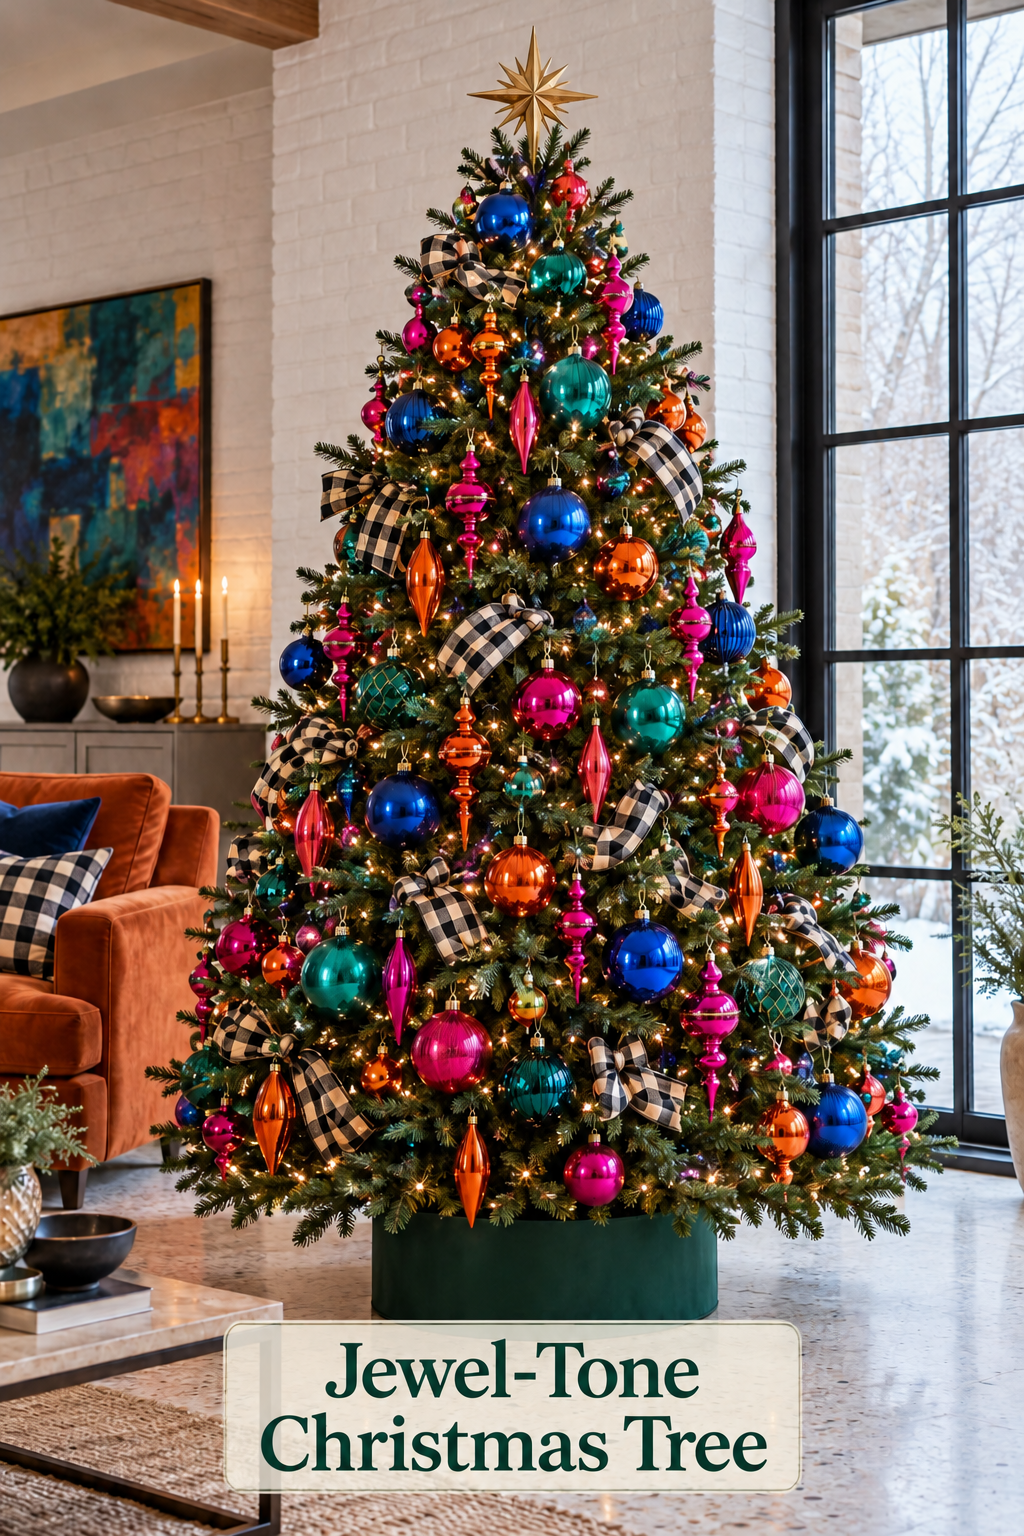
Blue, pink, teal, and orange ornaments give this Christmas tree a bright, layered look. Rounded baubles sit beside long finials, while black-and-cream ribbon breaks up the glossy color. The white brick wall and tall window let the tree stand out without asking the whole room to become equally busy.
This is a useful direction if you like a full tree but want something beyond a familiar red-and-green palette. Start with the ornaments you enjoy most, then use shape and ribbon placement to make the collection feel connected.
What Makes This Look Work
Round and pointed ornaments share the branches
The blue and teal spheres give the tree broad patches of color. Pink and orange finials introduce narrower shapes between them. Those differences help individual ornaments remain readable even where the decoration is dense. An all-round assortment could feel equally colorful, but it would lose this contrast in outline.
Checks interrupt the shine
The fabric ribbon has a softer surface than the reflective ornaments. Its large pale squares are easy to see from across the room, and the darker squares relate to the shadows in the branches. Short sections appear at different heights rather than wrapping the tree in a continuous stripe.
The room gives the tree a clear outline
Pale brick sits behind much of the tree, with the dark window frame marking one side. A plain green collar finishes the base without a spread of gifts. The orange sofa echoes a tree color, but the surrounding furniture stays secondary. That allows the ornaments to be abundant without making every surface another holiday display.
Key Pieces to Recreate the Look
A full green Christmas tree
Choose a tree with enough branch depth to separate front ornaments from those farther inside. The tapered outline should remain visible after decorating, particularly around the upper branches.
Jewel-colored round ornaments
Blue, teal, pink, and orange baubles establish the palette. Mix sizes thoughtfully so the largest pieces have room to hang freely rather than pressing into neighboring decorations.
Long finial ornaments
Pointed drops and tiered finials create the tree’s distinctive variety of shapes. Look for hanging loops and proportions that suit the spaces beneath your actual branches.
Black-and-cream checked ribbon
A broad check is visible against the many small light points. A flexible ribbon with enough body to hold a loose fold is easier to tuck than a limp strip or a stiff plastic-like material.
Warm white tree lights
Small lights brighten the interior as well as the outer branches. Their warm tone gives the bright ornaments a festive glow while leaving the individual colors recognizable.
A plain green tree collar
A simple collar keeps attention on the decorated canopy. Choose its size around your stand and lower branches, rather than treating it as a cover that fits every tree.
How to Style It at Home
Decide where the tree will be seen
Place the undecorated tree and look at it from the sofa, doorway, and main walking route. In a room like this, the window creates a side view as well as a front view. Decide which faces need full decoration before distributing your best ornaments.
If your room has less floor space, use a slimmer tree and fewer large baubles. Preserve the round-and-finial combination rather than squeezing the pictured density onto a narrow silhouette. Measure the tree’s widest spread with the branches opened, allowing for ornaments that extend beyond their tips.
Give the longest finials their own gaps
Hang a few long ornaments before filling the tree with spheres. Check that each tip clears the branch below and that its loop rests securely on a branch suited to its weight. A finial wedged against greenery loses the outline that makes it useful.
Place some round ornaments farther inside the canopy to leave outer gaps for the drops. Step back after each small group. Moving one sphere inward can create enough room without removing a whole cluster.
Build ribbon tucks in separate sections
Test one section of ribbon on the tree before cutting the rest. Let it emerge from the greenery, curve loosely over a branch, then disappear into another supported point. Attach it discreetly with suitable ties if the branches alone will not hold it.
Work downward in uneven intervals and change the direction slightly between sections. Keep the checks visible on the front of the folds. Avoid pulling the ribbon tight across the tree, which can flatten branches and make the pattern look like a bandage.
Adjust reflections with the lights switched on
Glossy ornaments can look dramatically different beside a window and under tree lights. Review the decorated tree in daylight and again with the room lighting you use in the evening. Rotate a particularly reflective bauble if it creates a large bright glare from the sofa.
You can also shift a nearby bulb farther into the foliage, following the light manufacturer’s instructions. The aim is to reveal the ornament colors and contours, rather than letting the brightest reflections become the main feature.
Shop Similar Pieces
Compare what an ornament assortment includes
Read the size breakdown and the number of each shape. A large mixed set may contain mostly small spheres, with only a few finials. If the long forms are central to your plan, a separate finial set gives you more control than relying on the assortment’s cover photograph.
Consider ornament weight before finish
Glass and lightweight alternatives can both give the bright reflective effect. Choose for your household and branch strength, and confirm whether caps, loops, and hanging strings are included. A beautiful heavy ornament is less useful if your tree cannot support it where you want it.
Look closely at the ribbon edges
Check the width, roll length, and whether the ribbon is wired. Finished edges help repeated tucks look tidy; exposed or rough wire ends should be turned inward during setup. Photograph scale can be misleading, so compare the stated check size with nearby ornaments.
Measure inside the collar
Confirm the internal opening, assembled height, and whether the collar opens around an existing stand. The lower branches should sit above its rim without being forced upward. Leave access to the stand’s water reservoir if you use a real tree.
Final Styling Tip
Label your ornament storage dividers by shape as you pack away: rounds, drops, and tiered finials. Next Christmas, you can see the balance of the collection before buying more of whichever color happens to catch your eye.