
*This post may contain affiliate links for which I earn commissions.*
This inspiration image was created with AI.
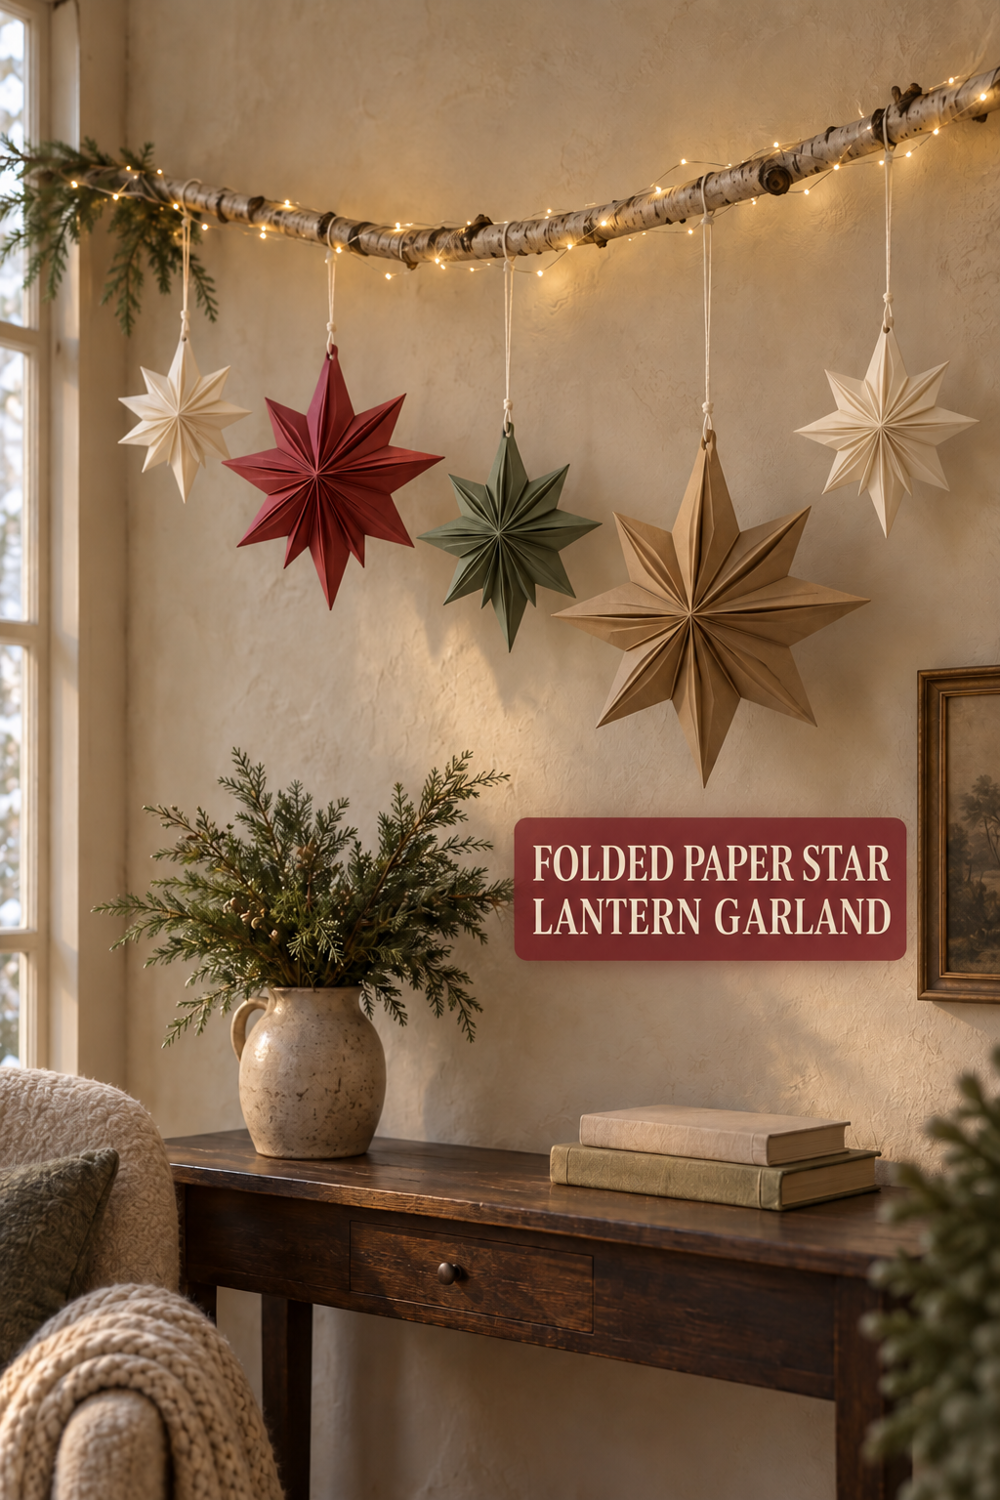
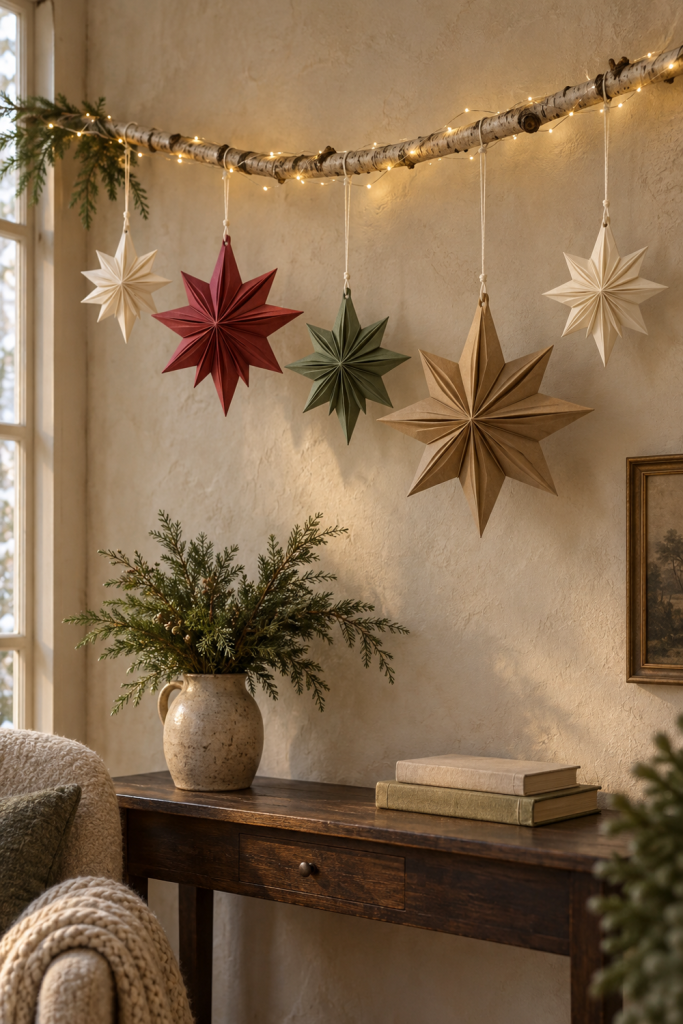
A folded paper star lantern garland turns a plain wall into a soft Christmas focal point without requiring a large tree or a crowded mantel. The inspiration image shows five pleated stars suspended from a pale birch branch above a dark wood console. Ivory, cranberry, sage, and kraft paper keep the display festive but grounded, while warm micro lights trace the branch rather than sitting inside the paper forms.
The tutorial below proposes a practical way to recreate a similar display. Because the finished image does not reveal its hidden construction, the stars are made as lightweight folded medallions with pointed outer edges, then hung from a separately mounted branch. Use battery-operated LEDs only, and follow the instructions supplied with the lights and wall hardware you choose.
Materials and Tools
Heavyweight craft paper
Choose paper that holds a sharp accordion fold without cracking. A mix of matte ivory, muted red, dusty green, and kraft sheets will echo the varied stars in the image. Test one narrow strip before cutting the full pieces.
Cutting and scoring tools
A craft knife, metal ruler, cutting mat, and scoring tool make repeated folds cleaner than freehand cutting. A paper trimmer with a scoring function can simplify the project if it accepts your chosen paper weight.
Adhesive and clips
Use a paper-compatible adhesive recommended for the stock you select. Small binder clips or craft clips can hold glued seams closed while they set according to the adhesive instructions.
Hanging supplies
You will need cream thread or fine cord, a small hole punch, and a dry decorative branch. Select separate wall hardware suited to your wall type and the combined weight of the finished display.
Battery micro lights
Pick a cool-running indoor LED strand with a discreet battery box. Do not use incandescent bulbs, candles, or any open flame near paper.
Before You Start
Protect the work surface and decide how many stars will fit the intended wall. The image uses five pieces in three general scales, which creates rhythm without looking like a row of identical ornaments. Make a small paper sample first to check whether the stock folds neatly and whether the adhesive grips its coated or uncoated surface.
Set the branch on the floor and mark approximate hanging positions with loose thread loops. This lets you solve the spacing before the branch is mounted. Keep the LED battery compartment reachable rather than concealing it where switching or battery changes would be awkward.
Step-by-Step Instructions
Cut matched strips for the first star
Cut two equal paper strips for each star. Their length and width will determine the final diameter and depth, so scale them to the wall rather than relying on one fixed measurement. For a balanced group, make one large kraft star, one slightly smaller cranberry star, one medium sage star, and two small ivory stars.
I would complete one medium test star before preparing the entire set. That sample reveals how much paper the pleats consume and prevents a full batch from ending up too deep or too stiff.
Score an even accordion pattern
Mark evenly spaced fold lines along both strips, then score them lightly. Fold back and forth along the marks to form matching accordions. Press each crease firmly with a bone folder or the smooth edge of the scoring tool, taking care not to abrade the paper finish.
The two strips need the same fold interval so their pleats meet cleanly. If the final folds do not align, trim only after checking that both pieces still have enough overlap for a secure seam.
Shape the pointed outer edge
Keep each strip compressed and cut the open end into a simple point. When the accordion expands, those repeated cuts become the star’s radiating tips. Start with a shallow angle on the test piece. A very deep cut can create narrow points that bend easily.
For the two small ivory stars, a slightly finer point will suit their lighter scale. The larger kraft star can carry broader tips, like the substantial shape visible on the right side of the image.
Join each accordion into a ring
Adhere the short ends of the first strip to make a continuous pleated ring, then repeat with the second strip if your chosen construction uses two semicircular sections. Clip the joined areas and allow them to set as directed for the adhesive. The seams should lie within the pleat rhythm rather than forming flat tabs on the face.
Collapse and secure the center
Stand the pleated ring on one edge, guide the inner folds toward the middle, and press it flat into a radiating star. Secure the center on the back with a sturdy paper circle cut from matching scrap. Add a smaller circle to the front if the folds need support or if you want a neat central finish.
This is the point where I would reject any piece that springs open strongly. Forcing it with extra glue may distort the face. A more flexible paper or a wider inner opening is the cleaner correction.
Add a reinforced hanging point
Punch a small hole through a sturdy upper fold. If the paper feels vulnerable, adhere a small matching-paper reinforcement on the back before punching. Thread the cord through the hole and tie a secure loop, leaving extra length for final height adjustments.
Prepare the lit branch
Inspect the dry branch and remove loose bark or sharp snags that could cut the light wire or thread. Wrap the LED strand loosely along the branch, leaving access to the battery compartment. Secure it only with methods allowed by the light manufacturer’s instructions, and keep bulbs from pressing directly against the paper stars.
Hang the stars in an uneven arc
Mount the branch using correctly selected hardware, following the hardware directions for the actual wall and load. Tie each star to the branch so the cords are visibly supported and the stars hang freely. Stagger their lower edges instead of aligning their centers. In a five-star layout, placing the deepest color left of center and the largest neutral star right of center creates an easy visual balance.
Step back before trimming cord ends. I would adjust the sage star last because its middle position can bridge the darker red and natural kraft pieces without making the palette appear striped.
Displaying the Garland Safely
Keep the paper display indoors and away from fireplaces, candles, heaters, cooking areas, and damp windows. Use only the LED strand in the manner permitted by its instructions. Check that the battery box remains accessible and that no paper point touches a bulb or pinches the wire. The restrained console styling in the image, with evergreen branches and a few books, leaves the handmade stars as the clear focal point.
Shop Materials and Tools
Choosing paper that will keep its pleats
Look for craft paper described as suitable for folding and scoring, with enough body to stand open but not so much thickness that repeated creases split. Multipacks with coordinated muted colors can make the five-piece palette easier to plan.
What matters in a scoring setup
A useful scoring board should provide straight guides and enough working width for your planned strips. If choosing separate tools, pair a non-slip metal ruler with a self-healing mat and a scoring implement that compresses rather than slices the sheet.
Find a paper-compatible adhesive
Check the manufacturer’s guidance for paper weight, finish, clamping, and set time. A controlled applicator helps keep wet adhesive from spreading onto the visible pleats.
Select indoor battery micro lights
Choose a strand long enough to travel the branch without tight pulling, with a battery box you can reach easily. Confirm the product is intended for indoor decorative use and follow all supplied clearance and operating directions.
Match hardware to the real wall
Wall material and total project weight should determine the hanging hardware. Look for clear load and installation guidance for the specific surface rather than assuming a generic hook will suit plaster, drywall, masonry, or wood.
Final Project Tip
Store each star loosely in its own shallow box or paper sleeve. Crushing all five together can flatten the outer points and make next season’s hanging arc harder to rebuild.