*This post may contain affiliate links for which I earn commissions.*
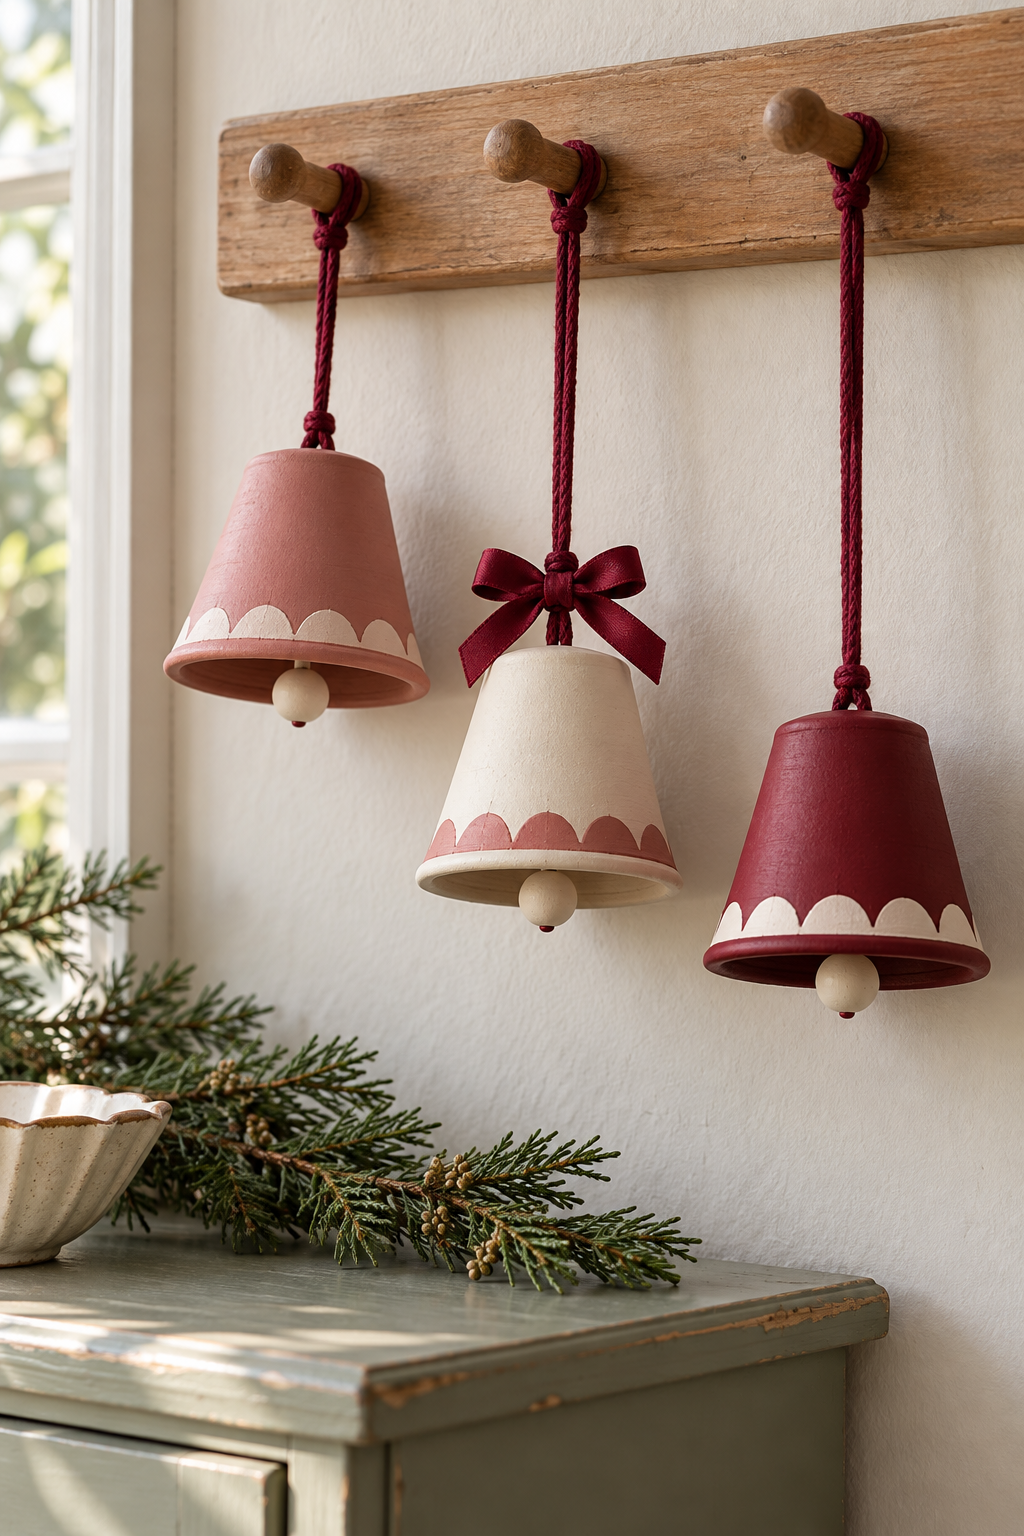
Image created with AI. This image serves as visual inspiration for the project below.
A little flowerpot has nearly the right shape for a Christmas bell already. Turn it upside down, add a painted scallop border and a bead clapper, and the familiar planter becomes a hanging holiday decoration. Dusty rose, cream and burgundy give this set its color, with one satin bow keeping the finishing detail small.
The tutorial uses existing drainage holes and a knotted cord assembly, so you do not need to drill the pots or glue on a hanging loop.
What You’re Making
Make a small set of decorative bells from tapered terracotta pots. Each bell has a painted body, a contrasting scalloped band above its rolled rim, and a wooden bead suspended at its open end.
The bead suggests a bell clapper; these are decorative ornaments rather than working musical bells. A larger bead hidden inside the pot keeps the suspension cord from pulling through the drainage hole. You can hang the finished pieces individually from existing suitable pegs or hooks.
Materials and Supplies
Main Materials
- Mini terracotta pots with one existing drainage hole each
- Acrylic craft paint suitable for terracotta, in dusty rose, cream and burgundy
- Burgundy cotton cord that fits the pot and bead holes
- Cream wooden beads for the visible clappers
- Stopper wooden beads wider than the pot drainage holes, with holes that fit the cord
- Narrow burgundy satin ribbon for one bow
Tools
- Flat paintbrush for the pot bodies
- Small round paintbrush for the scallop borders
- Scissors that cut cord and ribbon
- Ruler or tape measure
- Pencil for light border guides
Use a reusable paint dish, water container and a protective work surface you already have.
Before You Start
Check the pot and cord fit
Choose small, lightweight pots with smooth, intact drainage holes. Check for cracks and chipped rims before painting. The cord must pass through the pot hole and both bead types. Each stopper bead must be too wide to pass through the drainage hole, and a knot in your cord must be large enough to stop it sliding along the cord.
Try the components together on one unpainted pot. If the cord frays against a sharp hole, choose a different pot rather than trying to force the assembly. This project does not require cutting or drilling fired clay.
Plan the hanging space
Check the dimensions and weight of the actual pots against the capacity of the existing pegs or hooks you intend to use. Small tree branches may not support a clay ornament well. Keep the bells separated so they will not knock together, and place them where passing shoulders will not hit them.
Clean the pots and let them dry before applying paint. Follow the paint manufacturer’s surface-preparation and drying directions for terracotta.
Step-by-Step Tutorial
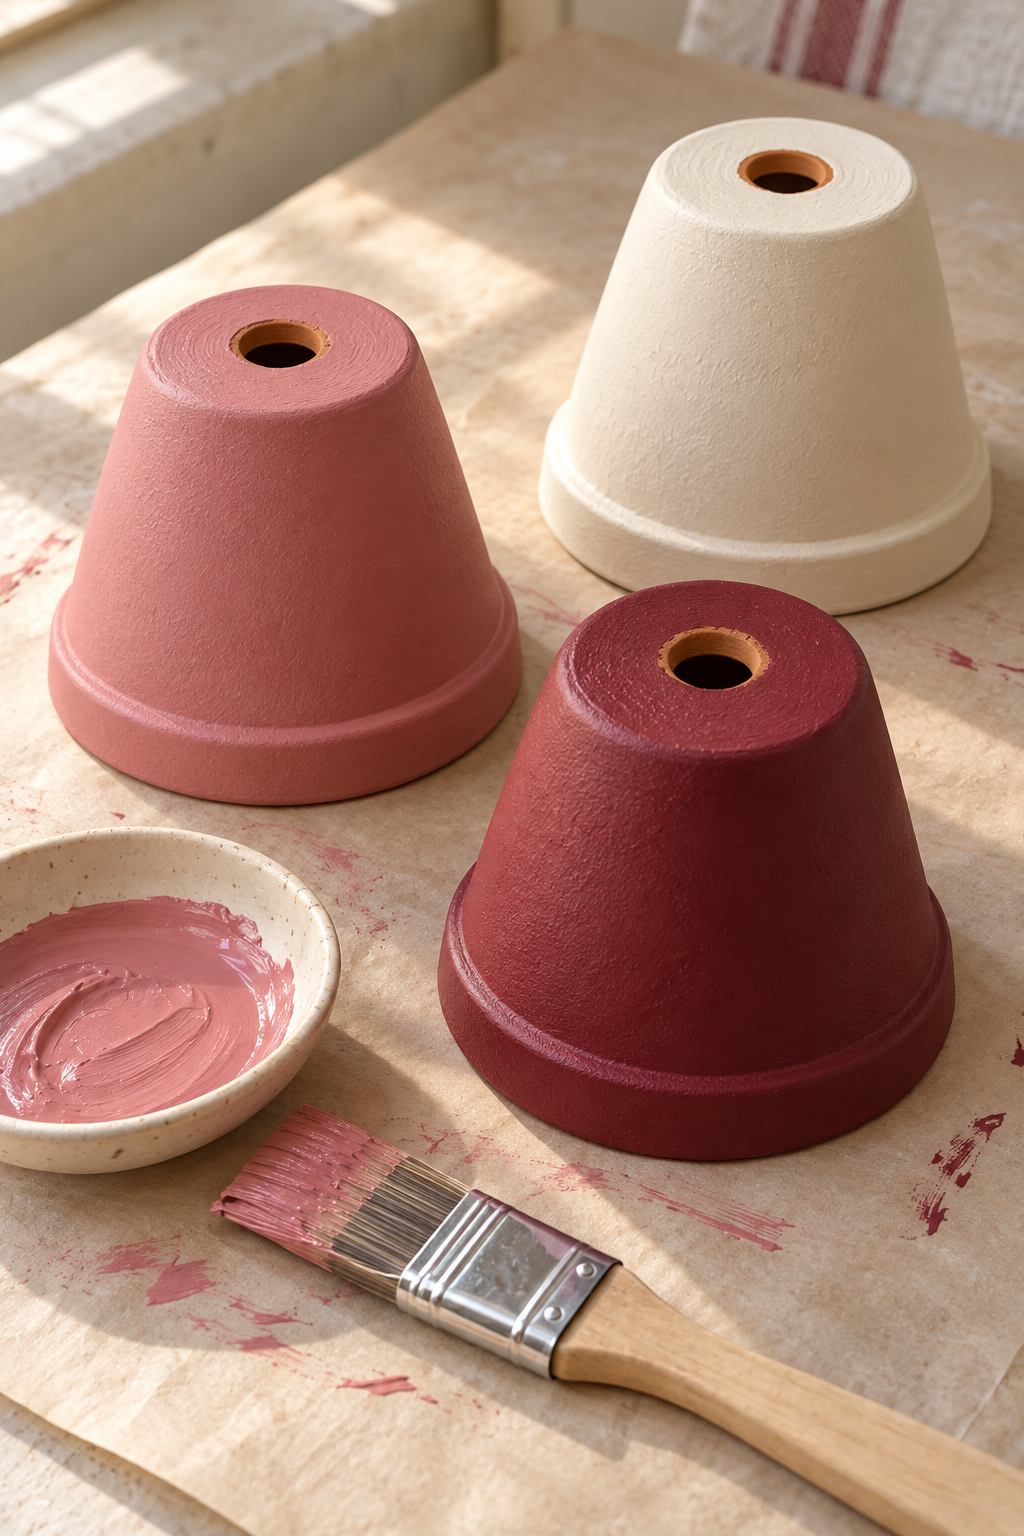
1. Paint the bell bodies
Set a pot upside down on your protected work surface. Brush paint over the outside and rolled rim, leaving the drainage hole open. Work around the rim without letting paint pool underneath it. You can leave the interior its natural clay color.
Give each pot one of the three body colors. Apply further coats only as needed for coverage, allowing the drying interval stated on your paint. Keep the pots supported while they dry instead of handling a tacky surface.
2. Add the scalloped borders
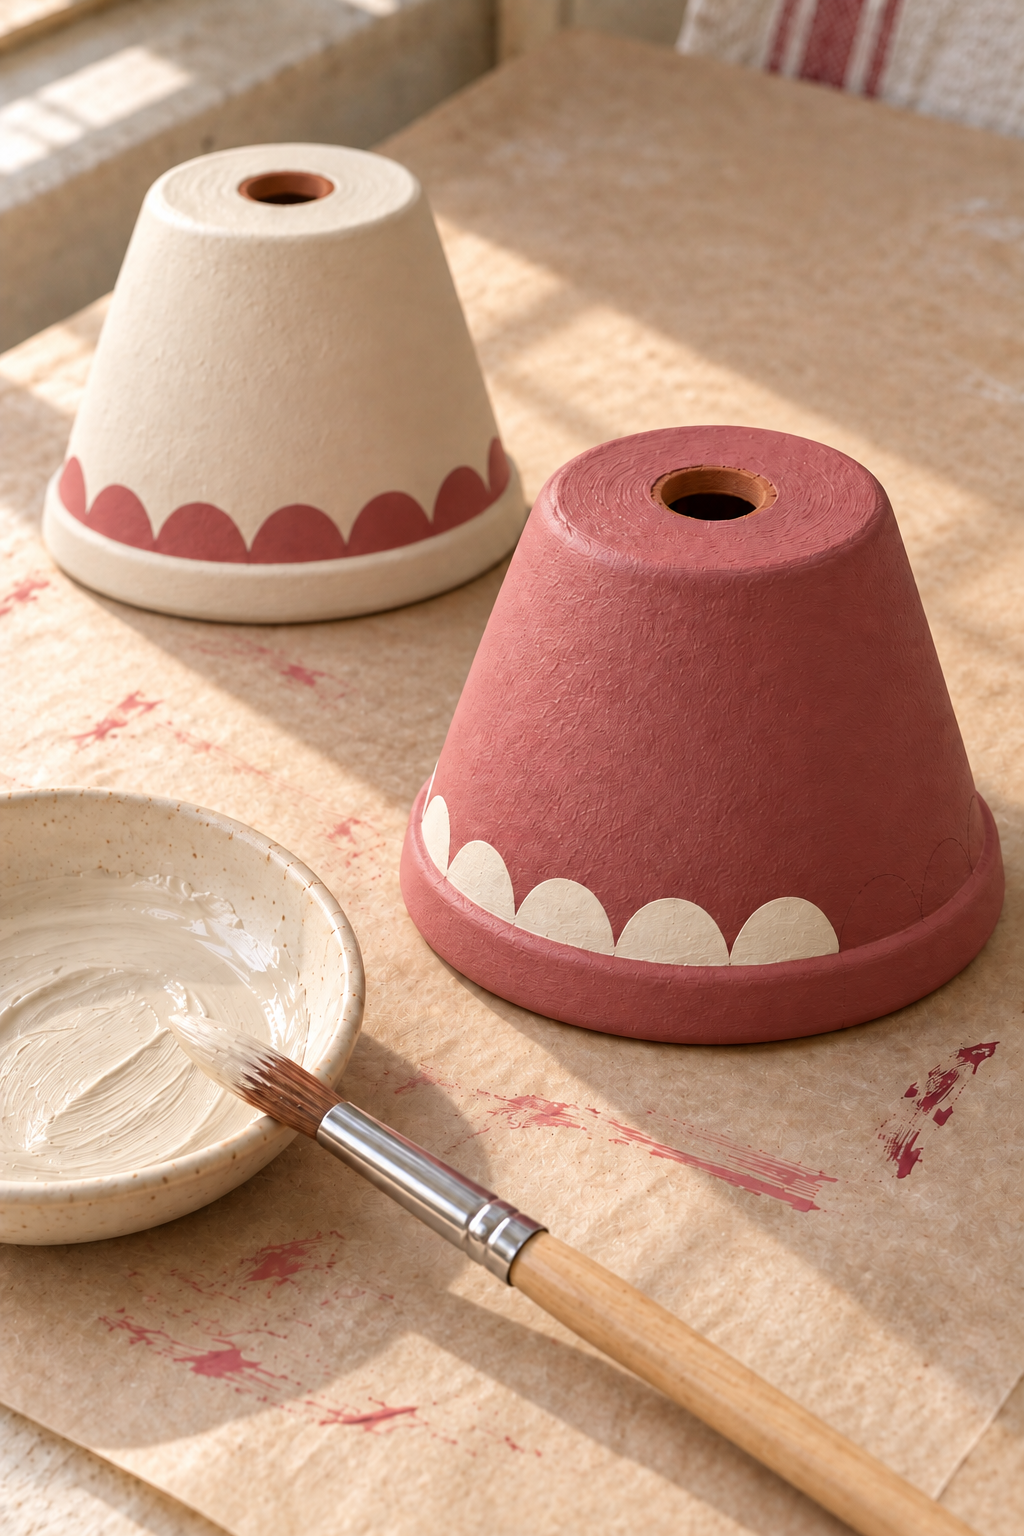
Turn a dry painted pot so its rolled rim is at the bottom. Lightly mark a guide just above the rim. Make the border deep enough for a row of rounded arches, but keep most of the body plain.
With the small round brush, paint a short horizontal band following the rim, then add overlapping rounded humps along its upper edge. The humps should face toward the narrow end of the pot. Fill any gaps between the humps and band so the design reads as one continuous scalloped border.
Use cream on the rose and burgundy pots and dusty rose on the cream pot. Rotate the pot as you work; you do not need perfectly identical scallops. Check the join where the pattern meets its starting point and adjust the final few humps before the paint dries.
3. Anchor the cord inside the pot
Cut one cord length with enough allowance for the desired hanging height, a loop at the top, the distance through the pot and the clapper knots. Test on one bell before cutting the other lengths.
Feed one end of the cord through the drainage hole from the outside of the narrow base into the pot. Thread that same end through a stopper bead. Tie a firm knot directly below the bead, adding another knot if needed so the bead cannot pass over it.
Pull gently on the cord outside the pot. The bead should seat against the inside base, spreading contact around the drainage hole while the knot holds the bead in place. The remaining cord tail hangs freely down the hollow center. Check that the cord stays centered and the stopper does not enter the hole.
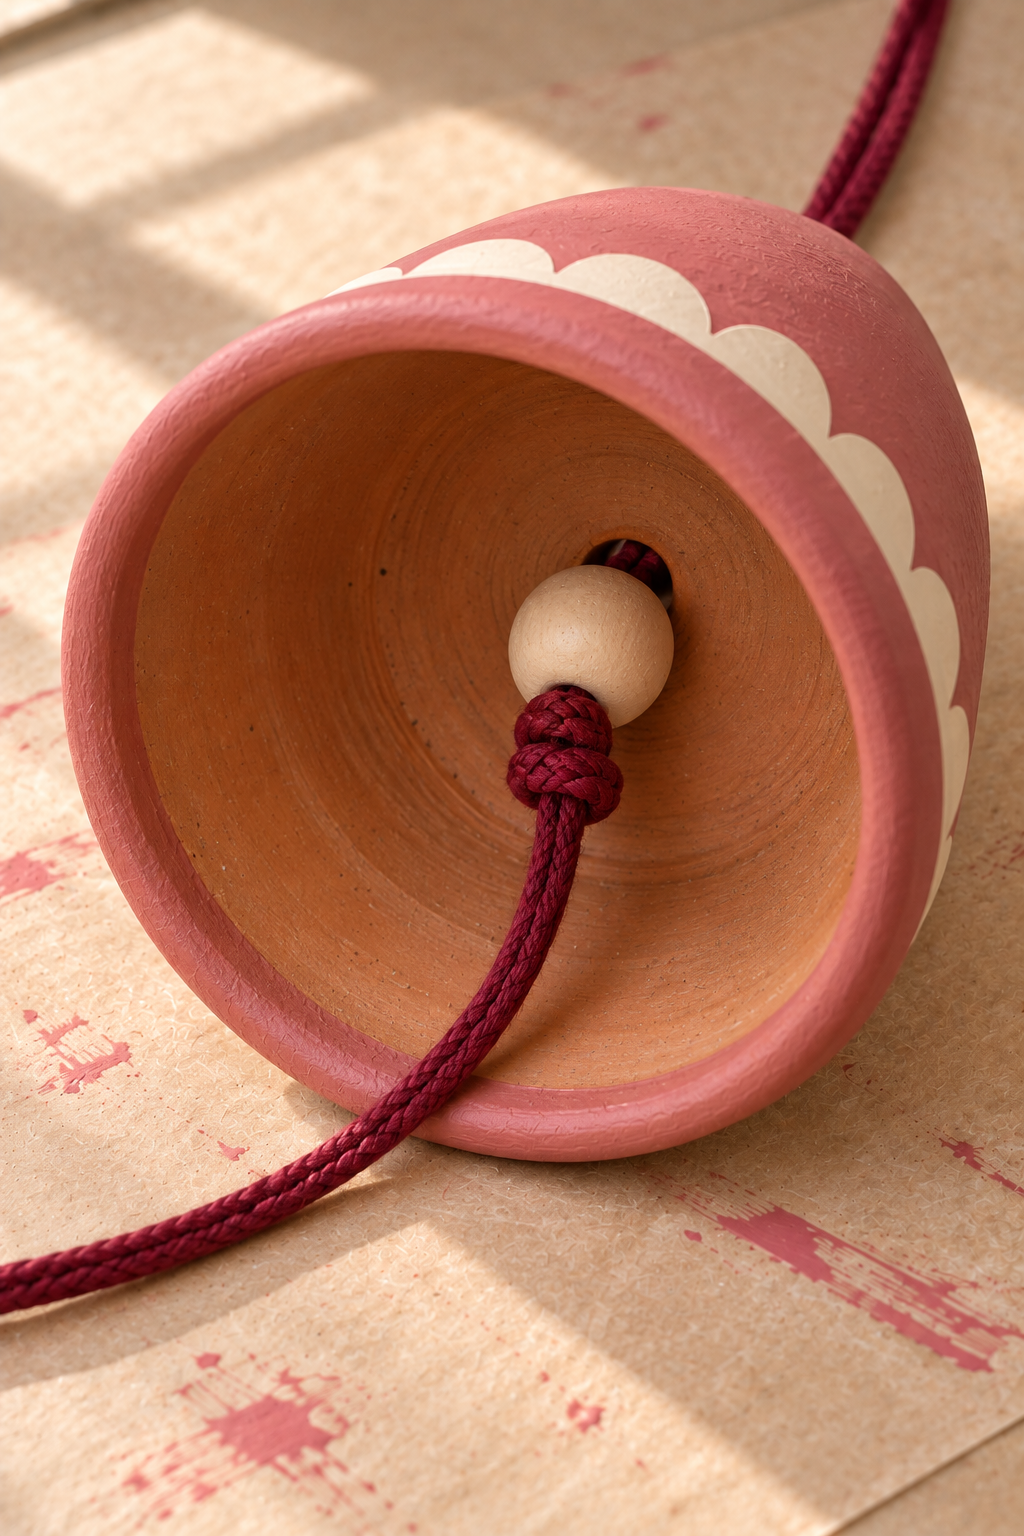
4. Position the bead clapper
Thread the inside tail through a cream clapper bead. Hold the pot upside down and slide the bead until its lower portion shows beneath the bell mouth. Tie a knot below it. Add a second knot if the first can slip through the bead hole.
Leave a short tail while you check the position. If too much bead hangs below the rim, move it upward; if it disappears entirely inside the pot, lower it. Compare the bells by their proportions rather than cutting every tail to the same length. Trim only once the knots are secure and the clapper positions look right.
5. Tie the hanging loops and bow
Make a loop at the free upper end of each cord by doubling the end back and tying it securely to the standing cord. Size the loop for your intended peg or hook. Support the pot in one hand while checking the loop rather than letting a newly tied ornament fall if a knot slips.
Tie a small satin bow around the cord above the cream bell. The bow is decorative; the cotton cord carries the pot. Trim the ribbon ends without cutting the cord.
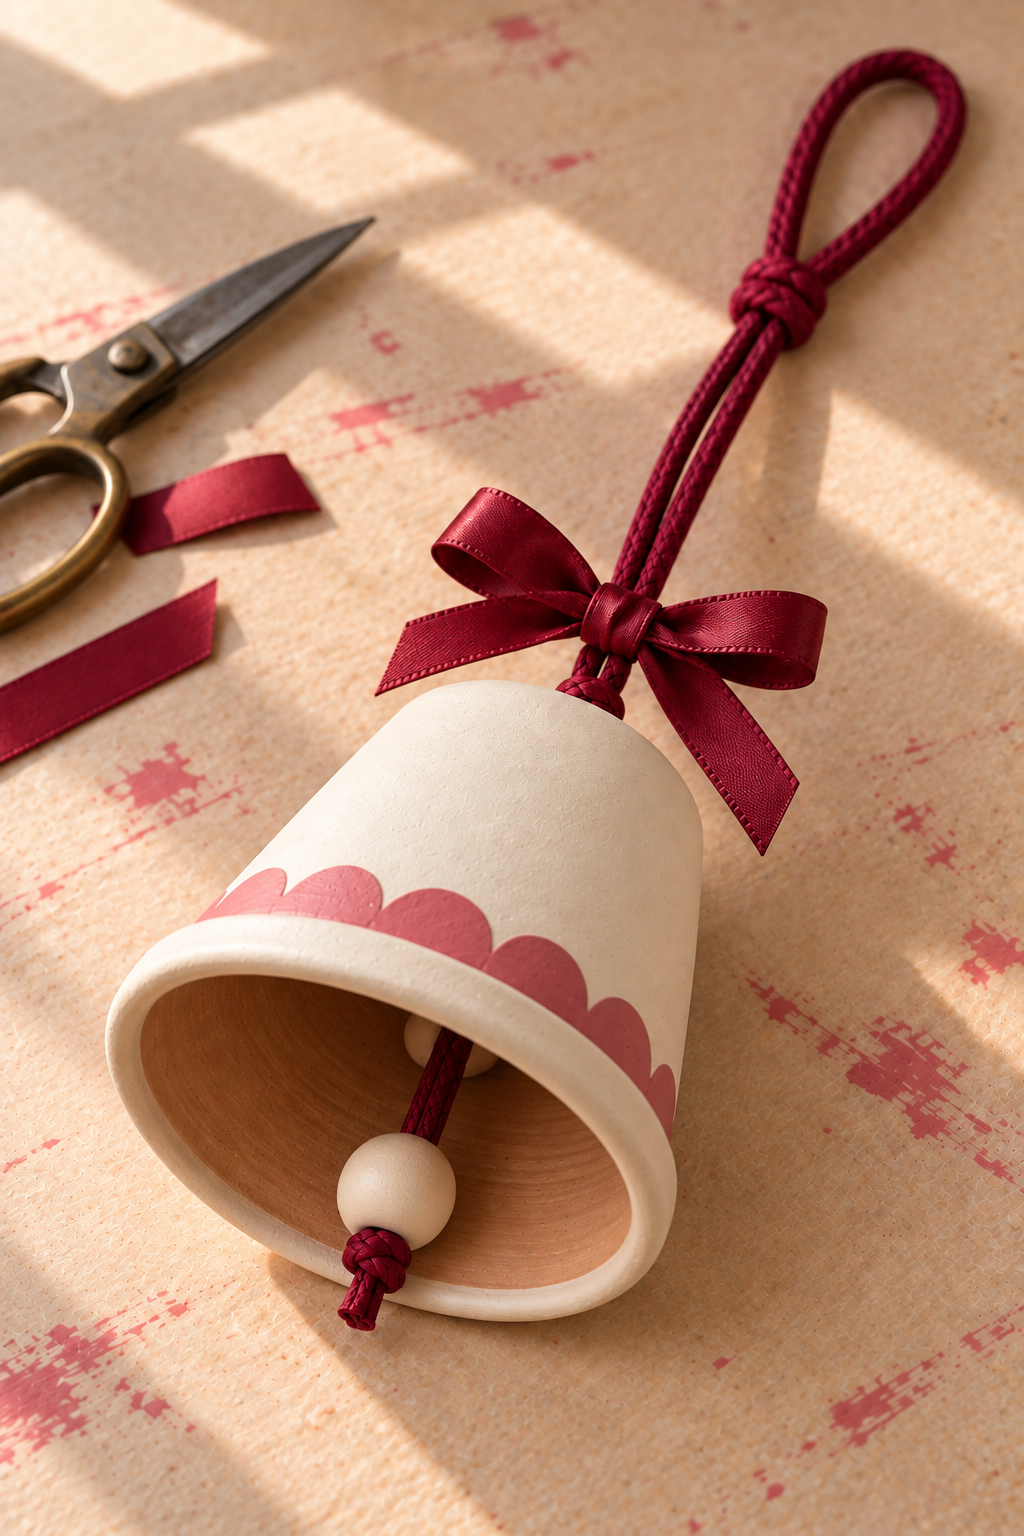
Hang the bells one at a time on the suitable support you checked earlier. Adjust their heights to keep each mouth and clapper visible. Give the cords and knots a final gentle check while supporting the pots, then let them settle without touching one another.
Keep the Border Looking Like Scallops
If a painted hump becomes pointed, round it with a small amount of the border color while the paint is workable. A border that becomes too deep can make the pot look striped instead of scalloped. Let it dry and restore some of the plain body color above the arches rather than enlarging every neighboring scallop to match.
Adapt the Set
A single bell can be a small kitchen or entry accent. For a longer row, repeat the same three colors in an irregular order instead of adding a new decoration to every pot. You can omit the bow if the display already includes ribbon elsewhere.
Changing pot size changes the weight as well as the appearance. Repeat the component and support checks with the actual new pots; do not assume the original cord, beads or hanging location will suit them.
Where to Hang and Store Them
An existing wall peg rail gives each bell its own resting place, like the inspiration image. Leave useful hooks available for everyday items and keep the bells clear of cabinet doors. Greenery on the surface below can connect the display to Christmas without concealing the painted rims.
Use these painted clay pieces indoors unless the actual products and finish are specified for another environment. For storage, wrap each pot separately and keep the cords loosely coiled so the rims do not rub against one another.
A flowerpot turned upside down makes a surprisingly readable little bell. The repeated scalloped edge gives the set its character while leaving the original pot shape easy to recognize.