
*This post may contain affiliate links for which I earn commissions.*
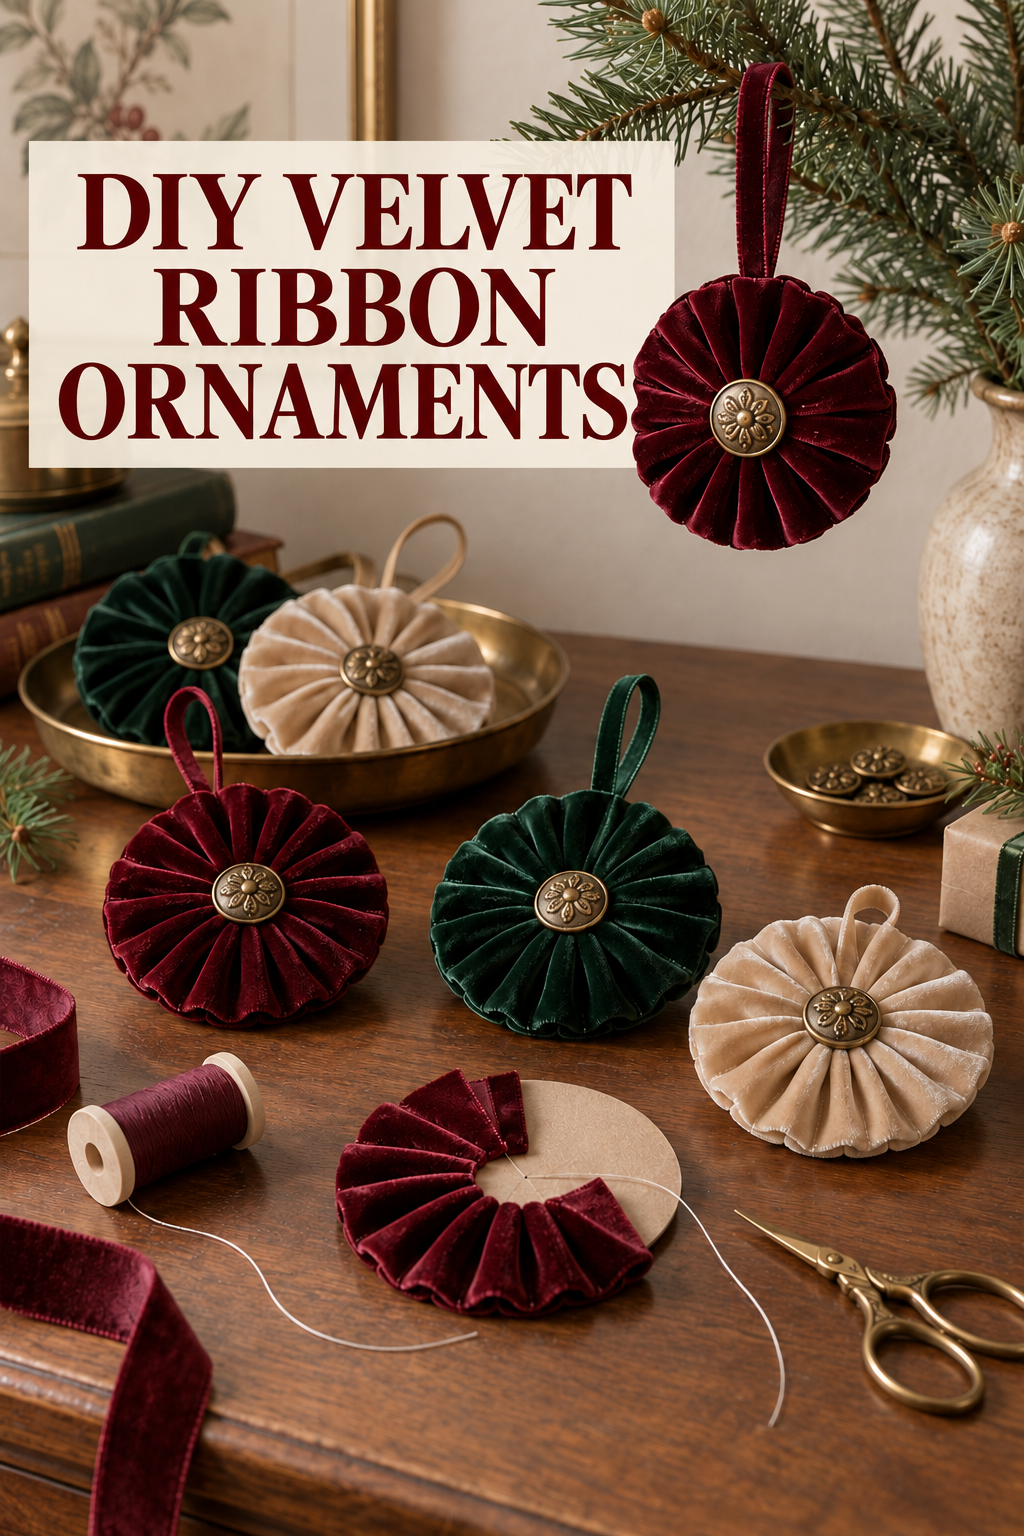
This image was created with AI and is presented as decorating inspiration.
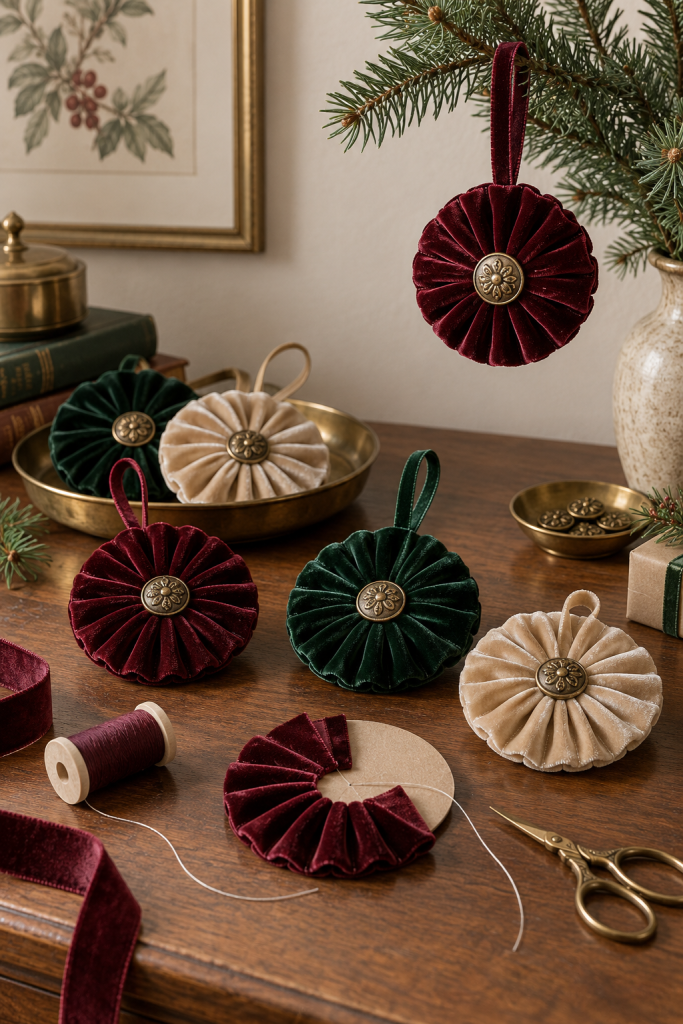
These round velvet ornaments turn a short length of ribbon into a pleated medallion with an antique-style button at the center. Burgundy, forest green, and champagne velvet give the project a traditional Christmas palette, while the soft folds make each ornament look more substantial than a flat fabric circle.
The construction is approachable: form even folds around a firm round base, secure the pleats, cover the center with a decorative button, and add a hanging loop. The project is well suited to leftover ribbon because each ornament can be made separately and small color variations look intentional.
What Makes the Velvet Medallion Work
Radial Geometry and Structured Backing: The pleats radiate from the center, which gives the ornament a crisp shape even though velvet is soft. A firm backing keeps the outer edge round, and the central button hides the gathered ribbon ends and visible stitches.
Rich Seasonal Palette with Metallic Anchors: Color and finish do most of the decorating. Deep burgundy and green feel rich beside evergreen branches, while champagne offers a lighter option. The aged brass buttons keep the velvet from feeling overly formal and create one durable focal point instead of requiring beads or glitter.
Single Prototype Testing for Ribbon Math: For the cleanest result, making one complete sample before cutting ribbon for the entire set is essential. That first ornament reveals exactly how much ribbon length the chosen pleat depth consumes and confirms whether the backing circle needs to be adjusted larger or smaller.
Cohesive Silhouette Across Mixed Colors: A small set can be varied without changing the method. Keep the circle diameter and center hardware consistent, then alternate velvet colors or make one shade dominant. The repeated round outline is what holds the group together on a tree, wreath, garland, or wrapped package.
Key Supplies for the Project
Wide Velvet Ribbon
Choose ribbon wide enough to cover most of the backing circle from center to edge. A supple ribbon forms tighter pleats, while a heavier wired ribbon may resist gathering and is harder to keep flat.
Round Chipboard or Felt Bases
Use firm pre-cut circles or trace and cut your own matching set. The base should hold its shape but remain thin enough for a needle or strong adhesive to pass through safely.
Antique-Style Decorative Buttons
Buttons with shanks are easy to stitch through the center, while flat-back pieces can be attached with suitable craft adhesive. Select a diameter large enough to cover the inner ribbon ends.
Strong Matching Thread
Polyester or upholstery thread can handle the tension of gathered velvet. Match it to the darkest ribbon in the set so any small exposed stitch is difficult to see.
Fine Hand-Sewing Needle
A sharp needle should pass through velvet without leaving a wide hole. Choose a length that is comfortable to guide through several folded layers.
Sharp Fabric Scissors
Clean cuts reduce fraying and bulky joins. Reserve a sharp pair for ribbon and fabric rather than using scissors that have been dulled on paper or wire.
How to Make the Ornaments
1. Test the Circle and Ribbon Width
- Coverage Verification: Lay the velvet ribbon from the center point to the outer edge of the round base.
- Proportional Scaling: Adjust either the backing circle diameter or the ribbon width so the foundation material remains completely concealed once the fabric is fully pleated.
2. Form and Secure the Pleats
- Consistent Sectioning: Fold the ribbon into uniform pleat sections around the perimeter of the circle, pinning or tacking each fold securely as you advance.
- Periodic Perimeter Checks: Keep the outer edge smooth and check the circular geometry every few pleats instead of waiting until the final fold to correct irregularities.
3. Close the Center and Anchor the Button
- Neat Overlap: Overlap the final ribbon fold cleanly and anchor the strong sewing thread securely on the back of the base.
- Conceal Raw Ends: Fasten the decorative antique button directly over the center point to hide all inner raw edges and stitches.
- Unified Hardware Palette: When crafting medallions across multiple ribbon colors, keep the button metallic finish and patina consistent so the entire collection reads as a matched set.
4. Add a Reinforced Hanging Loop
- Secure Attachment: Fold a length of narrow ribbon into a hanging loop and attach both raw ends firmly to the back of the foundation.
- Backing Seal: Cover the rear side with a second round of matching felt or paper to create a clean, tidy finish and provide extra structural reinforcement.
5. Shape Folds and Check Balance
- Finger-Plump the Pleats: Gently spread any compressed fabric folds and brush away loose lint or thread fibers.
- Hang-Test Forward Alignment: Hang the ornament briefly from a hook to verify that the hanging loop is centered properly and the medallion faces squarely forward without tilting.
6. Store and Protect Velvet Dimension
- Shallow Layering: Store completed ornaments flat inside a shallow box, placing sheets of clean tissue paper between layers rather than tossing them into a bin with heavy decor.
- Tuck the Loops: Keep hanging loops tucked within each ornament’s outer outline so they cannot catch or distort neighboring velvet pleats.
- Iron-Free Maintenance: Reshape crushed folds gently using clean fingers prior to the next holiday season, avoiding direct contact with a hot clothes iron that would crush the velvet pile.
Shop Similar Supplies
Choosing Velvet Ribbon for Pleated Ornaments
Check width, yardage, and whether the ribbon is wired. Soft non-wired velvet is the closest match for compact, even pleats.
Look for Sturdy Craft Circles
Look for uniform pre-cut rounds in chipboard or stiff felt. Confirm the thickness is compatible with your planned sewing or adhesive method.
Find Antique-Style Decorative Buttons
Prioritize center coverage and attachment style. A mixed design set can work if the metal tone and approximate size remain consistent.
Shop Similar Strong Craft Thread
Choose low-bulk thread with good tensile strength in burgundy, green, cream, or another shade that blends into the velvet.
Final Styling Tip
Make the pleat depth consistent within each ornament, but allow small differences from one medallion to the next. Those slight variations help the finished set retain a handmade character.