*This post may contain affiliate links for which I earn commissions.*
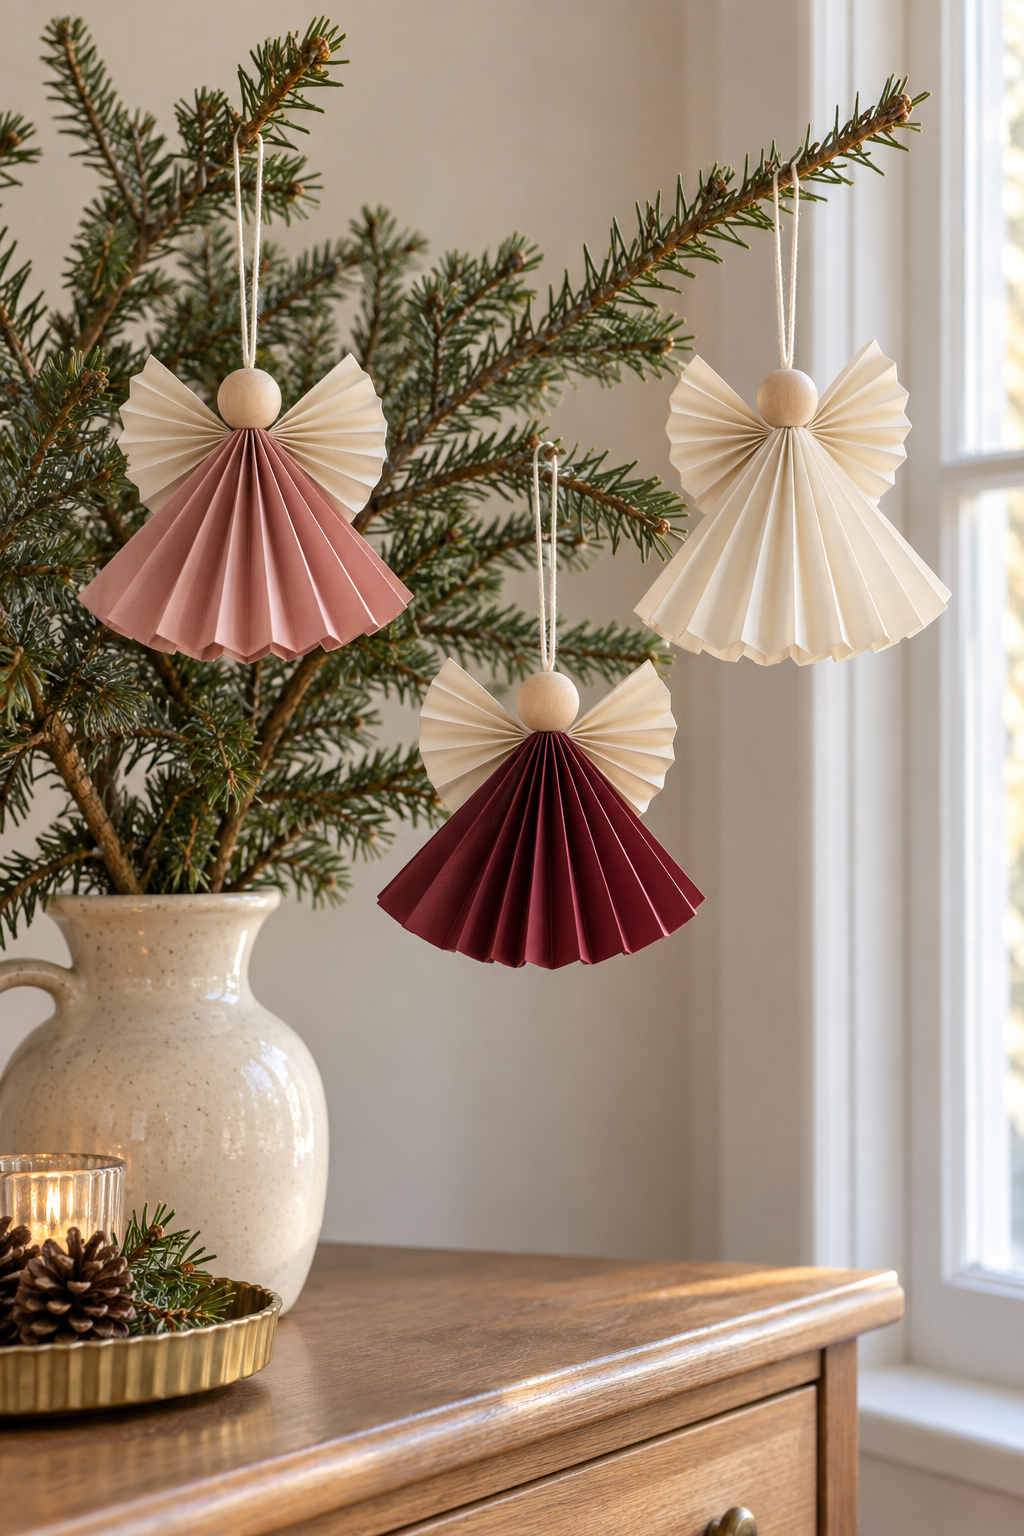
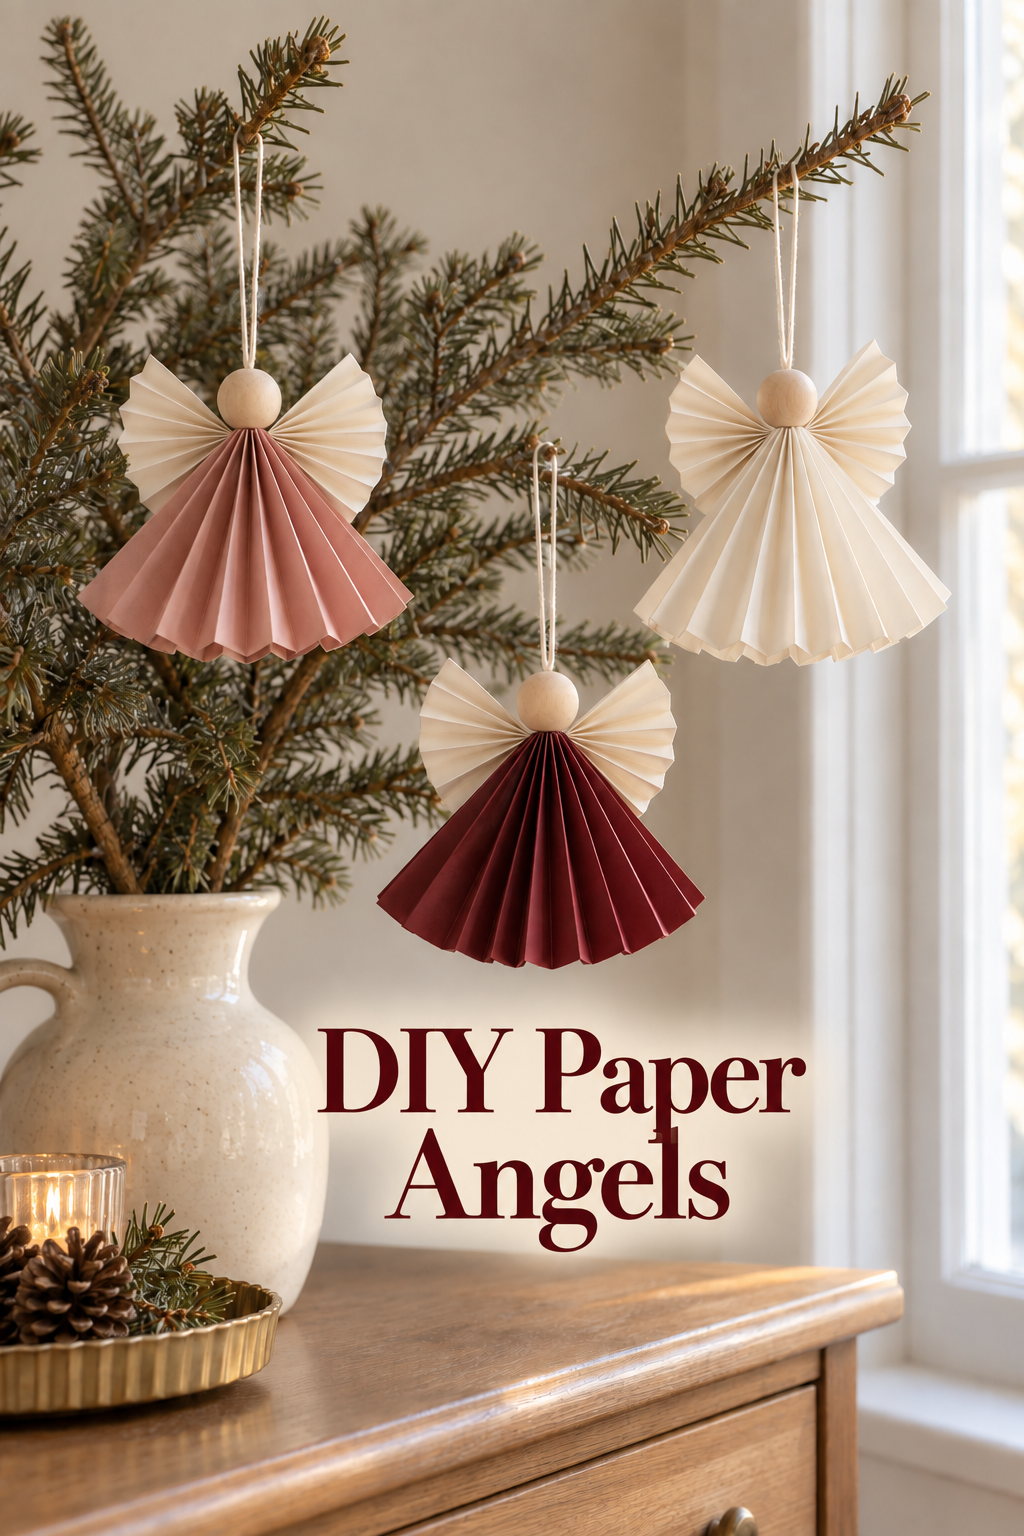
Image created with AI. This image serves as visual inspiration for the project below.
A few paper folds can turn into small Christmas angels with spreading wings and skirts. The rose, burgundy, and cream ornaments in this inspiration image hang from evergreen branches, where their folded edges catch the window light. Make a small set for your tree or a branch display on a dresser.
The method here uses two folded paper rectangles and a drilled wooden bead for each angel. You can adjust the proportions before joining the pieces, so no downloadable pattern is needed.
What You’re Making
Each ornament has a fan-shaped skirt, a smaller pair of cream accordion wings, and a plain wooden bead head. A continuous hanging cord runs through the bead and around the gathered skirt top. The wings attach behind that junction.
Start with one angel to settle the proportions, then repeat it in the other colors. These are lightweight indoor paper decorations, not toys.
Materials and Supplies
Main Materials
- Matte craft paper in dusty rose, burgundy, and cream, flexible enough for repeated folds
- Drilled round wooden beads with holes wide enough for two strands of your cord
- Fine cream craft cord
- Paper craft glue suitable for the chosen paper
Tools
- Craft scissors
- Ruler
- Pencil
- Bone folder
- Small craft clips
Before You Start
Choose a bead that looks proportionate to the skirt rather than buying the largest size available. Check that two cord strands actually pass through its hole before cutting all your paper.
For a first hand-sized angel, try a skirt rectangle around 6 inches wide by 4 inches tall and a wing rectangle around 4 inches wide by 2 inches tall. These are starting proportions, not measurements taken from the image. Adjust them to your paper and bead. Thin paper makes soft fans; very stiff card can spring open or tear at the gathered top.
Fold a scrap first. If it resists narrow pleats, choose a more flexible sheet. Clear a dry work surface so the paper remains clean while you crease it.
Step-by-Step Tutorial
1. Cut the skirt and wing rectangles
Measure and cut one colored skirt rectangle and one smaller cream wing rectangle. Draw light marks on the reverse where possible. Keep the edges straight so the finished fan has an even lower edge.
For the cream angel, use cream paper for both parts. Keep the wing rectangle smaller, which helps the skirt and wings remain readable as separate shapes.
2. Fold narrow accordion pleats
With the skirt rectangle’s long edge running across your work surface, fold a narrow strip inward from one short edge. Turn the paper over and fold the same width back in the opposite direction. Continue across the rectangle, alternating forward and backward folds.
Use a pleat around a quarter inch wide as a starting point, adjusting it to the paper. Press each crease with the bone folder. You should finish with a narrow folded stack whose length matches the skirt height.
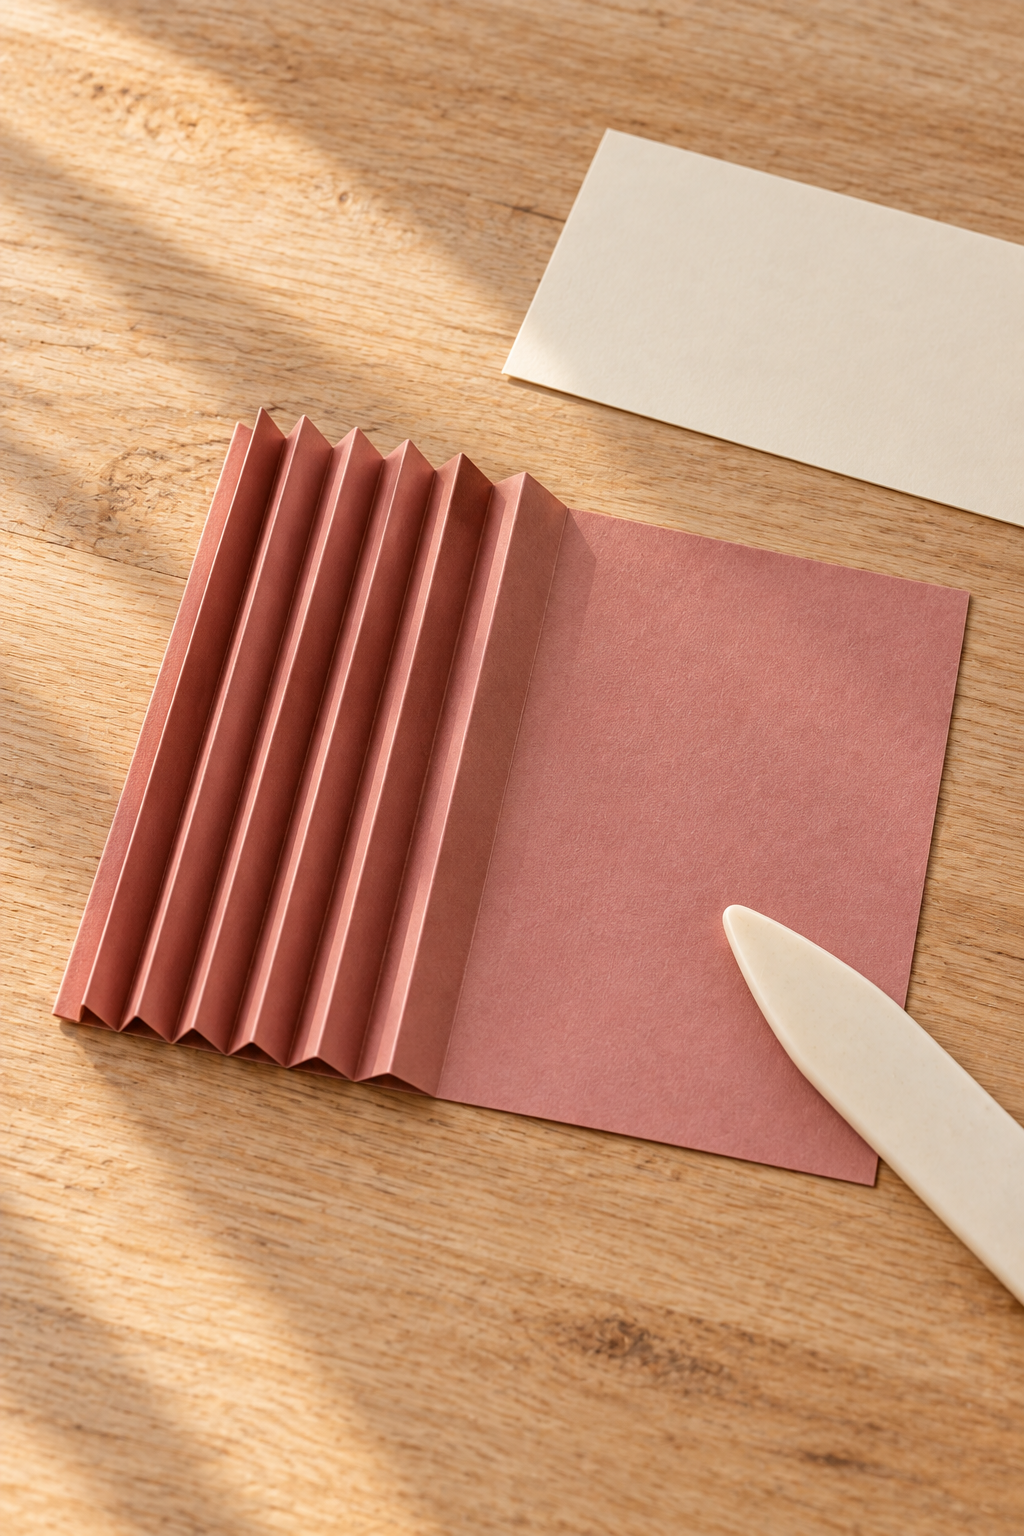
Fold the wing rectangle in the same way, working across its long dimension. Consistent crease widths make both parts open evenly; they need not match to a fraction of an inch.
3. Gather the skirt at its top
Cut a generous length of cord, leaving enough for the bead, hanging loop, and tying. Wrap its midpoint around the folded skirt stack near the upper end and tie a snug double knot. Keep both long ends above the knot.
Gently spread the lower pleats into a downward fan. Leave the upper folds gathered into a narrow point. If the paper slips, add a small dab of glue between a few folds at the gathered tip and hold them with a clip until the glue has set according to its instructions.
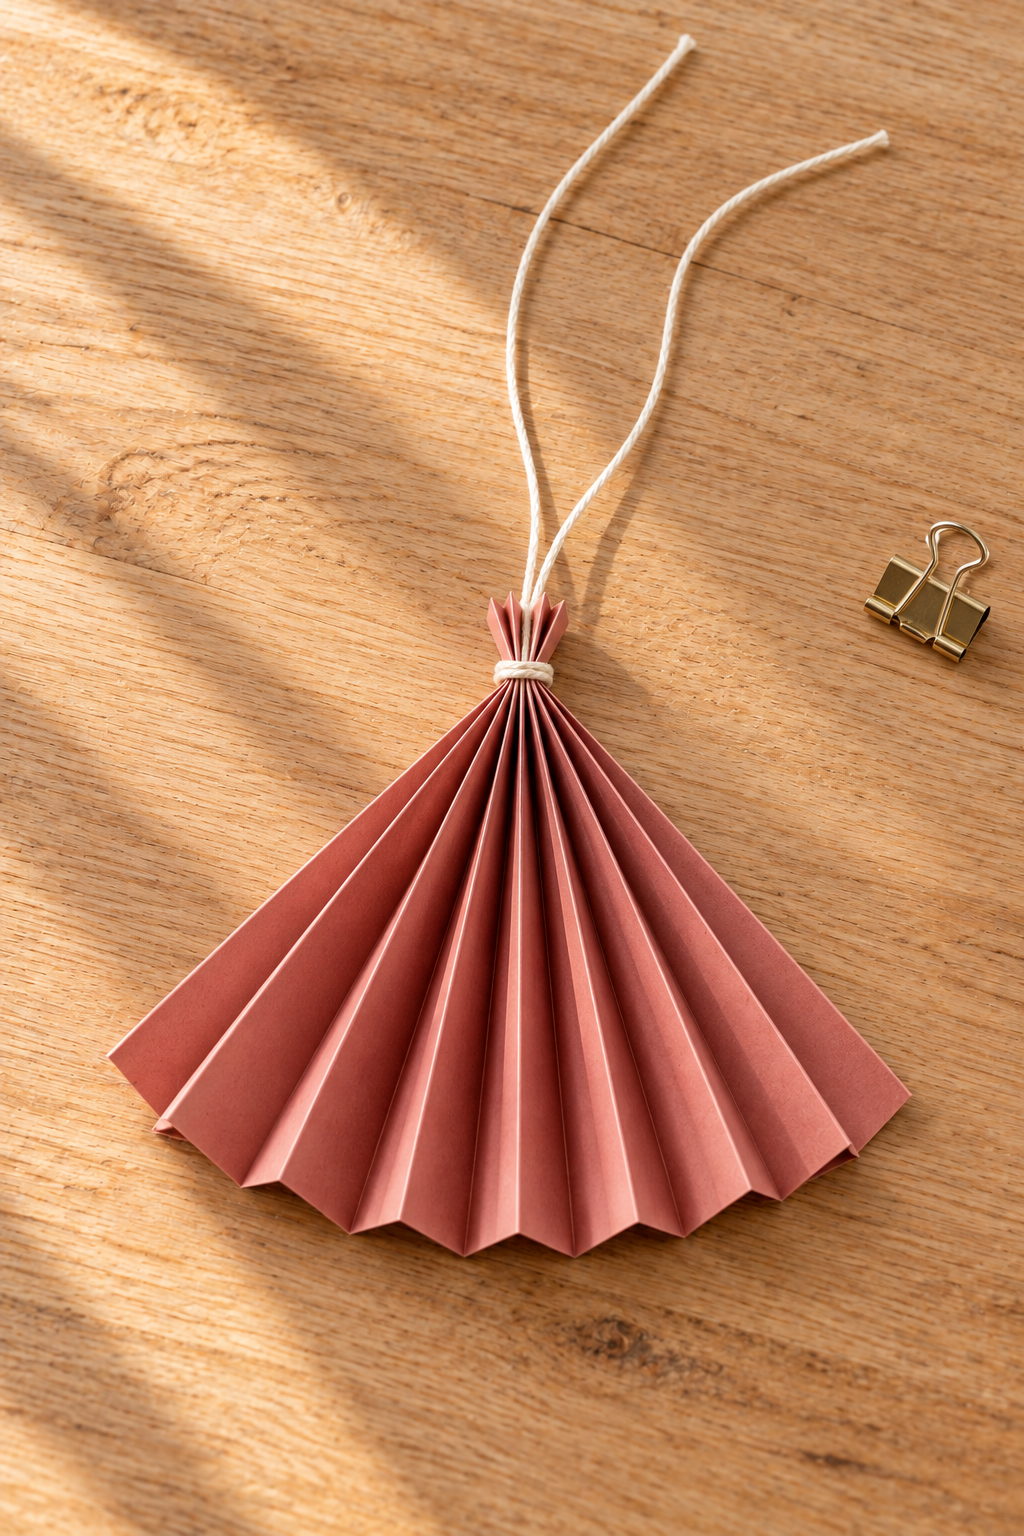
Avoid flattening the skirt into a semicircle. Its sides should slope down from the gathered top, with enough depth in the pleats to hold their shape.
4. Open and secure the wing pair
Find the midpoint along the wing stack and tie a short separate piece of cord tightly around it. Spread the pleats at both ends to form two fan wings. The narrow center stays tied while the outer edges flare outward.
Place the wing center behind the skirt’s gathered top. Wrap the short wing cord around that top and tie it securely at the back. Use a small amount of paper glue where the paper centers touch to reduce twisting, then let it set before handling. Trim the short ends without cutting the main hanging cord.
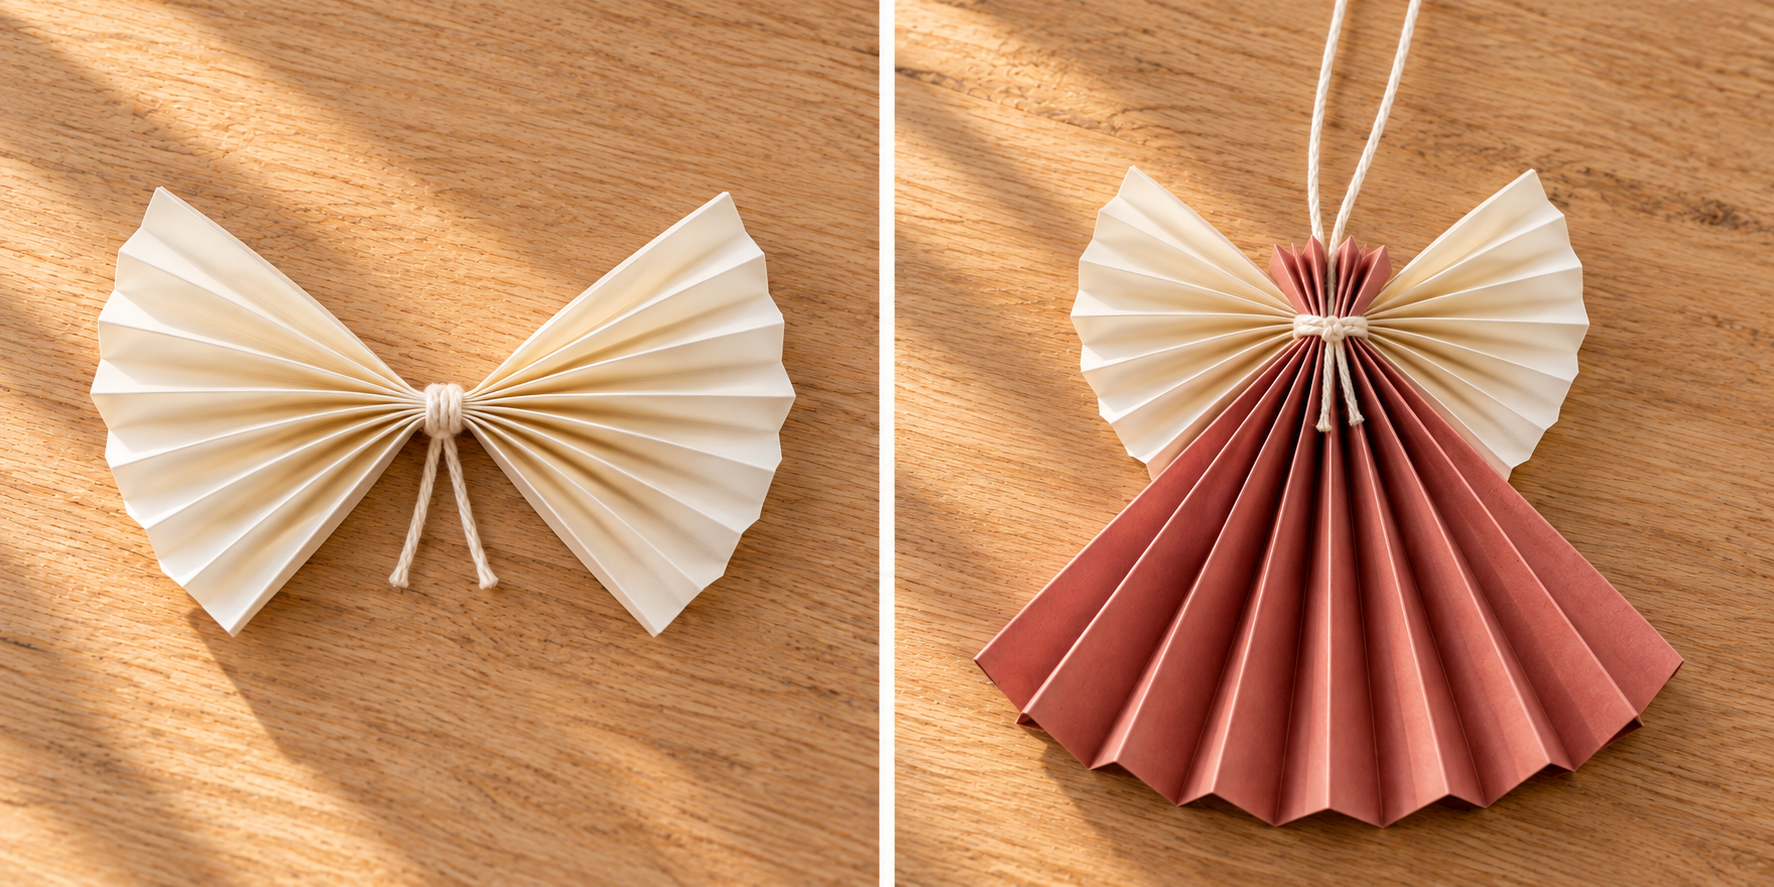
Check the front. The two wings should be balanced behind the skirt rather than sitting far below its shoulders. Reposition the tie before the glue sets if necessary.
5. Add the bead and hanging loop
Bring the two long ends of the skirt cord upward together and pass them through the wooden bead from its lower hole. Slide the bead down until it rests at the gathered paper top. The cord supports the head without relying on a glued bead joint.
Tie the two ends together above the bead to form a hanging loop. Leave enough space between bead and knot for the ornament to hang comfortably from a branch. Trim the tails.
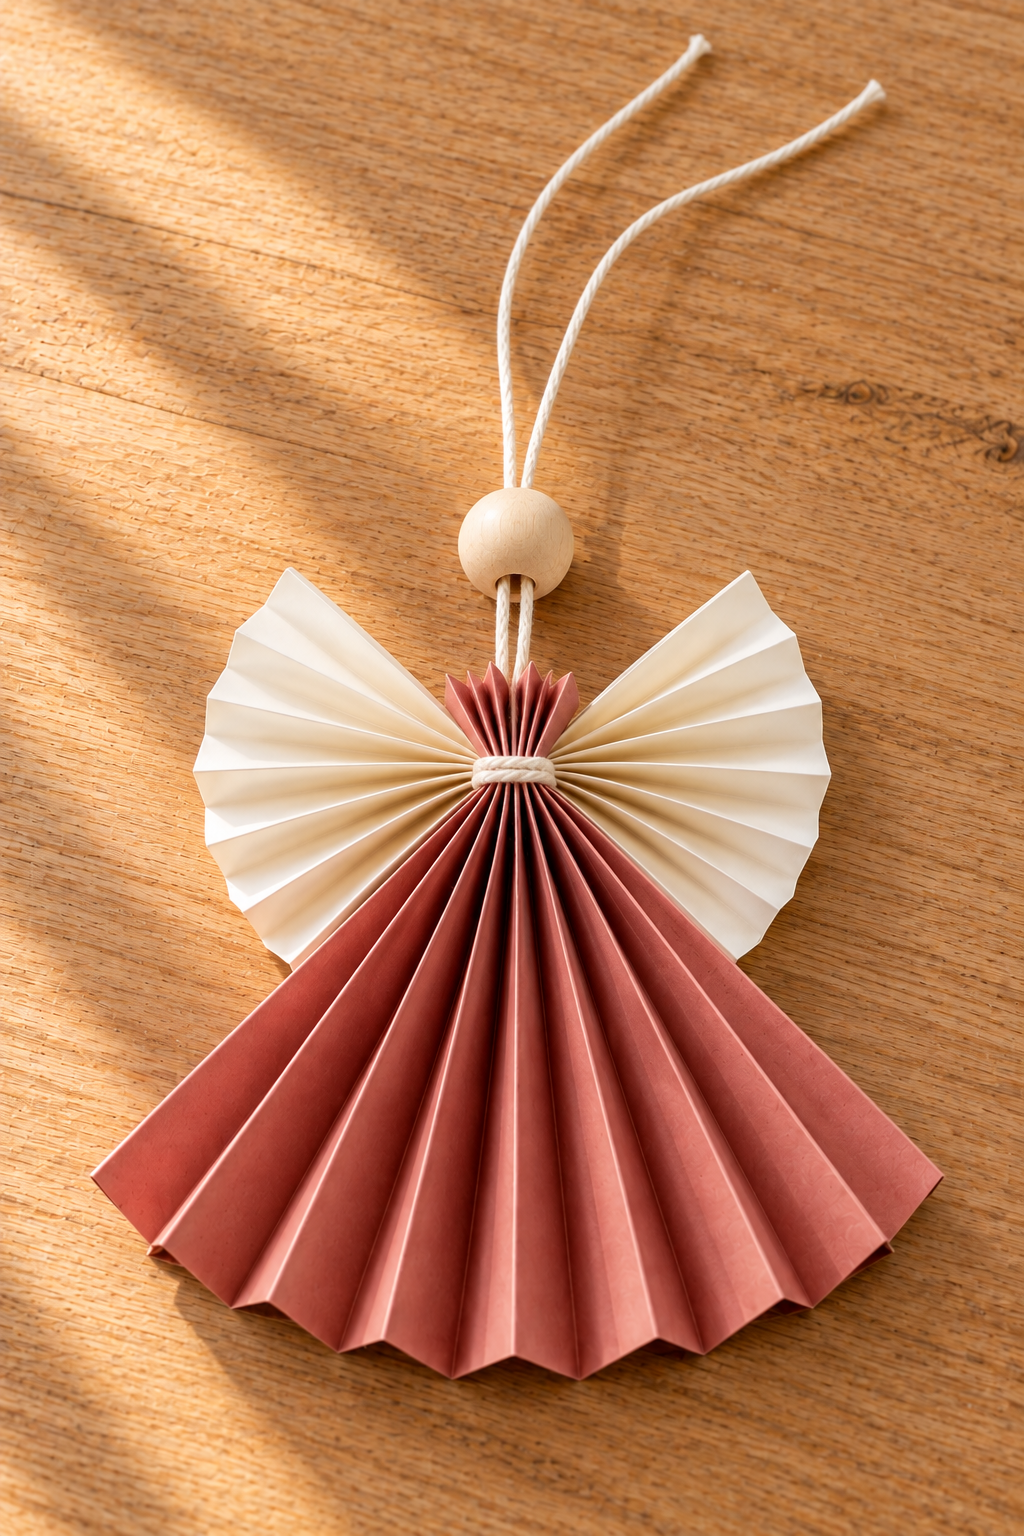
Lift the ornament by its loop over the work surface. Check that the skirt tie holds, the wings remain centered, and the bead sits securely. Adjust the fan openings gently rather than pulling hard on the paper.
6. Make the rest of the set
Use the first angel to check the next rectangles and bead proportions. Repeat the assembly in burgundy and cream, retaining the cream wings. Allow every glued area to set fully before hanging the finished set.
Keeping the Pleats Looking Their Best
If the lower edge tilts, check for one much wider crease before trimming anything. Refolding that pleat usually preserves a fuller skirt than cutting away a large strip.
Keep glue concentrated at the joins. Coating the fan surfaces can leave shiny patches or stiffen the folds unevenly. A lightly handled paper surface keeps the folded texture clear.
Change the Color or Scale
Try a single-color set if you want the folds to be the main detail. For smaller angels, reduce both paper rectangles together and choose a smaller bead. Keeping a large bead on a tiny skirt changes the proportions considerably.
Plain paper is easiest to read at this scale. If using a pattern, choose a small repeat without words so it does not interrupt the wing silhouette.
Hanging and Storing Your Angels
Space the ornaments so their wings do not overlap. Hang them on a Christmas tree or sturdy branches in a stable container, checking the display before adding the paper pieces. Keep paper away from flame, heaters, damp windows, and places where it may be splashed.
For storage, lay the angels flat in a shallow box with tissue between them. Avoid pressing a heavy decoration onto the pleats or folding the wings sharply inward.
A rose skirt beside a burgundy one gives this small set its color contrast. Leave a little branch visible around each angel so the paper shapes stay easy to notice.