
*This post may contain affiliate links for which I earn commissions.*
This inspiration image was created with AI.
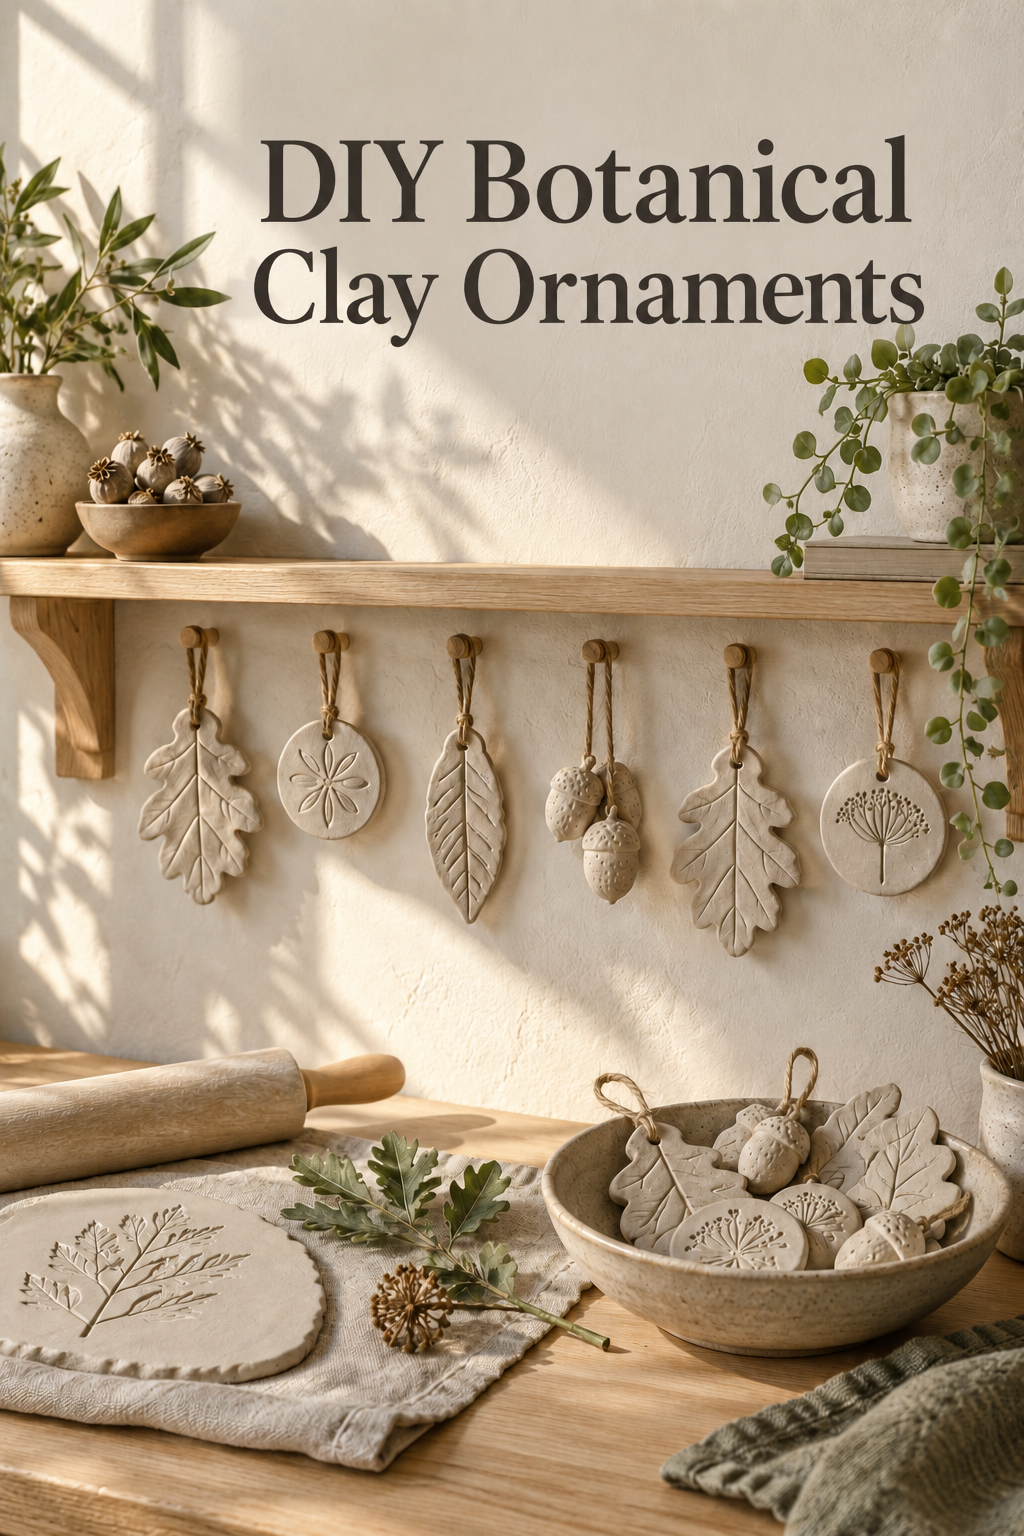
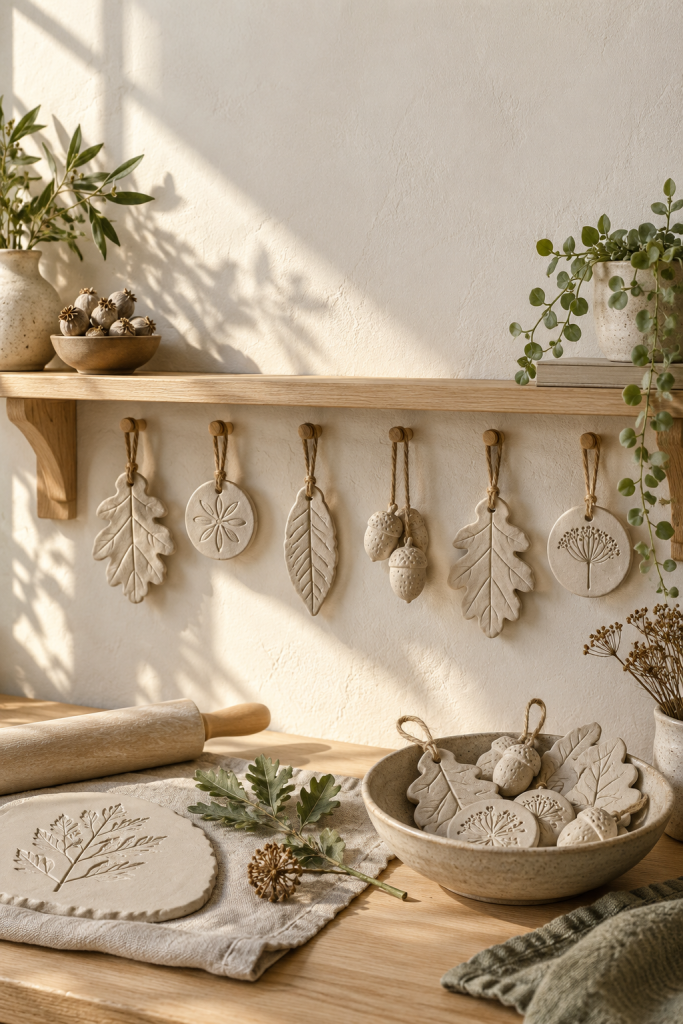
A small collection of botanical clay ornaments can feel both handmade and refined when the shapes, surface impressions, and hanging materials share the same quiet language. Here, pale air-dry clay is pressed with oak leaves and delicate seed heads, then formed into leaf silhouettes, round medallions, and small acorn-like pods. Jute loops add warmth against the chalky clay, while the pale-oak shelf and linen-covered work surface keep the project grounded in natural materials.
The image also shows an important part of the process: finished ornaments are displayed above the work area while fresh leaves, a rolling pin, and an uncut clay slab remain below. That mix of process and presentation makes the project approachable. You do not need specialized sculpting equipment or a complicated color palette to create a cohesive set.
What Makes This Look Work
The strongest feature is the controlled variety. Every ornament belongs to the same botanical family, but the collection avoids looking repetitive because the forms alternate between elongated leaves, rounded medallions, and dimensional seed pods. The impressions also change in scale, from bold central veins to fine flower heads. Repeating the same warm white clay across all of them allows those differences to be noticed without visual clutter.
The display has a clear rhythm. Seven ornaments hang from simple wooden pegs with comfortable space between them, and the larger leaf forms are balanced by smaller circles and clustered pods. On the work surface, a shallow ceramic bowl gathers completed pieces instead of spreading them across the table. I would keep this edited arrangement even if I made twice as many ornaments, storing the extras and rotating them rather than hanging everything at once.
Key Pieces to Recreate the Look
Air-Dry Clay
Choose a smooth, pale clay that can hold fine leaf veins without cracking. A matte finish will look closest to the soft, stone-like surface in the image.
Fresh Leaves and Seed Heads
Use sturdy leaves with pronounced veins, plus a few flatter flower or seed heads for round medallions. Avoid very wet or fragile botanicals that may stick to the clay.
Small Wooden Rolling Pin
A compact rolling pin helps create an even slab on a small work surface. Add simple thickness guides on either side if consistent ornament weight matters.
Shape Cutters and a Fine Tool
Round cutters provide clean medallion edges, while a blunt knife or clay tool can trace leaf silhouettes. A skewer is useful for making hanging holes before the clay dries.
Natural Jute Cord
Short jute loops introduce a warm, fibrous contrast to the chalky ornaments. Keep the knots and loop lengths consistent so the collection reads as one set.
Wooden Peg Rail or Hooks
A simple peg rail turns the finished pieces into seasonal wall decor. Check that each peg projects far enough for the cord loop to sit securely.
Shallow Ceramic Bowl
A low, neutral bowl contains finished ornaments on the table and gives smaller seed-pod shapes a practical home between uses.
How to Style It at Home
Begin by rolling the clay on washable canvas or a piece of smooth cotton so the surface stays clean. Aim for an even slab that is substantial enough to resist curling but not so thick that the ornaments become heavy. Press each botanical gently with the rolling pin, then lift it from one edge to preserve the imprint. Cut the surrounding shape only after the impression is clear.
For the leaf ornaments, trace outside the natural leaf margin and refine the edge with a damp fingertip. For the round pieces, position a single flower head or a small spray slightly off center before cutting. Dimensional acorns or seed pods can be modeled separately, but keep them small and hollow or lightweight when possible. Make the hanging hole far enough from the top edge that the clay will not snap under the cord.
Let every piece dry flat according to the clay manufacturer’s directions, turning it if recommended. Sand only rough outer edges, since heavy sanding can erase the handmade character. I prefer leaving the ornaments unpainted because the relief catches sunlight beautifully, but a thin matte sealer can help protect pieces that will be handled often.
When displaying the set, alternate silhouettes rather than grouping every leaf together. Hang the largest forms near the outer thirds, use medallions as pauses, and place the smallest pod cluster close to the center. A pale wood shelf, speckled pottery, and one trailing green plant support the natural palette without competing with the ornaments. Keep tools and unused clay below the display so the upper row still feels calm.
Shop Similar Pieces
Start with Smooth White Air-Dry Clay
Look for a clay described as fine-grained and suitable for impressions. Check the package for drying time, shrinkage, and whether a sealer is recommended.
Add a Compact Clay Tool Set
A useful set should include a blunt cutting blade, a fine point, and a smoothing tool rather than dozens of specialty pieces. Comfortable handles make small leaf edges easier to refine.
Choose Natural Cord with a Consistent Twist
Select thin jute or hemp cord that passes easily through the hanging holes. Avoid very fuzzy twine, which can overwhelm the delicate relief.
Consider a Simple Wood Peg Rail
Measure the available wall width and peg spacing before buying. Unfinished or pale-oak finishes fit the restrained craft-room look and can remain in place year-round.
Final Styling Tip
Before pressing the full batch, make one test ornament with your most detailed leaf. Its dried result will tell you whether the clay thickness and pressure are capturing enough texture.