*This post may contain affiliate links for which I earn commissions.*
This image was created with AI and is presented as decorating inspiration.
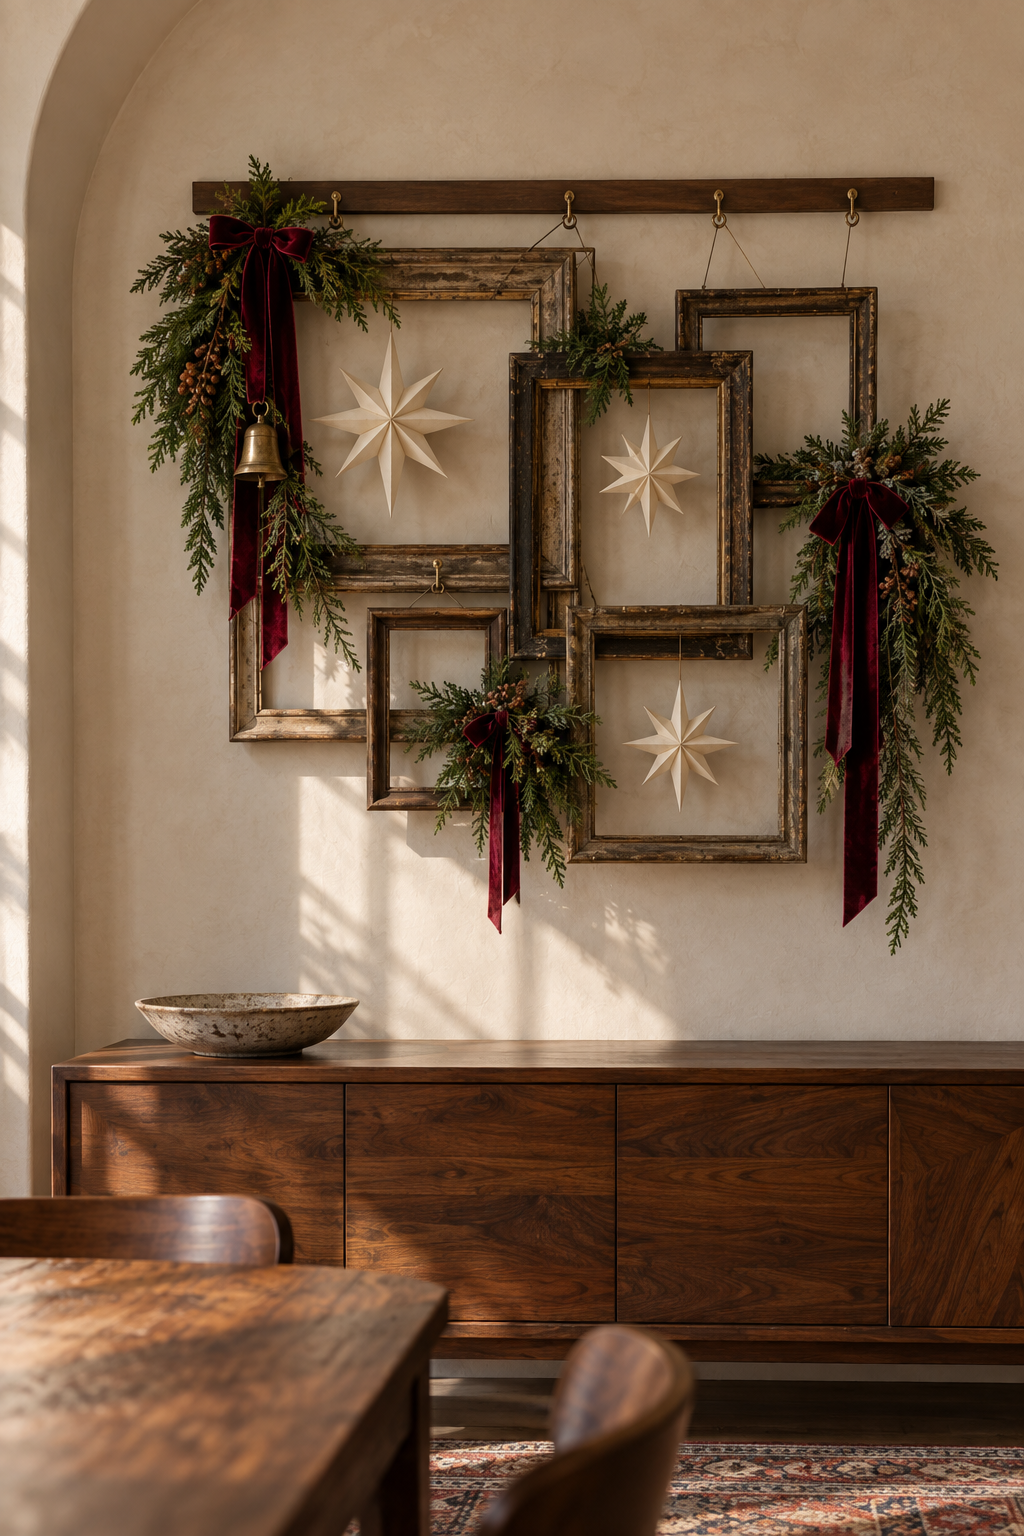
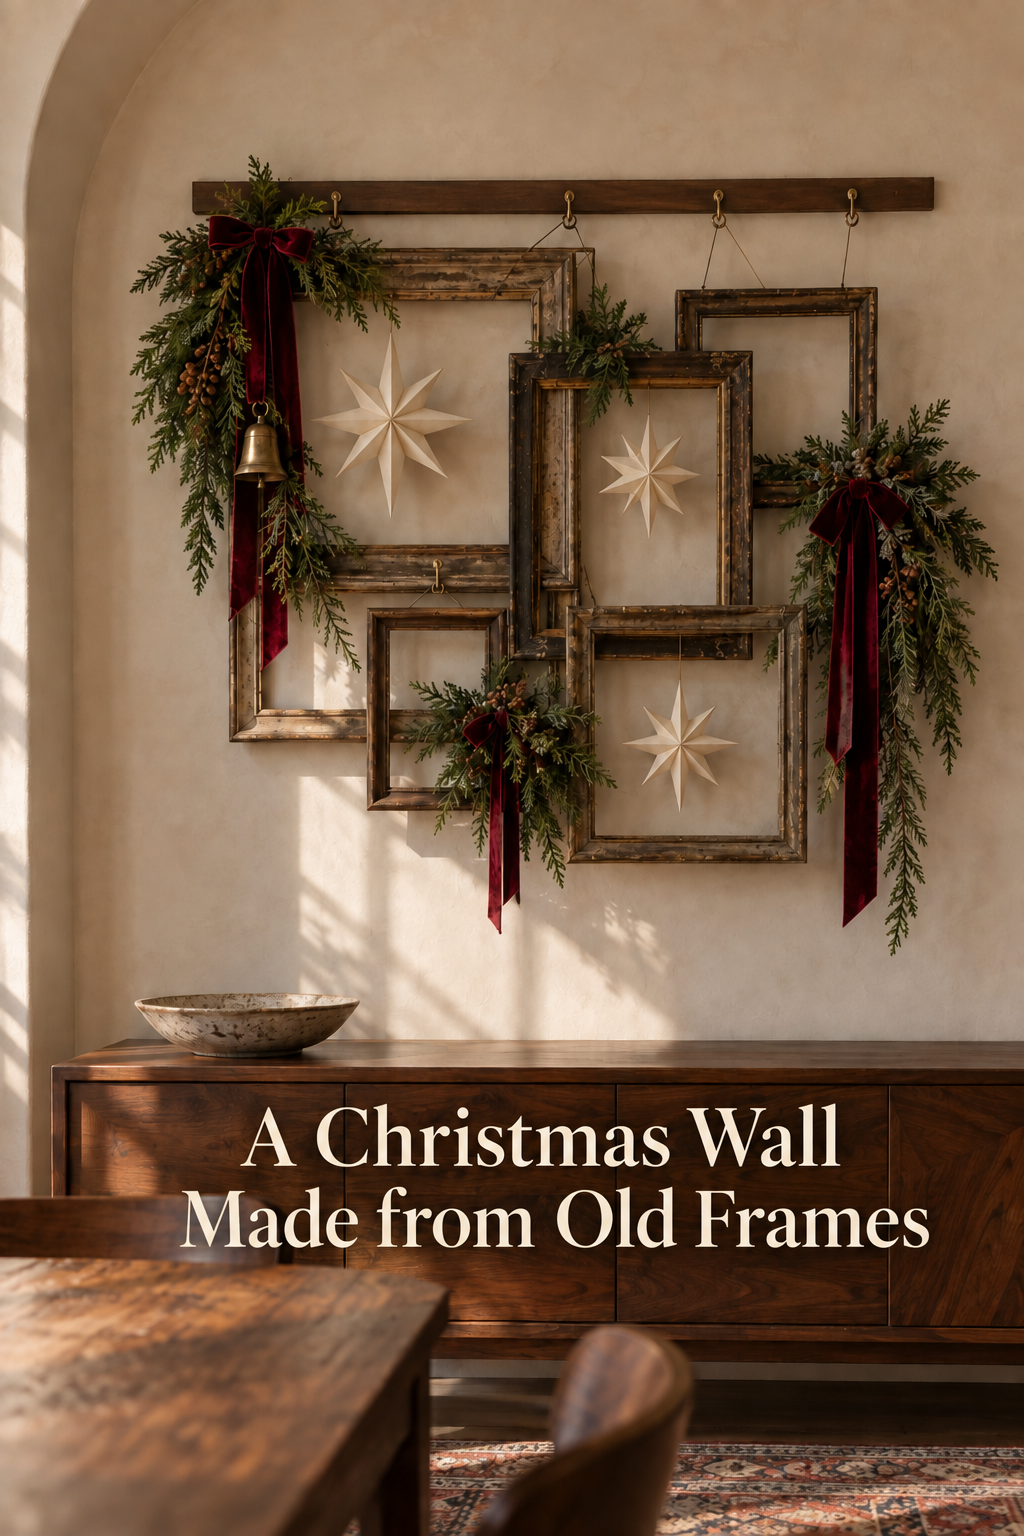
An arrangement of empty, timeworn frames becomes the main Christmas decoration in this dining alcove. Their overlapping openings hold cream paper stars, while greenery and long burgundy ribbons spill from the corners. The result has the presence of a small wall installation, yet each familiar object remains easy to recognize. A low cabinet and simple bowl give the intricate upper half of the scene room to breathe.
What Makes This Look Work
The Frames Become One Shape
The frames vary in size and depth, but their edges cross and echo one another. Instead of reading as separate pictures in a gallery wall, the open rectangles form a broad, irregular silhouette. The exposed wall within each opening is as important as the frames themselves: it keeps an elaborate composition from becoming a solid dark mass. A horizontal rail above the group gives the scene a visible upper boundary and a practical visual anchor.
Soft Stars Inside Hard Edges
Cream dimensional stars hang in several of the openings. Their folded points contrast with the scuffed, straight frame edges without filling every gap. Thin hanging lines are visible in parts of the image, so the stars feel suspended rather than mysteriously placed. Their pale color also makes the centers of the frames legible from across the room.
Greenery Breaks the Grid
Evergreen sprigs cluster around selected corners and fall in loose, uneven lengths. Burgundy bows and ribbon tails link those clusters visually, while a single metal bell creates a small point of shine. The foliage softens the rigid rectangles, but it does not cover the frame profiles that make the concept unusual. Afternoon light across the plaster wall brings out the relief of the layers.
Key Pieces to Recreate the Look
Assorted Open Frames
Choose five wooden frames in a mix of sizes, with dark or distressed finishes that work well together. If you’re using frames from the same collection, vary their heights and positions to create interest without relying on different molding profiles. Remove the glazing and backing so the wall remains visible through each opening.

Why I Like It: These distressed brown solid wood frames offer a simple way to build a layered vintage display without hunting down a different frame for every size. Start with a larger 12×16 or 11×14 frame, then mix in 8×10 and 5×7 frames to create an uneven, collected-over-time look.
The same listing offers sizes from 4×6 to 12×16, so you can choose a combination that fits your wall. Remove the glazing and backing for the open-frame look, and attach suitable picture-hanging hardware directly to the wooden frames.
A Display Rail or Hanging System
Use individual wall hooks to support the frames, then install a separate wooden hook rail above the arrangement for lightweight decorations. Attach D-ring hangers directly to the wooden frames rather than their removable backings. The rail can hold paper stars, greenery, and ribbons without carrying the weight of the frames. Choose wall fixings that suit your wall material and the actual weight of each piece.


Dimensional Paper Stars
Pale folded paper stars bring a soft focal point to the dark frame openings. A set of 5-inch stars works well for this arrangement. Hang three at different heights using their built-in loops, and leave the remaining openings empty so the layered frames still stand out.

Evergreen Stems
Layer flexible faux cedar branches around a few selected frame corners, allowing some stems to trail below the edges. Tuck small brown berry clusters between the branches for added texture and warmth. Keep the arrangements uneven, with one fuller cluster and a couple of smaller accents, rather than repeating the same shape at every corner.


Burgundy Velvet Ribbon
Wide burgundy velvet ribbon brings the richest color into the arrangement. Wired edges help the bows hold their shape, while long tails soften the straight lines of the frames. If your ribbon has a satin backing, turn the velvet side outward as you shape the loops and tails.

A Small Metal Bell
One bell can punctuate a greenery cluster without turning the installation into a row of identical ornaments. Choose a finish that does not overpower the muted wood and paper.

How to Style It at Home
Free Printable: Layered Vintage Frame Styling Guide
Want a little help planning the arrangement? Download the free styling guide for a suggested five-frame layout, practical hanging steps, and tips for placing the paper stars, cedar greenery, velvet ribbons, and bell.
Download the Free Styling Guide (PDF)
Map the Silhouette on the Floor
Lay five empty frames on the floor before marking the wall. Start with your largest frame slightly left of center, then position the remaining frames at different heights so their outlines overlap. Try placing one medium frame toward the upper right and another near the center, with smaller frames filling out the lower portion of the arrangement.
Photograph your favorite layout, measure the outside dimensions of each frame, and use painter’s tape to mark their approximate positions on the wall. Keep several openings clear so the composition feels layered rather than crowded.
Plan Independent Support
Once you’ve settled on the layout, remove the glazing and backing from each wooden frame. Attach suitable D-ring hangers to the frame itself, following the hardware instructions and checking that the screws fit the wood thickness.
Install individual picture hooks at the marked wall positions, using fasteners appropriate for your wall type and the weight of each frame. Hang and check each frame separately so no frame relies on another for support.
Mount the wooden hook rail above the grouping using its installation instructions. Reserve the rail for lightweight decorations rather than the frames themselves. Before adding greenery or stars, make sure the arrangement is stable and clear of areas where people might brush against it.
Dress Only Selected Corners
Build the fullest greenery cluster near the upper-left corner, then add a second generous cluster on the right and a smaller accent near the lower center. Layer cedar branches in different directions, allowing a few tips to trail below the frames. Tuck brown berry picks between the branches rather than spreading them evenly throughout the arrangement.
Add burgundy velvet bows once the greenery is in place, leaving long tails to hang naturally. Finish with one small antique-finish bell beneath the upper-left bow. Use discreet ties or floral wire to secure the decorations, keeping their attachments separate from the hardware supporting the frames.
Hang Stars at Different Depths
Hang three paper stars in separate openings: one toward the upper left, a second near the center, and a third in the lower-right area. Use their built-in loops with lightweight hanging line, adjusting the lengths so the stars sit at different heights. Keep their points clear of the frame edges and greenery, and leave the remaining openings empty to preserve the layered effect.
Leave the Furniture Quiet
The image places a shallow bowl on a low wood cabinet beneath the installation. A similarly spare surface gives the wall display priority. If the cabinet is needed for everyday use, preserve the usable space rather than extending the greenery or ornaments down onto it.
Shop Similar Pieces
Compare Frame Profiles as a Group
Check the outside dimensions of each frame, not just the photo size listed on the packaging. Even frames from the same collection can create a collected look when you vary their sizes, heights, and overlapping positions. If you mix different collections, choose finishes with similar warm, muted undertones.
Choose Stars for a Side View
Look at the folded depth and hanging point, not just the front silhouette. A flat cutout may vanish against the wall where a dimensional star casts a subtle shadow.
Inspect the Ribbon Drape
Compare ribbon body, width, and edge finish. A ribbon that falls in a soft vertical tail suits this arrangement better than one that only holds a stiff, rounded bow.
Check Greenery Flexibility
Select stems that can be positioned at corners without bulky bases hiding the frames. If using faux foliage, compare the branch texture and the color of exposed stems in daylight.
Match Hardware to the Real Wall
Use the wall type, frame weights, and mounting instructions to choose hooks, rail components, and hanging line. Decorative picture-hanging hardware should not be assumed to support a particular load from the image alone.
Final Styling Tip
Before calling the arrangement finished, view it from the dining table as well as straight on. A slight shift in one lower frame or star may restore an open gap that disappears from the room’s usual sightline.