
*This post may contain affiliate links for which I earn commissions.*
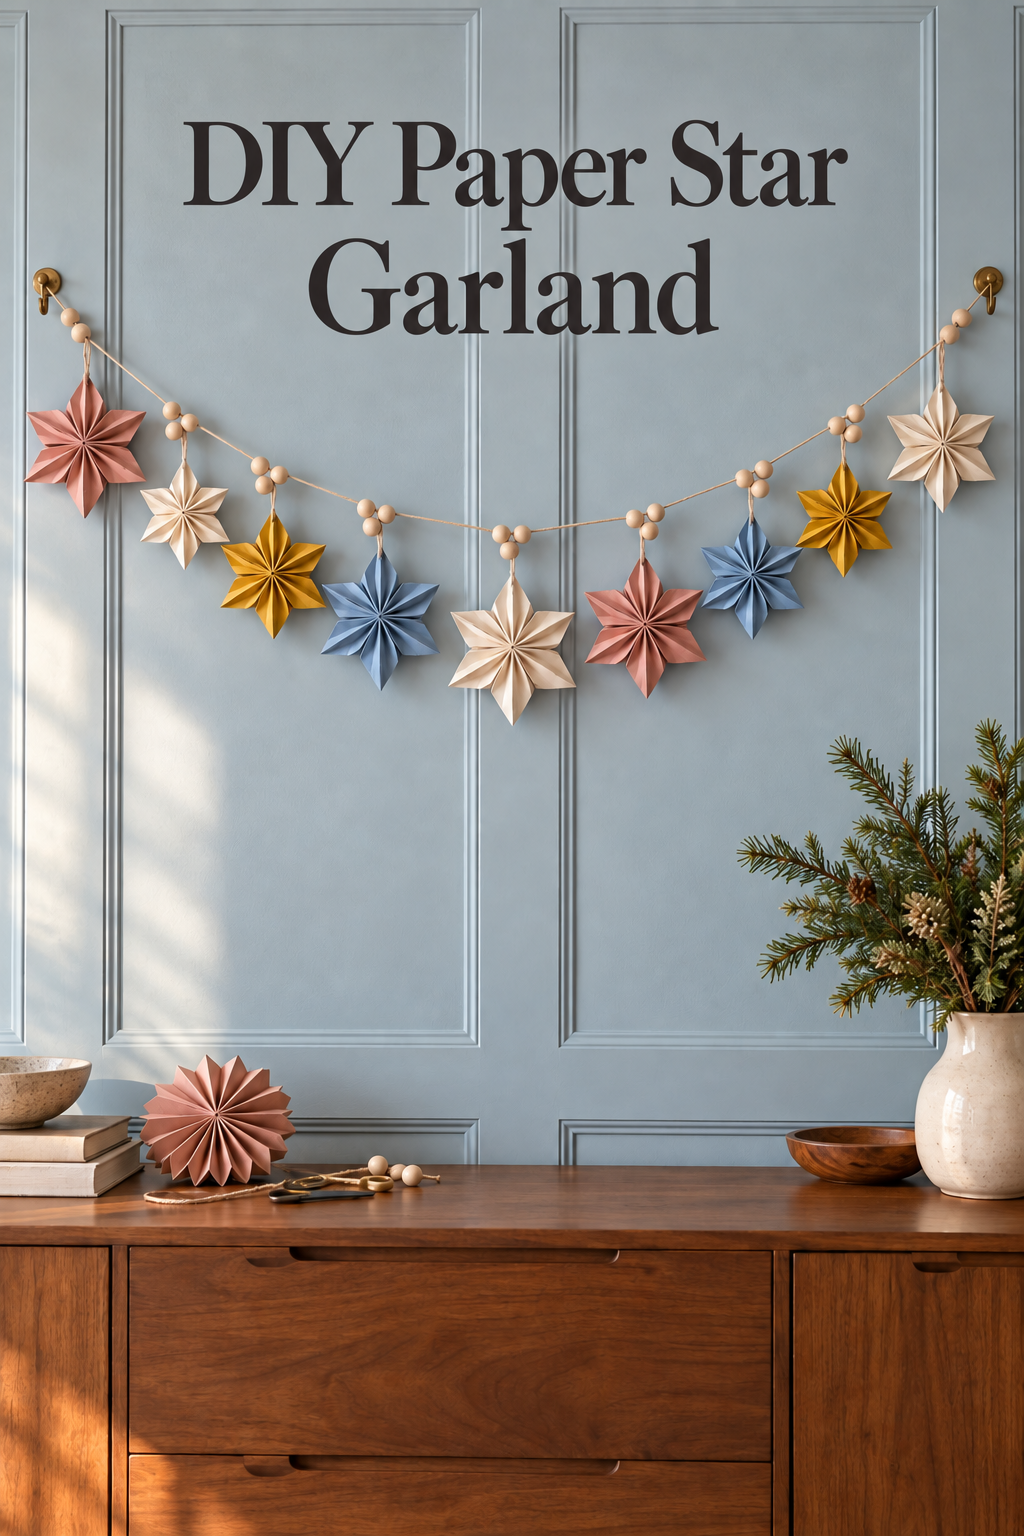
Image created with AI. This image serves as visual inspiration for the project below.
Dusty pink, blue, mustard and cream stars give this Christmas garland the feeling of a box of treasured paper ornaments. The folded surfaces do most of the decorating: each star catches a little light, while plain wooden beads link the colors without competing with them.
Make the stars as pointed accordion rosettes, then hang them individually from a beaded cord. The instructions include the paper shape and joining method, so you do not need a downloaded star pattern.
Materials and Tools
Paper that folds without cracking
Choose lightweight colored craft or wrapping paper in three or four coordinated shades. You need enough to cut a long rectangle for each star, plus small reinforcement scraps. Avoid thick coated card: the pleated stack becomes difficult to cut and its creases can split.
Use scissors, a ruler, pencil and a blunt creasing tool if you have one. A small hole punch or fine needle makes the hanging hole after reinforcement.
Beads and connections
Gather smooth unfinished wooden beads, a main cotton cord, finer hanging thread and paper-compatible adhesive or narrow double-sided craft tape. Small clips help hold the seams while they set. Check that the cord passes through the bead holes before committing to a bag of beads.
Appropriate existing hooks or surface-compatible hanging hardware support the ends. Keep the stars lightweight; the decoration is for display, not for pulling or play.
Before You Start
Make a plain-paper trial
Begin with a sample rectangle about 10 by 30 cm, which produces a roughly 10 cm-wide rosette after opening and trimming. Treat this as a trial scale, not a compulsory measurement. Adjust it to your wall and the width of your chosen paper.
The long dimension supplies the circumference; the short dimension becomes approximately the finished diameter. Too little length makes the fan reluctant to close. Choose a rectangle around three times as long as it is wide, and test before cutting all your colored sheets.
Plan the line above the furniture
Hang a spare cord between your anchor points with a visible shallow dip. Check the space beneath it for the largest star, keeping the whole arrangement clear of candles, radiators and other heat sources. Paper needs a dry indoor position.
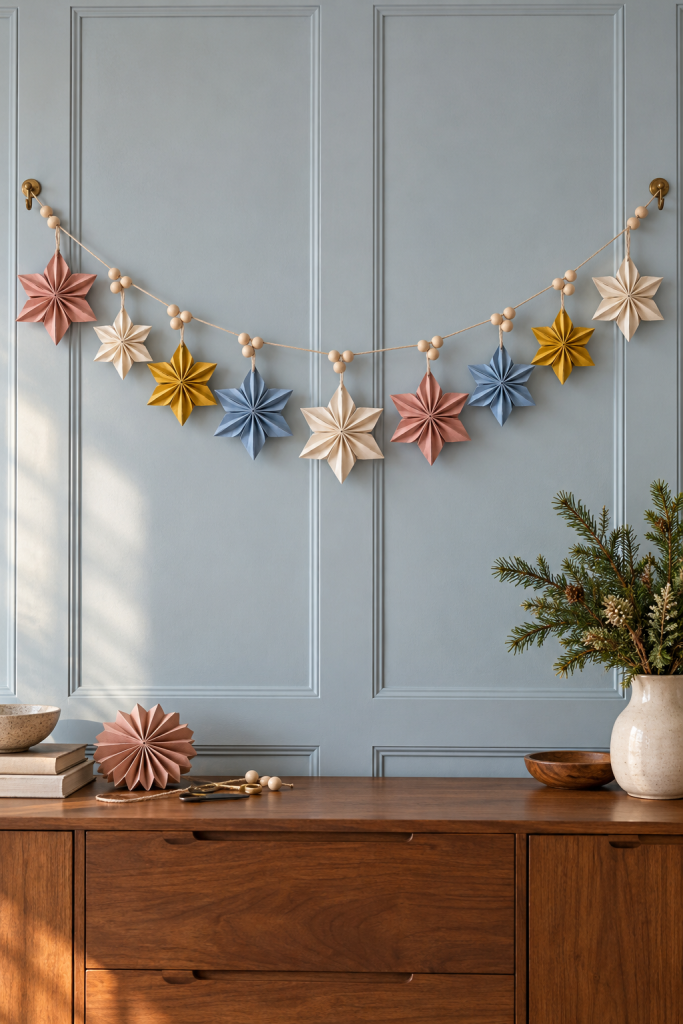
Lay out your shades in a sequence that spreads the strongest color. The picture uses muted tones rather than a rainbow, so a cream star between two darker ones gives the folds room to register.
Step by Step Instructions
Fold matching pleats across the rectangle
Place the rectangle with its short edge nearest you. Fold that edge upward by about 1.5 cm, turn the paper over, and make the next fold the same depth. Continue back and forth along the long dimension until you have a narrow accordion stack.
Press each crease before making the next. Keep the edges aligned so the folds open evenly later. Adjust the final narrow flap if necessary; it should not become a broad flat panel that interrupts the pleats.
Bind the middle and shape the tips
Find the midpoint along the length of the compressed stack, which is the rectangle’s short dimension. Fold the stack gently there, reopen it, and tie fine thread snugly around that center crease. The tie should hold the bundle without cutting into the paper.
At each end of the stack, cut two short diagonal slopes that meet at a centered point, like the tip of a pencil. Keep the same tip depth at both ends. Cut through manageable layers and keep your fingers away from the scissors; do not force a stack that is too thick.
Open two fans and close the circle
Spread one half of the bundle into a semicircular fan. Bring its two free outer pleat faces together, apply a thin paper-compatible adhesive or tape, and press the joining faces together. Repeat on the other half to complete the circular pointed rosette.
Let the joins set according to the adhesive instructions, using small clips where helpful. Ease the pleats apart gently instead of pulling the tips. The number of points follows the folds and trimming, so small variations are normal; aim for a legible pointed silhouette rather than an exact point count.
Add a supported hanging hole
Turn the star over and place a small matching paper patch behind one upper point, below its sharp tip. Bond it across a useful area without flattening the whole rosette. Once set, make a small hole through the reinforced area.
Thread a fine hanger through it and knot the ends into a loop. Lift the star by the loop over your work surface. If it tips sideways, choose a more central upper point or reposition the loop. Reinforcing this small area protects the paper better than making an unsupported hole right at the tip.
Build the beaded cord in short sections
Start at one end with spare cord for the hook knot. Thread two or three beads, then tie on a star hanger. Repeat, placing small bead groups close to the hanger positions to echo the clustered connections in the inspiration.
Use little stop knots where needed to prevent beads sliding into a pile. Place stars far enough apart that their points do not catch. Larger stars need more space than smaller ones, so work by their finished width rather than dividing the cord into rigid equal intervals.
Install the swag and turn the stars forward
Attach both ends following the instructions for your fixings. Keep enough slack for the center to dip. Adjust the hanging loops so the stars face the room and their pleats remain open.
If several ornaments collide, increase the gap at their cord attachment points rather than making every hanger longer. Longer hangers can make the center droop too far toward the furniture. Remove one module if your available wall is narrower than the arrangement you planned.
Pack the Stars Without Flattening Their Pleats
Store the garland in a shallow box with room around each star. Separate the wooden beads from delicate tips with tissue, and do not place heavier decorations on top. If a seam opens, repair that join with the same paper-compatible adhesive and let it set before hanging again.
Shop Materials and Tools
Coordinated paper with a usable reverse
Look at both sides of the paper when choosing colors. A white reverse can appear at the folds, while double-sided color keeps the star more consistent. Flexible matte sheets are easier to shape into small rosettes than stiff glitter card.
Wooden beads with accessible holes
Compare the stated hole size with your main cord, not just the bead diameter. A mixture of nearby sizes can make the little connection clusters feel collected. Avoid rough interiors that repeatedly snag the cord during threading.
Adhesive for narrow paper seams
Choose a product intended for paper and test it on an offcut. The joins need a tidy bond that does not soak the folds or leave a bulky ridge. Narrow double-sided craft tape offers another route if the chosen paper accepts it.
Cotton cord and fine hanging thread
A smooth main strand makes threading easier. Fine neutral hangers keep attention on the colored folds, while a more visible cord preserves the garland’s handmade structure. Use supplies already on hand when they fit both jobs.
Final Project Tip
Photograph the color sequence before taking the strand apart for repairs. With muted shades, returning a single mustard star to a different position can change the balance more than expected.