
*This post may contain affiliate links for which I earn commissions.*
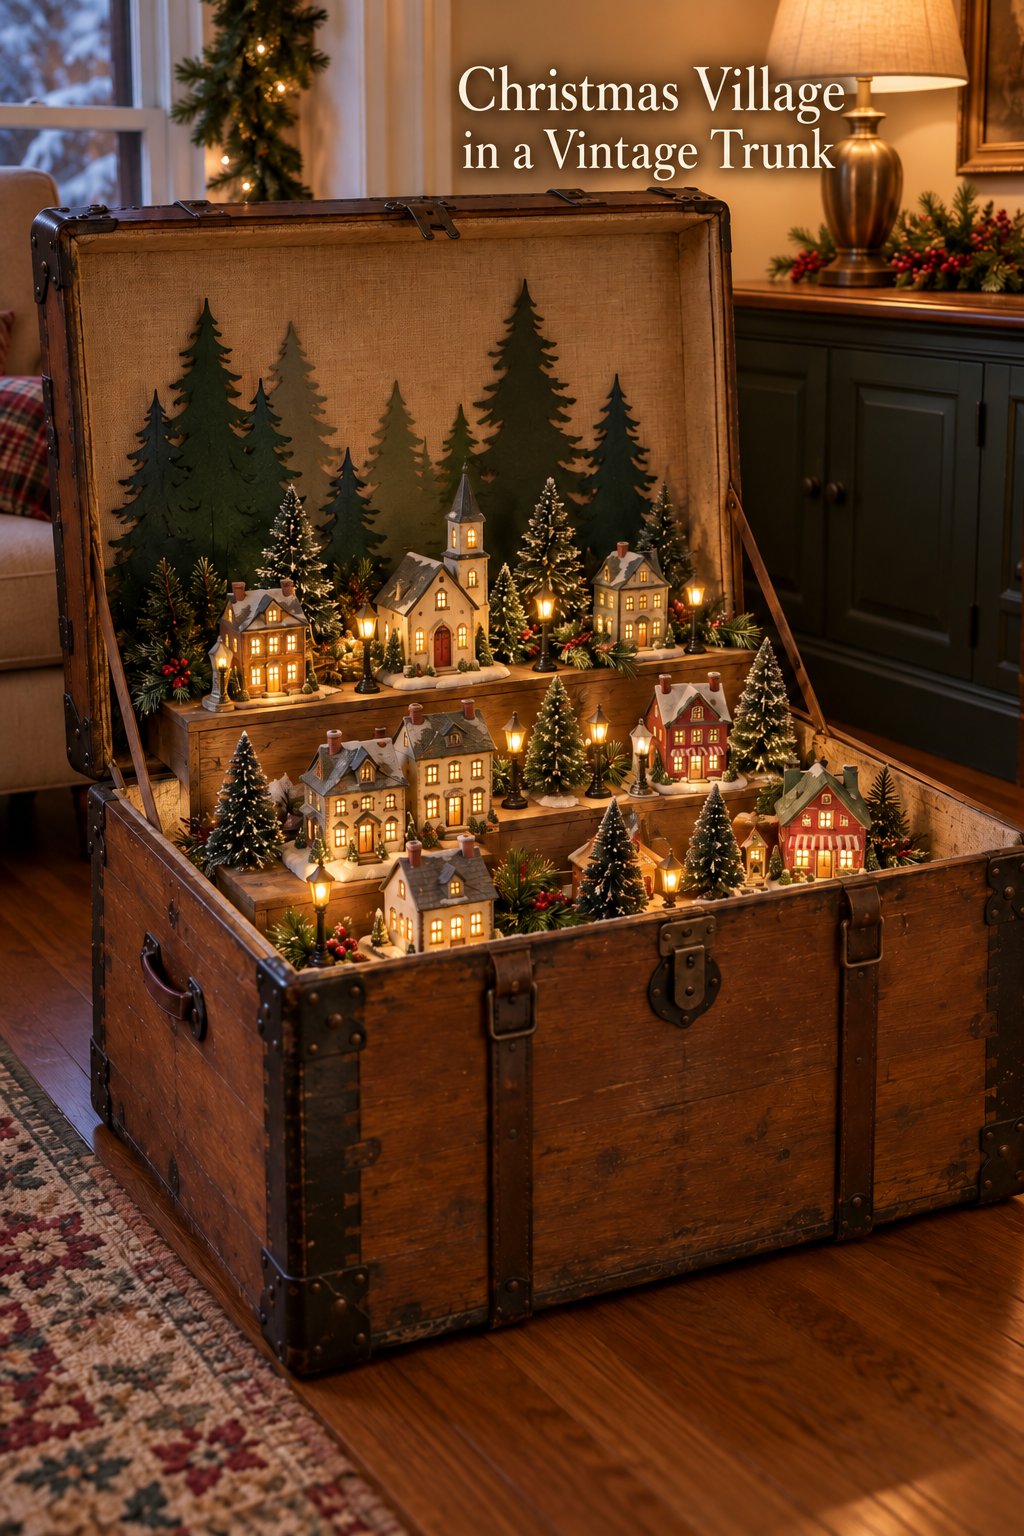
This image was created with AI. The arrangement below is a practical way to recreate its visual idea at home.
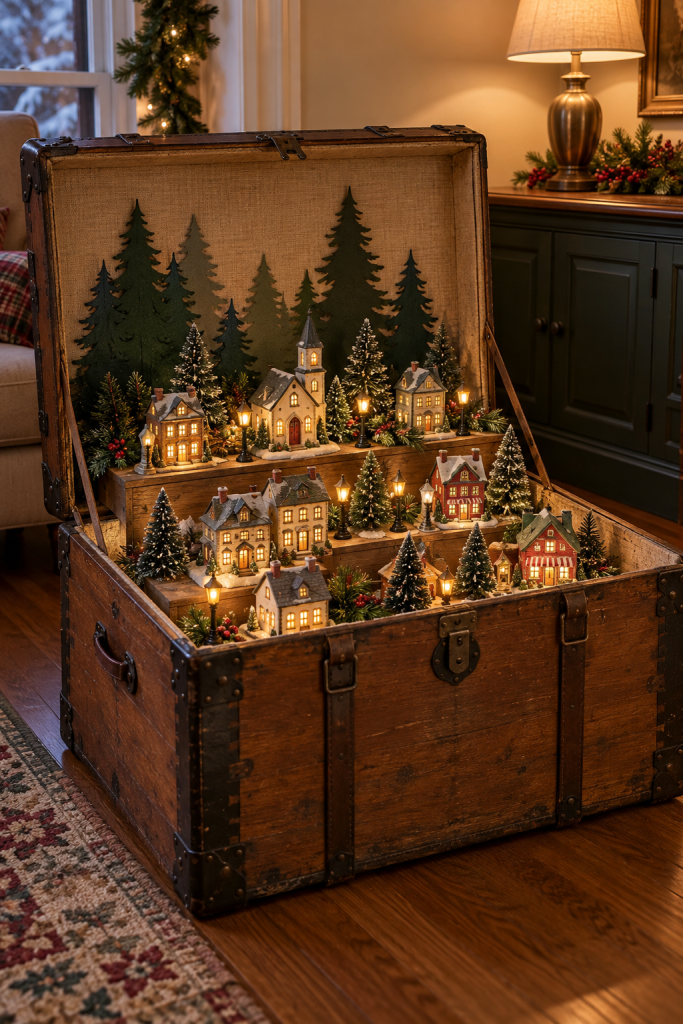
An open travel trunk makes a striking frame for a miniature Christmas village. In this inspiration image, little houses and trees step down through the trunk, while the upright lid reads as a woodland scene. Warm points of light draw the eye through the display, but the aged trunk remains unmistakably part of the idea. It is a lovely alternative to spreading a village across a mantel or sideboard.
What Makes This Trunk Village Work
A container that becomes the setting
The open lid gives the display a vertical background and the deep base encloses the little streets. Visible corners, straps, and hardware keep the trunk recognizable. A shallow suitcase might hold a few houses, but it would lose the substantial, room-scale frame that makes this composition distinctive. The trunk should therefore be chosen before the village buildings, not treated as an afterthought.
A village with a clear skyline
The houses appear at more than one height. A taller central building lifts the middle of the scene, while lower rooflines spread toward the front. Trees break up the row of facades and keep the tiers from looking like store shelves. The viewer can read the back, middle, and front without every miniature competing for the same line of sight.
Forest shapes and restrained color
Dark evergreen silhouettes rise across the inside of the lid behind the small buildings. They provide depth without another busy collection of ornaments. Cream buildings, darker roofs, green trees, and a few red accents sit comfortably against the trunk’s warm brown tone. A similar display needs a limited palette more than it needs an exact match to every miniature pictured.
Small light against a warm room
Bright windows and tiny streetlight-like accents make the scene feel inhabited. The nearby lamp and subdued room light support that warm effect. The image does not establish the light source or wiring; a real version should use a lighting solution chosen for its own product instructions and the trunk’s materials.
Key Pieces to Recreate the Look
A sturdy opening trunk
Choose a trunk with enough interior depth for several miniature buildings and a lid that can be held open securely. Inspect its base, hinges, lining, and floor footprint before buying or using an antique.
Village houses in related scales
Start with one taller landmark and a small group of lower houses. Compare actual dimensions, especially roof height and base width, so the front row does not hide the back.
Removable tier platforms
Flat wooden boards or rigid display risers can form the stepped layout. They are proposed construction components, not verified materials in the image; each level needs firm support and a load rating appropriate to the pieces placed on it.
Miniature evergreen trees
Mix a few heights and silhouettes to soften gaps between buildings. Stable bases matter more than a heavy coating of artificial snow, which can shed into the trunk.
A forest backdrop for the lid
Layer flat evergreen cutouts in two or three muted greens against a removable backing. Size the tallest shapes to stay inside the lid and use an attachment method suitable for its actual lining rather than piercing an heirloom surface by default.
Low-heat decorative lights
Select lights compatible with the houses or miniature setting, with accessible controls and a safe power arrangement. The image shows a glow, but it does not reveal any power source or confirm the type of lights used.
How to Style It at Home
Test the trunk in its final position
Place the empty trunk where people can see both its open lid and the depth of the base. Allow enough floor clearance that the lid and corners do not intrude into a walking path. Check that the lid stays open independently or add a support designed for the trunk before building the village. Do not rely on a stiff hinge alone.
Build the levels before placing houses
Measure the interior width and depth at each proposed height. Make a level rear platform and a lower middle platform that bear on secure supports inside the trunk; leave the front floor visible for the nearest buildings. Test the empty assembly for rocking, then load it with objects of comparable weight and check again. Keep the supports removable if preservation of the trunk matters. A heavy house should sit over a supported area, never on a cantilevered board edge.
Arrange a readable street scene
Set the tallest landmark toward the rear center. Place lower buildings on the middle and front levels, shifting them sideways so doors and windows remain visible. Leave narrow gaps for trees and lights, then step back to see whether each tier reads as part of one village. If a roof hides the next row, adjust the riser depth or swap that building rather than raising everything higher.
Finish the lid and light the scene safely
Cut tree silhouettes from a material that stays flat, then attach them to a separate backing panel that fits the lid. This gives the scene the image’s woodland outline without assuming anything about the pictured attachment. Place compatible lights after the houses are stable; follow the lighting maker’s clearance, power, and use instructions, keep wiring protected from pinching at the lid, and make the controls reachable. Avoid open flames and unattended operation.
Edit the foreground
The nearest level needs breathing room because the trunk rim already forms a strong border. Use a few small trees and accents to bridge spaces, but leave portions of each building visible. View it from the normal approach to the room, not only from directly above. Remove the least legible extra piece before adding another one.
Shop Similar Pieces
Check the trunk’s working depth
Compare interior dimensions and the stability of the opened lid, not just the exterior finish. A decorative chest with a shallow base may fail the tiered layout even when its wood tone looks right.
Compare house sizes as a group
Look at dimensions across the whole set and favor a mix of one taller silhouette and shorter buildings. Check how each piece is powered, if applicable, before planning where controls and cables will go.
Choose risers for the actual load
Seek rigid, level platforms and supports that fit the measured cavity. Verify load capacity and attachment or bracing options for the particular trunk rather than assuming a generic display block is secure.
Select a lighting system that can be serviced
Compare cable reach, access to switches or batteries, heat guidance, and compatibility with the village pieces. Hidden controls become frustrating once the scene is assembled.
Final Styling Tip
Before packing the village away, take one overhead photograph of the empty tier structure and label the underside of each removable platform. Next season, the supports can return to their tested positions before the fragile houses come out.