*This post may contain affiliate links for which I earn commissions.*
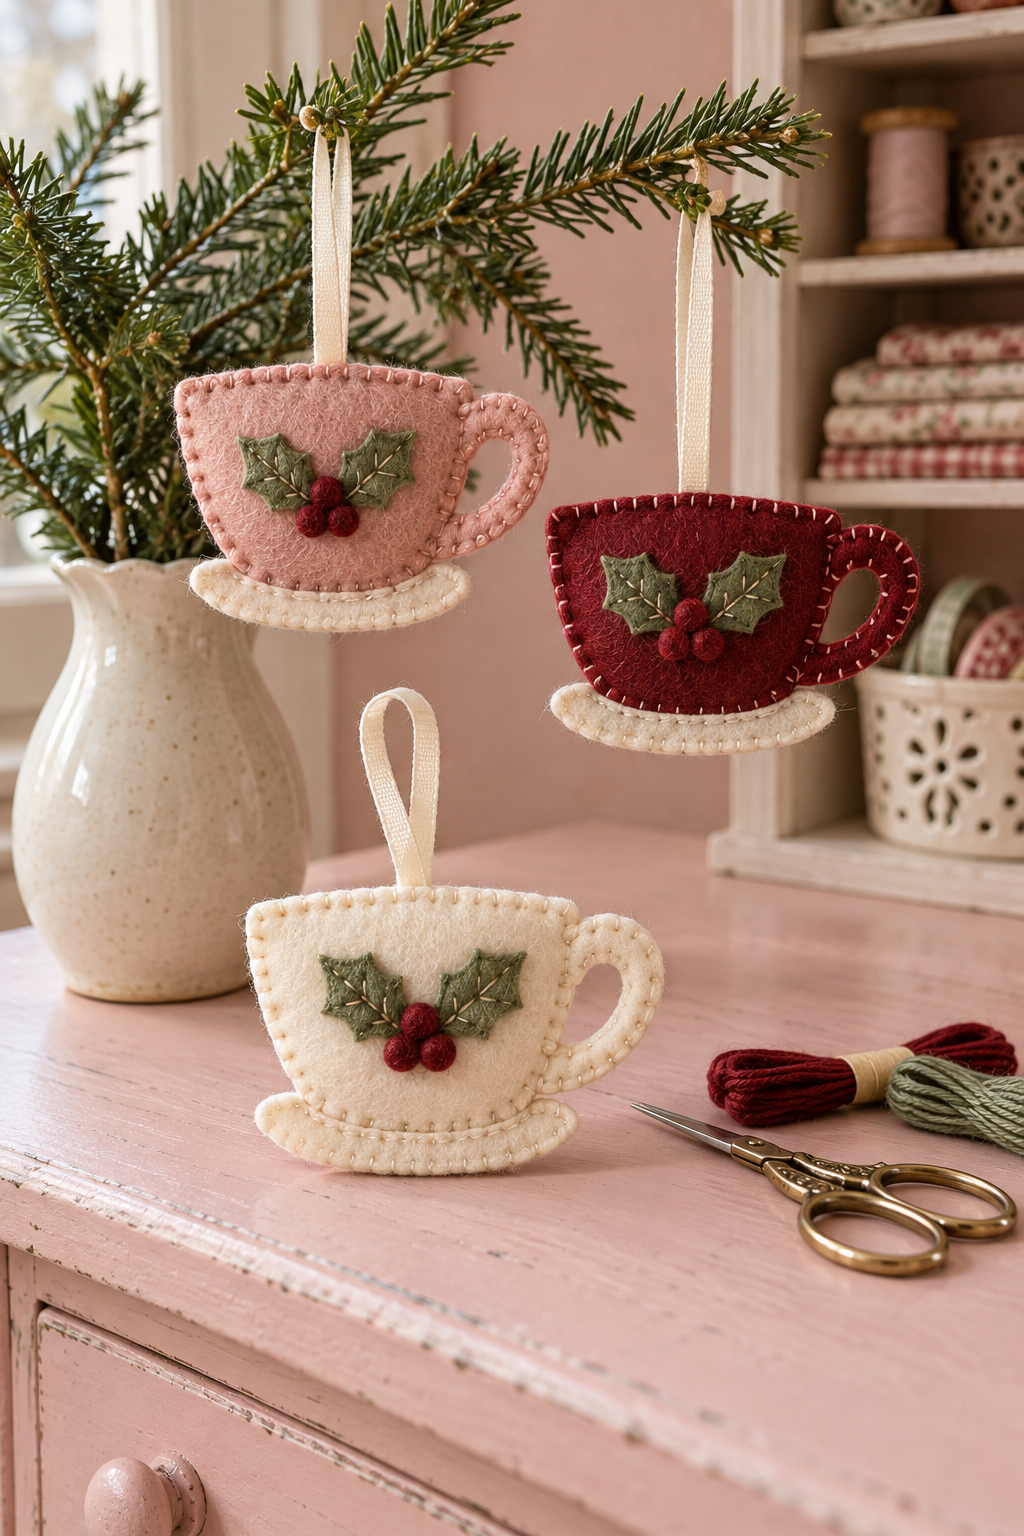
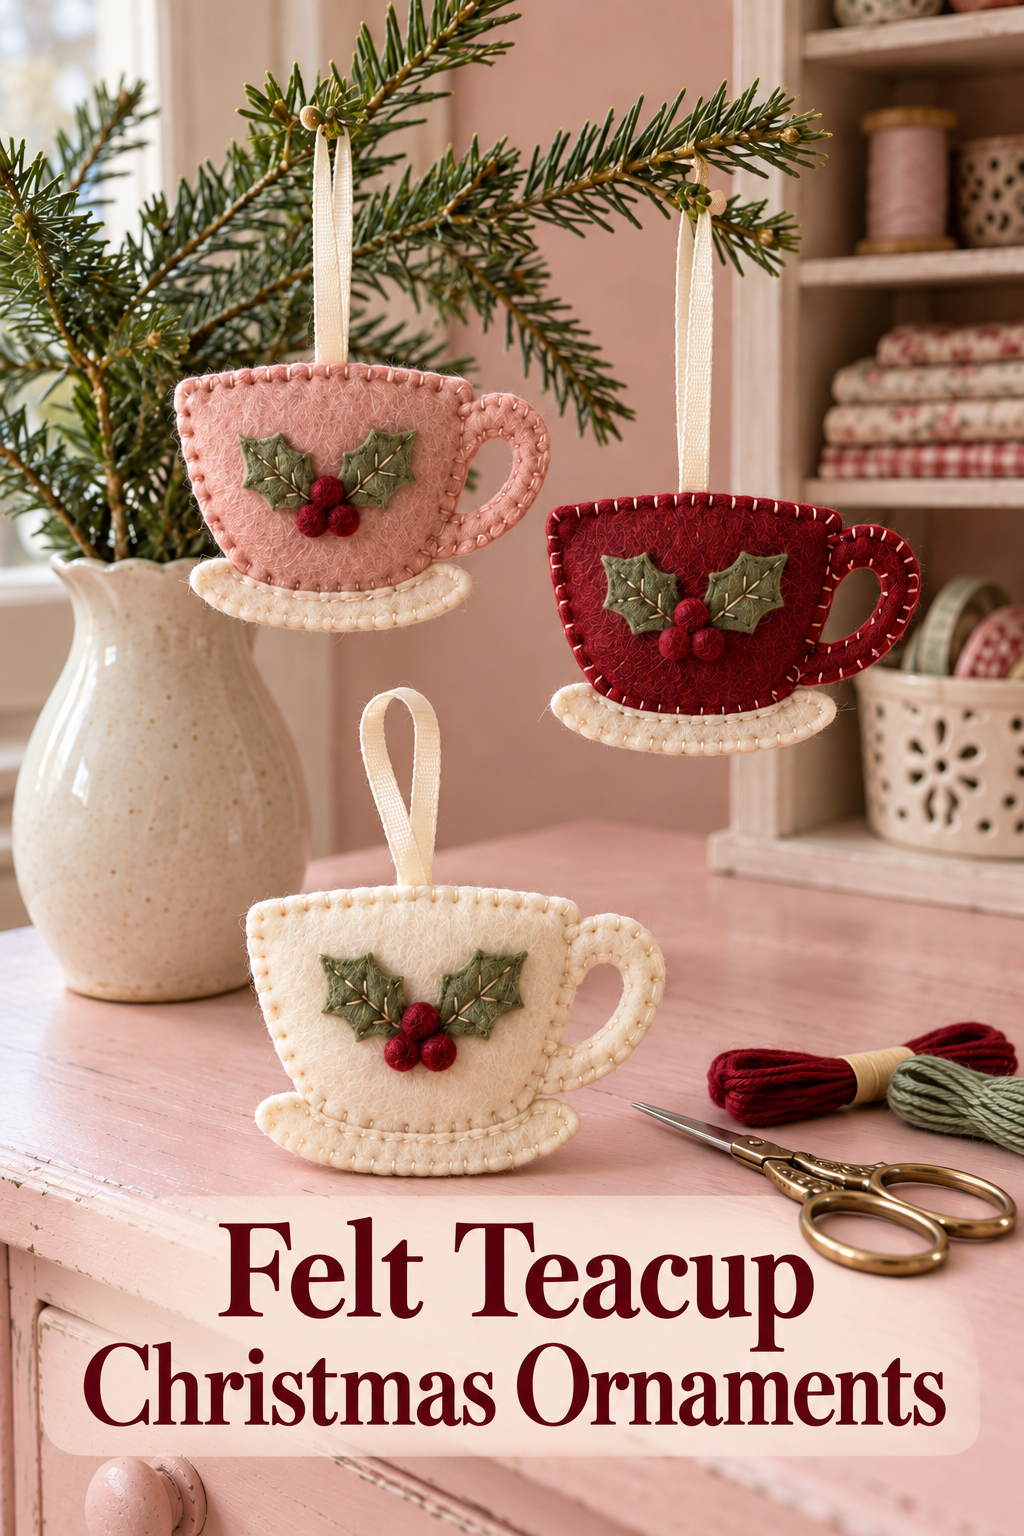
Image created with AI. This image serves as visual inspiration for the project below.
Tiny felt teacups bring a little Christmas tea party to a branch or tree. Dusty rose, burgundy, and cream cups have open handles, stitched saucers, and a sprig of felt holly on the front. Hand sewing gives the edges definition without turning the project into a complicated sewing pattern.
What You’re Making
You’ll make lightly padded, flat ornaments shaped like cups and saucers. Two matching cup layers include the handle, a separate cream saucer finishes the bottom, and a ribbon loop lets the ornament hang. These are decorations, not containers. The instructions explain how to draw your own simple pattern, so no downloaded template is needed.
Materials and Supplies
Main Materials
- Wool-blend craft felt in dusty rose, burgundy, cream, and sage green
- Small burgundy wool felt balls for the berries
- Polyester craft stuffing
- Cotton embroidery floss in cream, sage, and burgundy
- Narrow cream ribbon
- Cardstock for a reusable pattern
Tools
- Sharp fabric scissors
- Hand embroidery needle with an eye that fits your floss
- Ruler
- Removable fabric marking pen suitable for your felt
Before You Start
Hold a scrap of paper against the branch where the cup will hang. Choose a size that leaves the handle opening recognizable without making the ornament dominate the branch. A cup body about as wide as your palm is a useful starting point; adjust it to your felt and intended display.
Test the marking pen on an offcut and follow its removal instructions. Also push the needle through a felt ball before committing to the berry size. If the ball is too dense for your needle, choose a softer one rather than forcing it through.
Make the Cups and Saucers
1. Draw a cup that is easy to cut
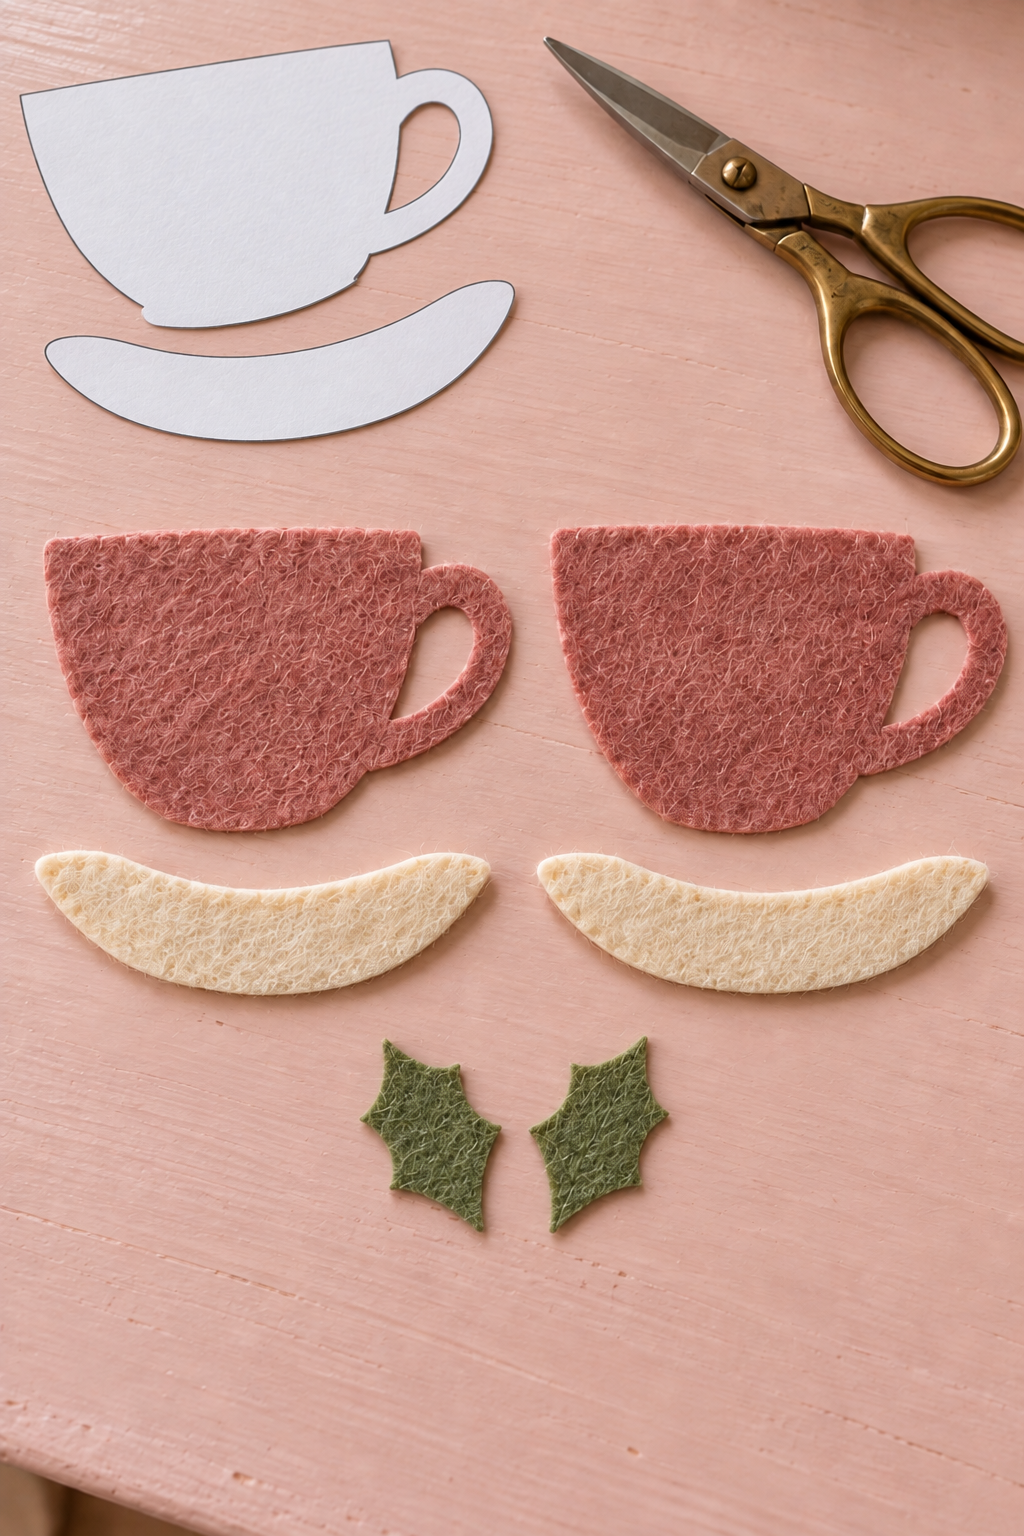
On cardstock, draw a shallow bowl shape with a straight upper rim and a rounded bottom. Make the body a little wider than it is tall. Extend an oval handle from one side, connecting it to the cup near the rim and again above the base. Leave a generous band of felt around the handle’s oval opening; narrow felt bridges are harder to sew and can stretch.
Draw a separate saucer as a long, shallow crescent, slightly wider than the cup body. Its upper edge should overlap the bottom of the cup, and its lower edge should curve gently downward. Cut out both paper shapes. Fold the paper handle area gently to start the inner cut, then open it and trim the oval.
2. Cut matching felt layers
Trace the cup twice onto one felt color, including the open handle. Cut both silhouettes and place them together to check the edges. Trim any obvious mismatch now. Cut two cream saucers from the second pattern.
Cut two small pointed holly leaves from sage felt. Add a few shallow notches along each edge, keeping enough felt through the center for stitching. Lay the pieces beside the cup before threading your needle.
3. Stitch holly onto the front
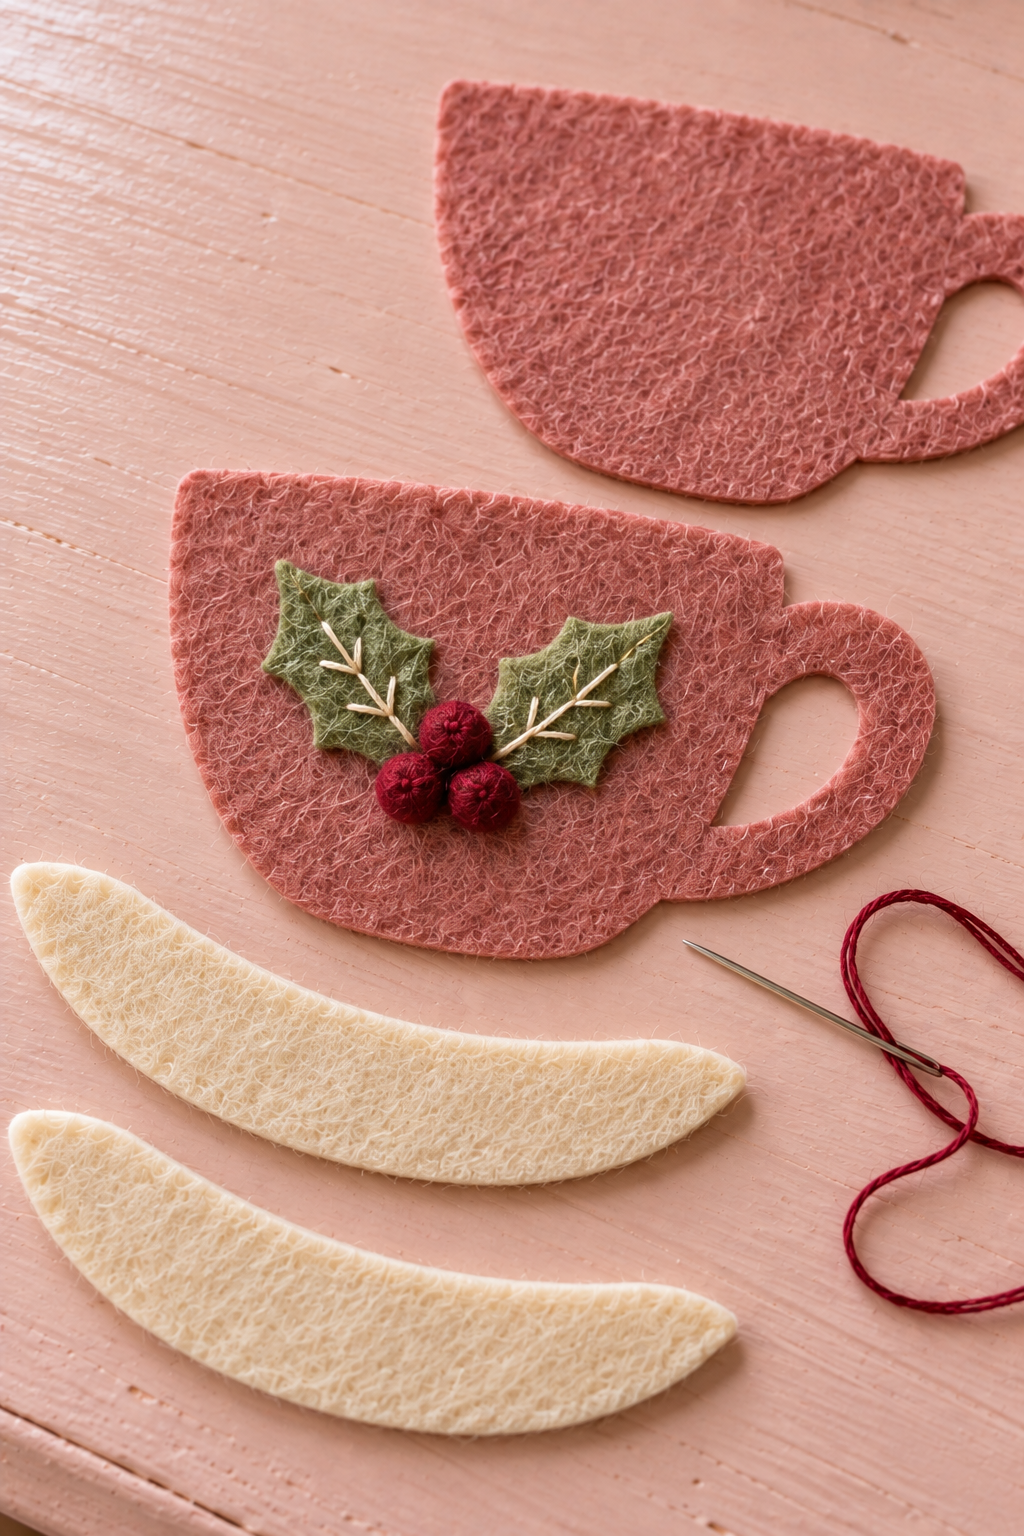
Separate the cup layers. Position the two leaves on the front piece, with their lower tips meeting near the cup’s center. Keep them clear of the outer seam. Use sage or cream floss to stitch down the middle of each leaf, adding a short diagonal stitch on either side for veins.
Sew three small burgundy felt balls where the leaves meet. Pass through each ball and the cup front several times, then secure the thread on the reverse. Check that they do not roll loosely when touched. This applique stays on the front layer only, leaving the body available for stuffing later.
4. Join the handle and secure the loop
Put the plain back behind the decorated front. Use a manageable length of cream floss, dividing the strands if a full strand makes the edging too heavy. Knot the end and hide it between the layers.
Start by joining the layers around the handle opening. For a blanket stitch, bring the needle through both layers near the edge, take the next stitch a short distance along, and pass the needle through the thread loop before pulling it snug. Keep the loop on the cut edge. Continue around the opening, then secure the thread between the layers.
Fold a length of cream ribbon into a loop. Slip its two cut ends between the cup layers at the top center. Leave enough loop exposed to slip over your chosen branch. Sew back and forth through both felt layers and both ribbon ends, hiding the securing stitches close to the rim. Gently tug the loop before continuing.
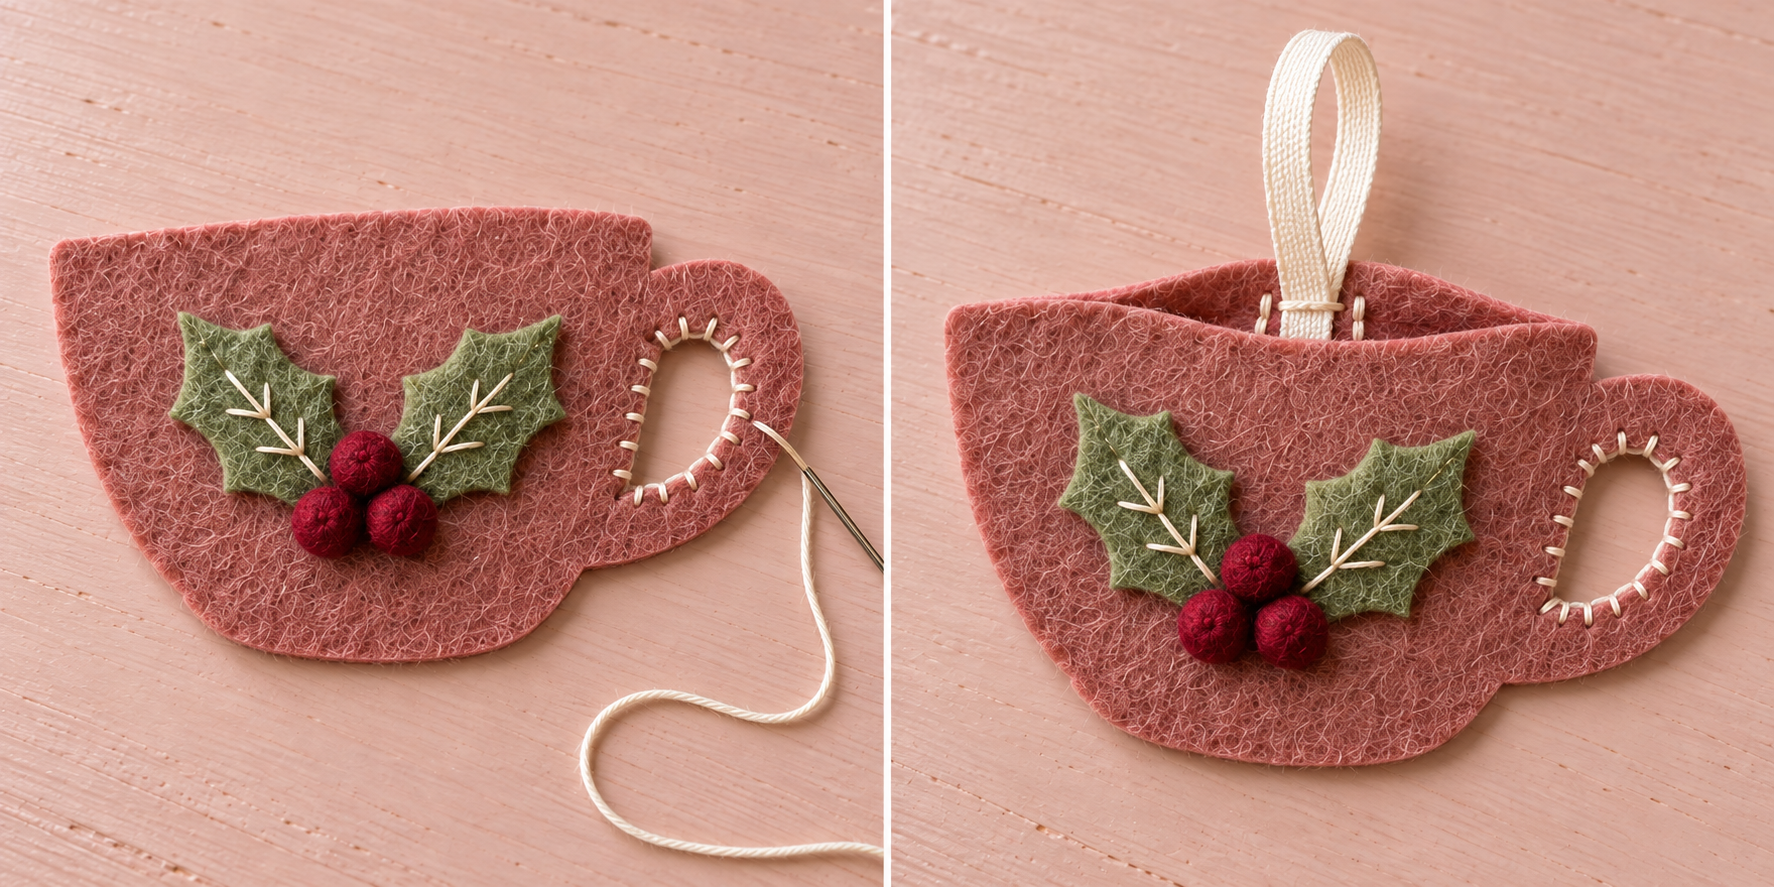
5. Pad the cup and close its edge
Blanket stitch around the outside of the handle and the cup, leaving a small opening along the lower curve. Keep your stitches evenly spaced by eye rather than pulling the felt into tight scallops.
Feed small wisps of stuffing through the opening. Pad the cup body just enough to soften its face; leave the handle flat. Spread the filling toward the corners with your fingertips. Too much filling can round the rim and make the silhouette harder to read. Close the opening with the same stitch and hide the thread end between the layers.
6. Sew on the cream saucer
Join the two cream saucer layers with blanket stitch around their perimeter, leaving them unstuffed. Place the finished saucer across the lower cup edge, with its ends extending a little on both sides.
Use small cream stitches along the overlapping upper edge to connect the saucer to the cup. Catch the cup felt securely without pulling a deep dent into the padding. Check the front, then the back, for loose thread ends. The saucer should stay aligned when you hold the cup by its loop.
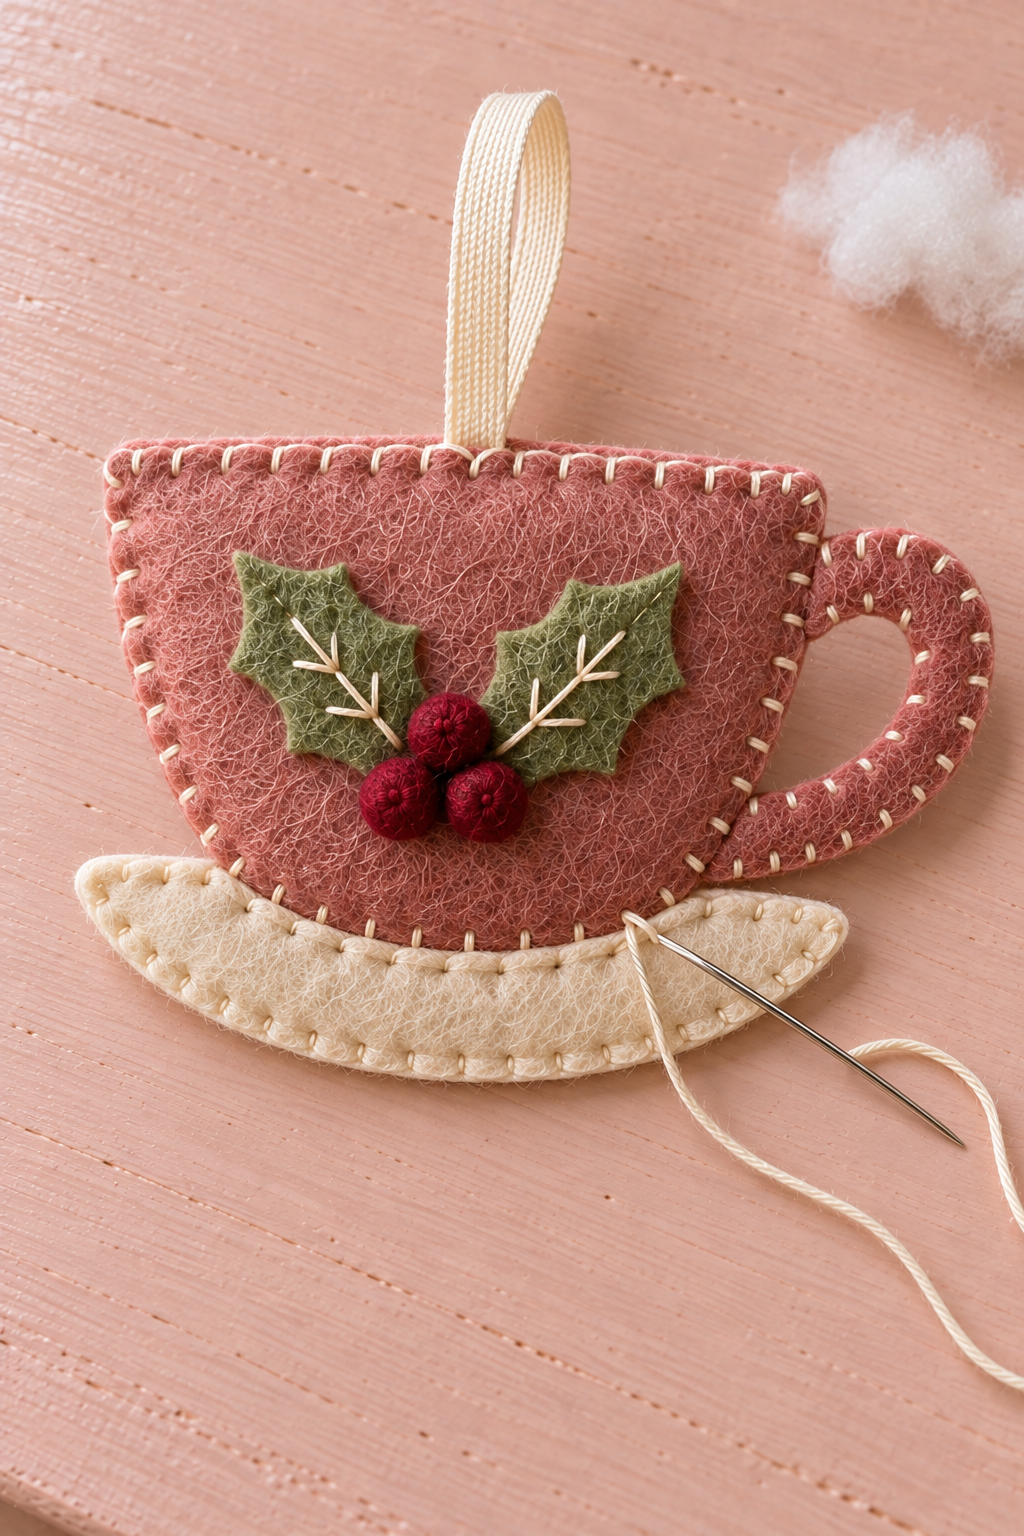
Repeat the method in the other cup colors if you want the small coordinated set shown in the inspiration image.
Keep the Tiny Details Clear
If the handle seems lost against the cup, enlarge its paper opening before cutting the next ornament. Changing the pattern is more effective than trying to stretch a finished handle.
Use the same cream edging across the set so different cup colors still belong together. If stitches look crowded around a tight curve, shorten the stitch spacing there instead of adding more tension.
Change the Tea Set
Try the same cup pattern with a different silhouette at the rim, or make one slightly taller cup for a mixed collection. Keep the saucer proportional to its own cup rather than using one saucer size for every shape. For a quieter version, sew a single holly leaf on the front and leave off the berries.
Hang Them Where the Handles Show
Space the ornaments on an indoor tree or a firmly supported evergreen branch so greenery does not fill the handle openings. Rotate a cup slightly until its flat front faces the room. Keep the display away from flame and heat, and use these small decorations beyond the reach of children and pets.
Store the cups flat in a shallow box after the season. Rest the berry side upward so the raised details are not pressed beneath other ornaments.
A few little cups can give one corner its own Christmas tea setting, even when there is no room for a full seasonal display.