*This post may contain affiliate links for which I earn commissions.*
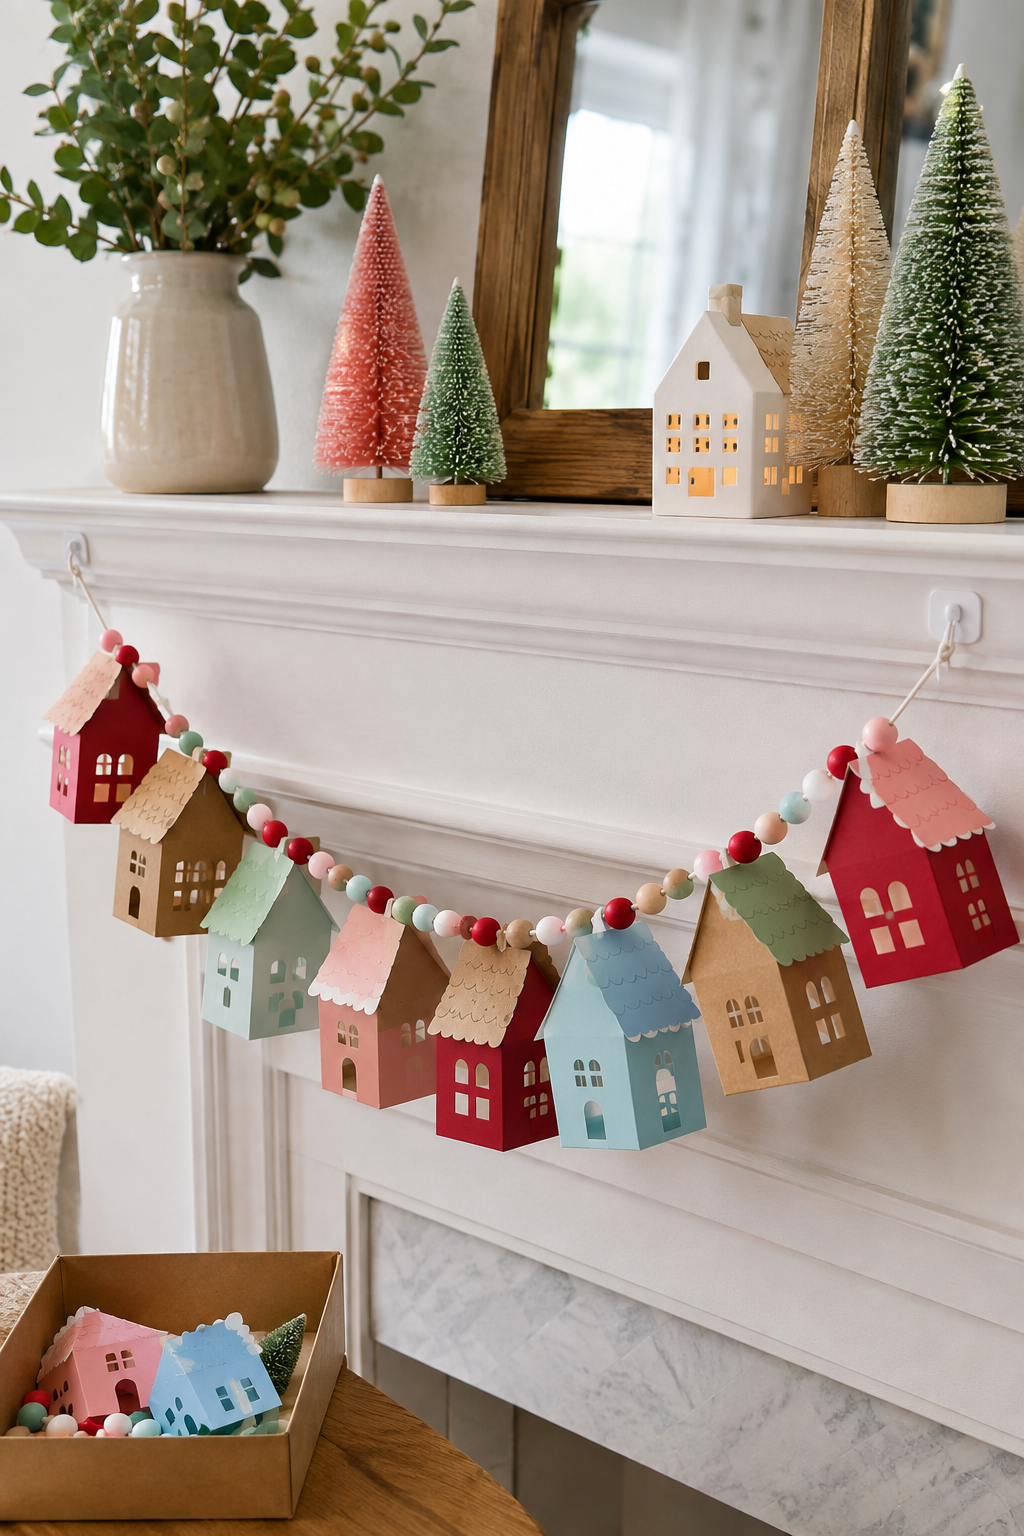
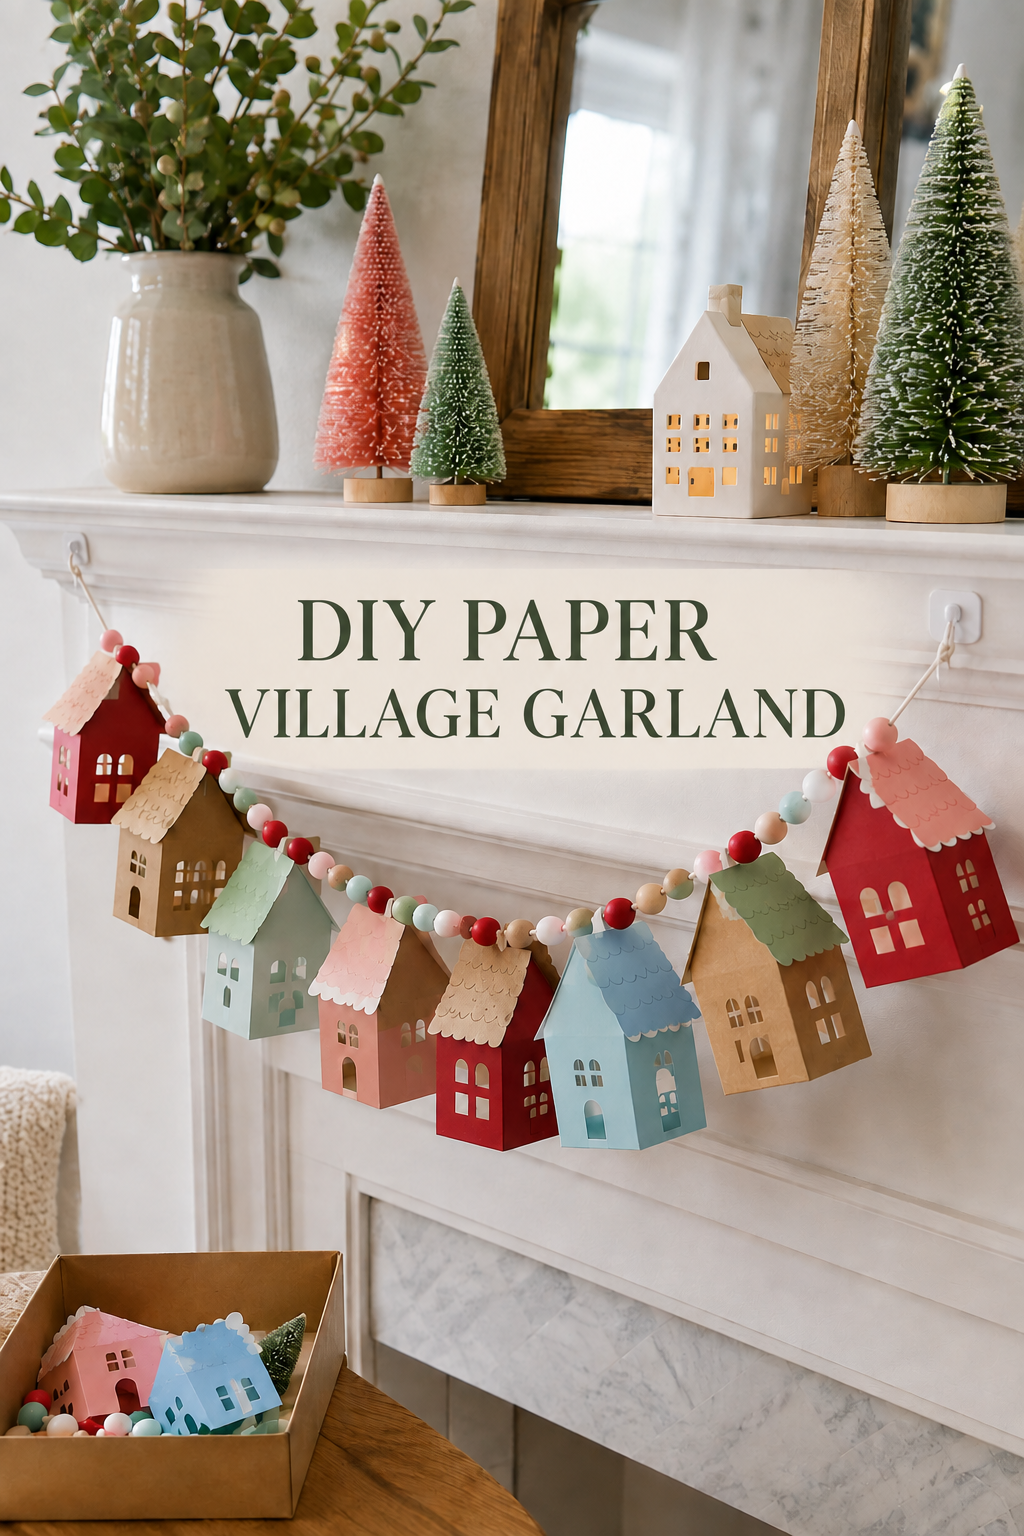
Image created with AI. This image serves as visual inspiration for the project below.
Build a little street of red, mint, blush, blue, and kraft paper houses, then string it with colorful beads. Cutout windows and overlapping scalloped roofs give this Christmas garland its playful village character.
The method here uses hollow paper houses threaded onto cord through reinforced roof holes. This tutorial offers a practical way to recreate the look, with sample dimensions you can adjust to fit your space.
What You Are Making
Make eight houses with open bottoms, cutout windows, and layered paper roofs. Each sample house measures approximately 2 inches wide, 1½ inches deep, and 3½ inches tall. Two holes, one on each side of the roof, support each house, while knots keep the houses and bead groups in place. The sample garland uses 36 beads arranged in nine groups of four.
Materials and Supplies
Main Materials
- Cardstock: eight 12 × 12-inch sheets, approximately 65 lb cover weight, for house walls: six sheets of colored cardstock (three red, one mint, one blush, and one pale blue) and two sheets of kraft cardstock.
- Roof cardstock: four 12 × 12-inch sheets in kraft, blush, mint, and pale blue, plus wall offcuts for reinforcement.
- Smooth cotton cord: one 3-yard length, approximately 1 mm thick.
- Wooden beads: 36 round beads, approximately 16 mm in diameter, with holes at least 3 mm wide, in a mix of red, blush, mint, pale blue, cream, and natural wood tones.
- Paper craft glue suitable for cardstock.
- Two indoor hanging hooks with a cord-retaining shape, chosen for your actual mounting surface and finished garland weight.
Tools
- Pencil and eraser.
- Metal ruler with inch markings.
- Craft scissors.
- Precision craft knife.
- Self-healing cutting mat.
- Bone folder or blunt paper scoring tool.
- Screw punch with a 2 mm tip, for use on the self-healing cutting mat.
- Flexible tape measure.
Before You Start
Choose a display that suits paper
Measure between your intended hook positions. This sample layout needs roughly a 45–50-inch cord path for the decorated section, but the final span depends on your bead diameter, knots, and desired curve. For a shorter display, use fewer houses rather than crowding them together.
Paper is combustible. Prefer a shelf, cabinet, or an unused fireplace surround. Do not hang this garland over an operating fireplace or near candles, heaters, or other heat sources. Follow the appliance and hook manufacturers’ instructions for the actual installation; the inspiration image is not a safe-clearance guide.
Check the cord and beads before buying in bulk
The cord must pass freely through the beads, and a doubled stopper knot must be larger than each bead hole. Test one bead with the actual cord. If your knot slips through, choose narrower-hole beads or a thicker cord that still threads easily, and adjust the roof-hole size accordingly.
Make one complete house before cutting the remaining seven. Check that your cardstock folds cleanly, the glue bonds it, and the punch reaches the planned holes. Follow the drying time recommended for your adhesive.
Step-by-Step Tutorial
Draw a wall strip with two gables
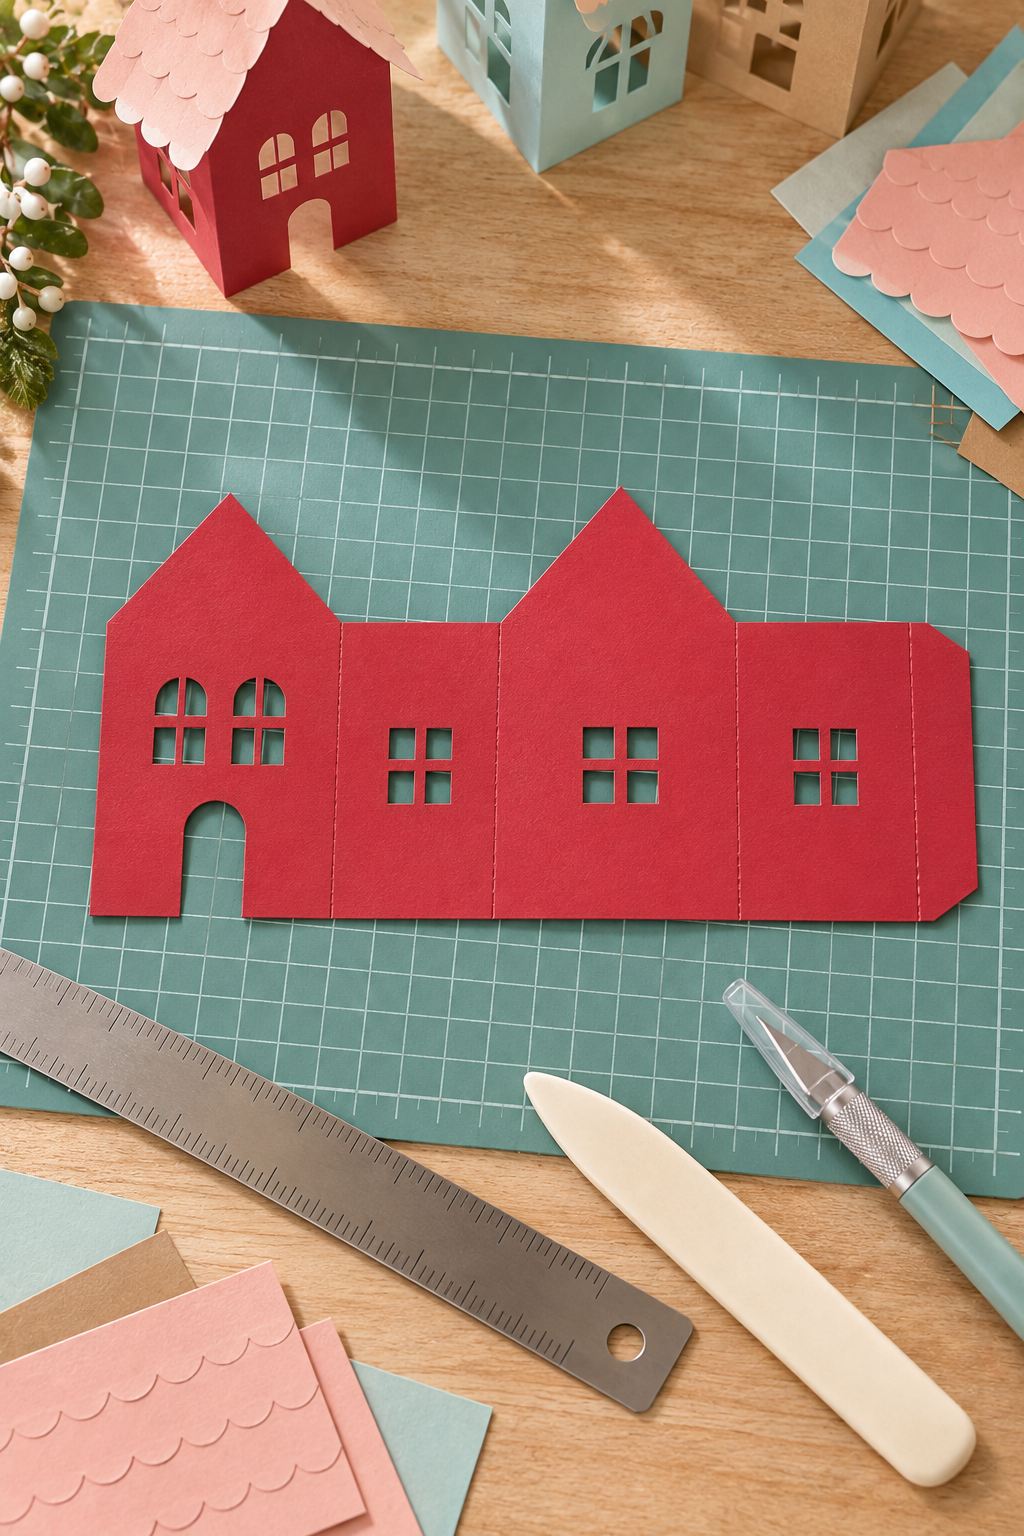
For each house, draw a rectangle 7¼ inches wide and 3½ inches high. Measure from its left edge and mark vertical lines at 2, 3½, 5½, and 7 inches. These create a 2-inch front, 1½-inch side, 2-inch back, 1½-inch side, and ¼-inch joining tab.
Draw a horizontal line 2½ inches above the bottom. On the front panel, mark a peak at its top edge, 1 inch from the left edge. Join the peak to the two front corners on the 2½-inch line. On the back panel, put the peak 4½ inches from the strip’s left edge and join it to the back panel’s corresponding corners. Cut around the two triangular gables. Cut the tops of both side panels and the joining tab straight along the 2½-inch line. Keep all four walls joined along their vertical boundaries. The bottom remains straight, with no floor tabs.
On the front, draw a ½-inch-wide doorway and two pairs of small windows above it. Keep openings at least ¼ inch from folds and the roofline. For an arched window, cut a narrow rectangular opening with a rounded top. To imitate divided panes, cut four small openings around an uncut paper cross. Add a few matching windows to the side panels, avoiding the joining tab. Repeat the design on the back only if you want it visible from both sides.
Cut openings and score the folds
Place the flat strip on the cutting mat and cut the windows and door before folding. Turn the paper for each cut rather than twisting the blade toward your hand. Small rectangular panes are easier to cut neatly than curved ones.
With the ruler and a blunt scoring tool, lightly score the vertical panel boundaries at 2, 3½, 5½, and 7 inches. Score only the wall height where the gable outline has been cut away. Do not cut through the cardstock. Fold the four corners and the joining tab inward.
Close the walls into a hollow house
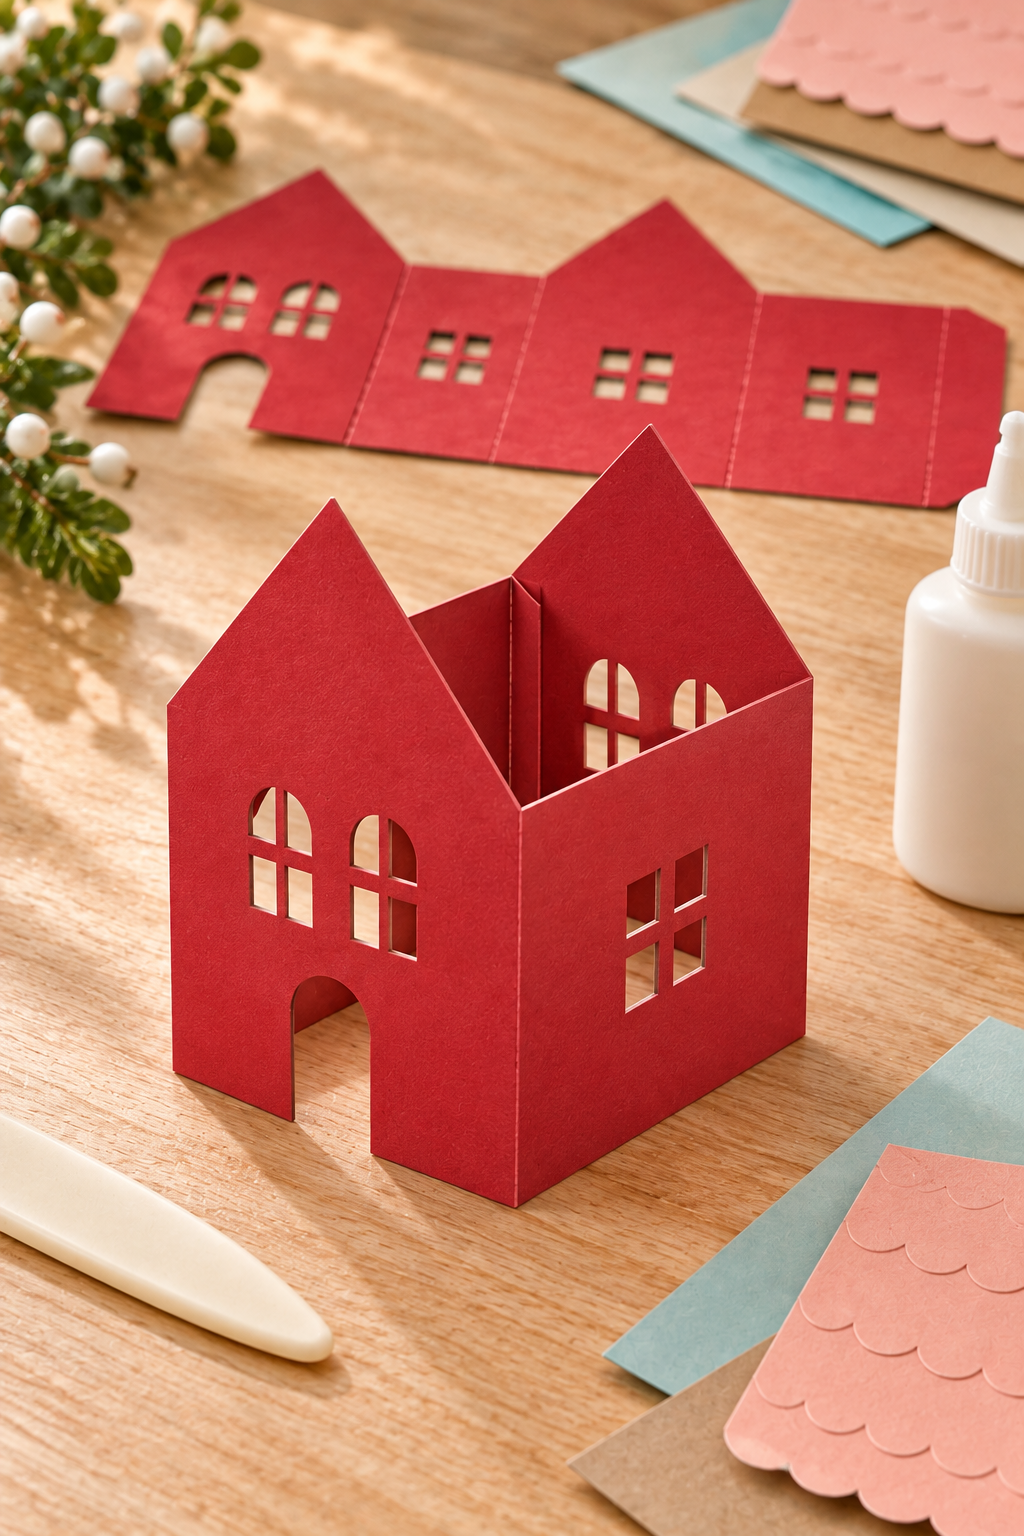
Apply a thin line of paper glue to the joining tab and tuck it behind the adjoining edge of the front panel. Align the bottoms and hold the seam as directed by your adhesive. Stand the shell on the mat and square its corners. It should have two opposite gables, two lower side walls, and an open bottom. Allow the seam to set before fitting the roof.
Make and layer the scalloped roof
Cut a roof rectangle 3¼ × 2 inches. Score and fold it across the 3¼-inch width at 1⅝ inches, creating two slopes with a ridge between them. Its 2-inch depth gives a small overhang beyond the 1½-inch-deep house.
Cut six strips of matching roof cardstock per house, each 2 inches long and ¾ inch deep. Along one long edge, cut small rounded scallops about ¼ inch deep. On each roof slope, start at the eave with one strip’s straight edge about ½ inch uphill from the eave, letting its scallops extend slightly past the edge. Add the second strip ½ inch farther uphill, covering the first strip’s straight edge. Add the third another ½ inch uphill. Trim its straight top edge to meet the ridge, leaving the scallops visible. Keep glue on the upper straight portions so the scalloped edges retain a little lift. Repeat on the other slope.
Cut two ½-inch-square reinforcement patches from wall offcuts. Glue one inside each roof slope, centered front to back and approximately ½ inch down from the ridge. Once the roof and patches are dry, place one roof slope at a time flat on the self-healing cutting mat, keeping the other slope clear of the punch. Use the screw punch’s 2 mm tip to punch through each reinforced position. The holes must face each other across the house’s width, not sit on the front and back gables. Avoid punching a narrow scalloped tip.
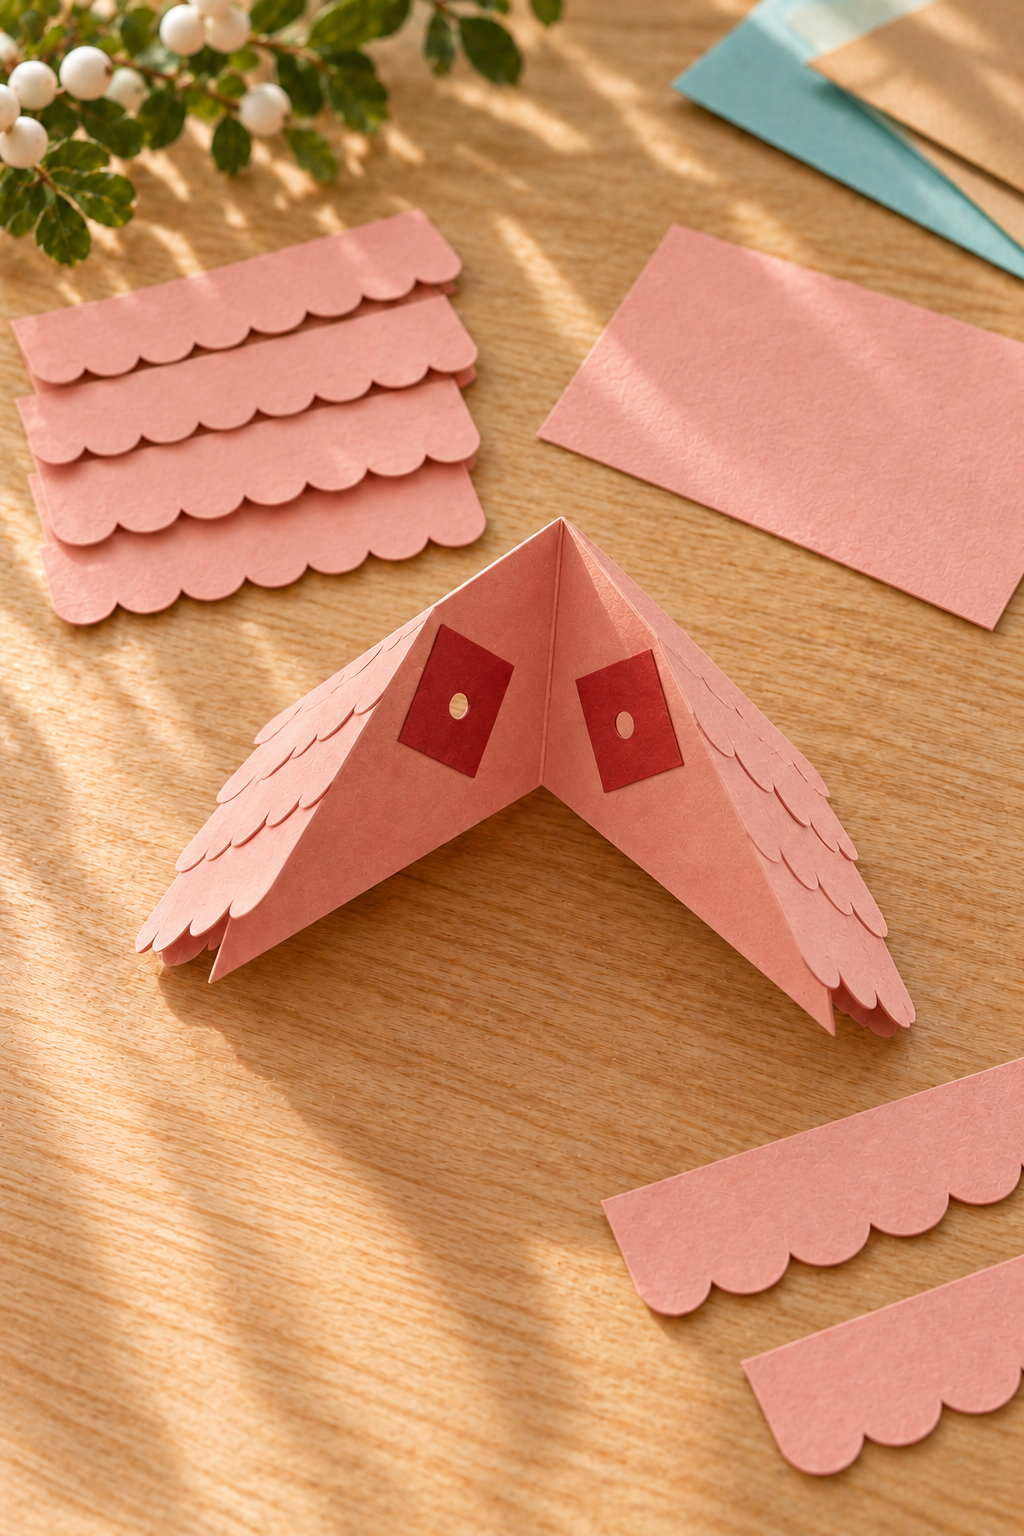
Fit the roof and finish all eight houses
Dry-fit the roof with its ridge running from the front gable to the back gable. Check that the two holes sit above the side walls and remain accessible through the open bottom. Adjust a roof edge if your test house needs a little more overhang.
Run a thin bead of paper glue along the sloping gable edges and the tops of the side walls. Seat the roof evenly and hold it as the glue instructions require. Do not fill the cord holes with glue. Let it dry fully.
Use your finished test house as a guide to make the remaining seven. Pair the roofs in the inspiration palette: blush on two red houses, kraft on the remaining red house and one kraft house, mint on the mint house and the other kraft house, blue on the blue house, and blush on the blush house. Do not add lights inside these paper houses.
Arrange the village before threading
Lay the finished houses front-facing on the table in this order: red, kraft, mint, blush, red, blue, kraft, red. Arrange four beads before the first house, four between each neighboring pair, and four after the last house. Nine groups use all 36 beads.
Cut 96 inches from the 3-yard cord, keeping the remaining 12 inches for knot tests. This is a working allowance for threading, numerous stopper knots, and hook ties, not a measured length of the photographed garland. Do not trim the ends until the complete garland has been test-hung.
Thread and lock each house and bead group
Leave approximately 12 inches of bare cord at the first end. Tie a doubled overhand stopper knot, thread the first four beads, and tie another stopper knot snugly after them. For a doubled overhand knot, pass the working end through the same loop twice before tightening. Make sure the knot is too large to slip through a bead hole.
Leave a small bare-cord gap, then tie the knot that will sit outside the first house’s left roof hole. Feed the working end through that hole, across the hollow interior, and out through the right roof hole. Use the open bottom to guide it. Tie another knot immediately outside the right hole without pulling the roof inward. The house is now held between two knots.
Leave a small gap, tie a stopper knot, thread the next four beads, and tie their ending knot. Continue alternating locked bead groups and locked houses. Leave about ¼ inch of bare cord between each bead group and its neighboring house knots as a starting point, enlarging this gap if your roof overhang needs room. These gaps are between units, not between individual beads.
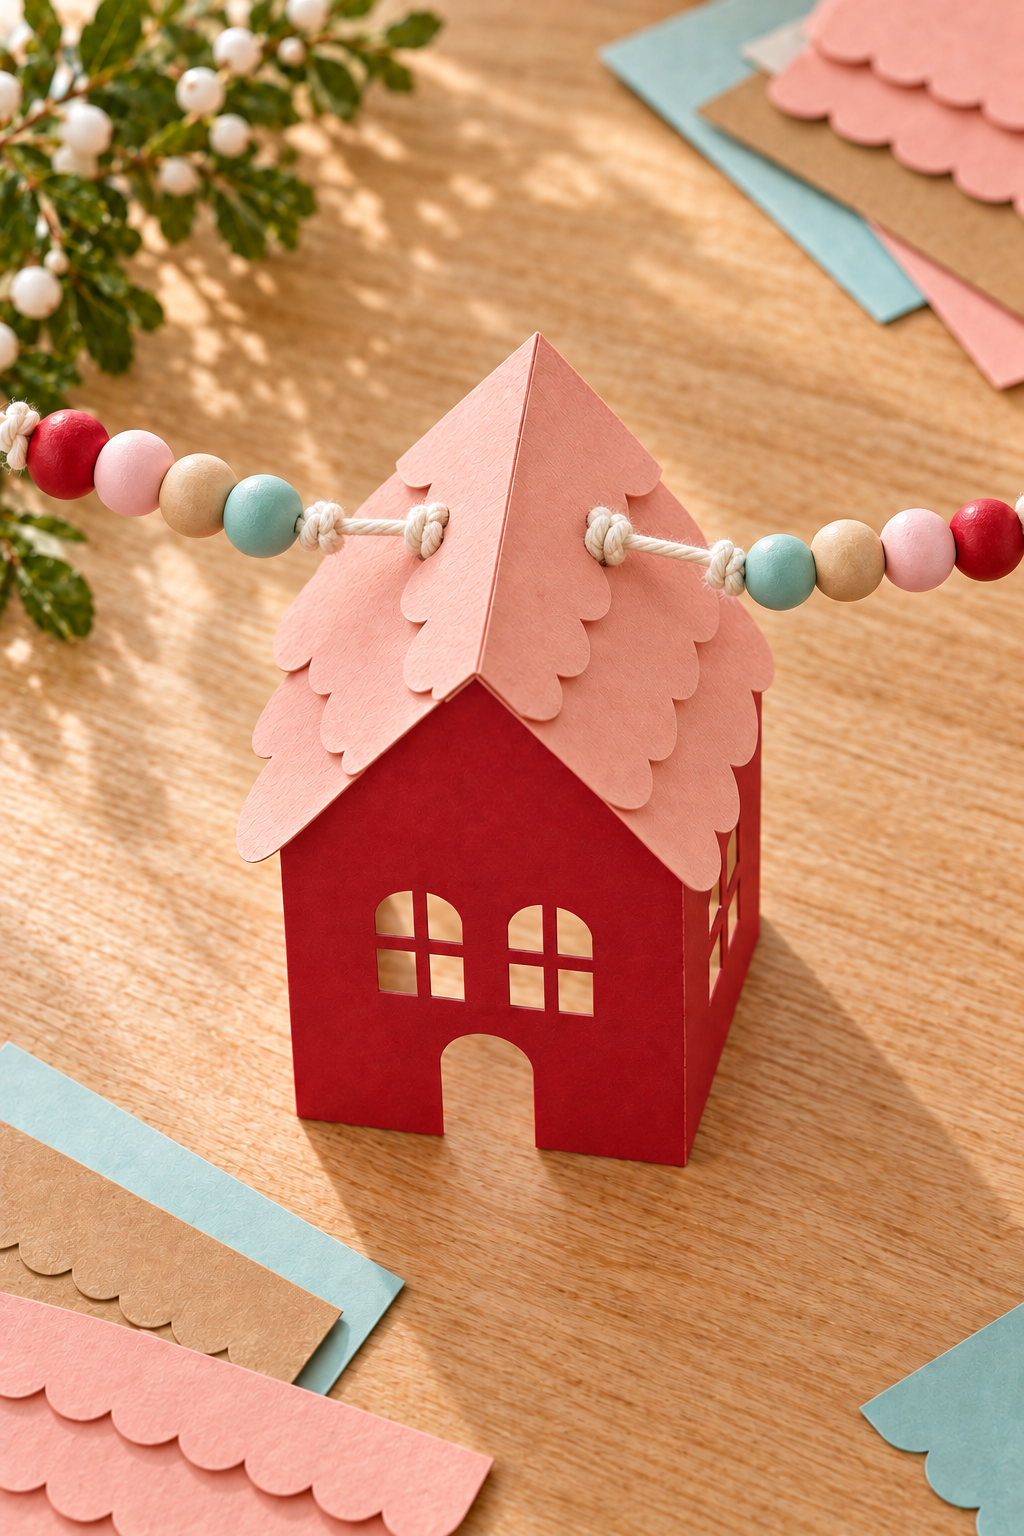
Hold both ends low over the table. Each ridge should run toward and away from you, with the front gable facing outward and the cord crossing from side to side. The two roof points and the weight below them help the houses settle upright; turn a house before tightening its final knot if its front faces backward. Check that the knots do not slip and that the roofs remain firmly bonded. If a house still rolls or a hole tears, stop and repair or reinforce it before hanging. Do not rely on the hook ties to prevent the units from sliding.
Install the hooks and hang the finished garland
Weigh the fully assembled garland and choose hooks rated for that load and approved for the actual surface. Do not assume adhesive hooks are suitable for textured, porous, freshly painted, or delicate surfaces. Use appropriate surface-compatible hardware or move to another display location if the product instructions exclude yours.
Install both hooks exactly as directed, including surface preparation and any required waiting period. Tie the cord ends securely to the hooks with closed loops, adjust the curve, and keep the lowest house clear of anything it could catch against. Support the garland while adjusting it, then check both attachments and every roof connection. Trim excess tails only after the layout is settled. Keep the beads and cord away from small children and pets.
Neater Windows and Roofs
If a thin strip of cardstock between the window openings starts to tear, leave more cardstock around and between the openings on the remaining houses. Crisp, simple openings look better than intricate panes that weaken the front wall.
Check scallop depth against the first roof before cutting all 48 strips. Uneven scallops can feel charming, but cutting too deeply removes the overlap needed to conceal the straight strip edges.
Change the Village Palette
For a softer display, use cream walls with pastel roofs while keeping the same construction. For a birthday or everyday shelf, choose brighter colors and omit nearby Christmas decorations. If you change the house size, scale the entire house template and roof proportionally, then test the cord holes again before making the full set.
Display and Store Your Paper Village
Make the garland the focal point, and arrange other decorations on the shelf above it, keeping them clear of the cord. The little windows read best against a plain background.
To store it, lift both ends off their hooks while supporting the houses. Lay the garland in a shallow box with the houses upright and separated by loosely crumpled clean paper. Coil the bare end lengths beside the village, not over the scalloped roofs. Keep the box dry and avoid stacking heavy decorations on top.
With its pastel roofs and little cutout windows, the garland adds a cheerful village scene to a simple shelf—no elaborate display needed.